Scenes on Core Tutorial
ESTIMATED COMPLETION TIME: 5-10 minutes
CORE VERSION: 1.0.226-prod-s
SUGGESTED PREREQUISITES:There is a preexisting manual for this feature in the documentation I recommend giving a look, it is not required to understand this tutorial!
Tutorial Summary
This tutorial will enable you take advantage of this feature in your games quickly, no matter your skill level!
Using this feature is simple and will allow you to have multiple levels that share data storage, and the same project content.
Contents Of This Tutorial:
-Getting Started
-What is a main scene
-Adding and Removing Scenes
-Adding Logic
-Publishing Scenes
-The Lua
-Spawn Keys
-Storage
-Reference Project
Getting Started
Scenes allow the developer to have separate hierarchies that share the same project content. This could be used for separating Multiplayer and single player modes, or the main menu from the levels. When the player loads into a new scene they are greeted with a similar loading time so beware of how many scenes you have, as it could ruin the player experience!
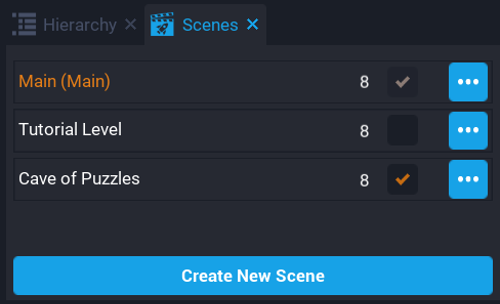
To get started with Scenes, hit the Scene button located on the top right side of the Hierarchy window, shown below. In a fresh project you will only have 1 scene listed named "Main(Main)". "Main" being your name for the scene, and "(Main)" differentiating it as your Main scene.
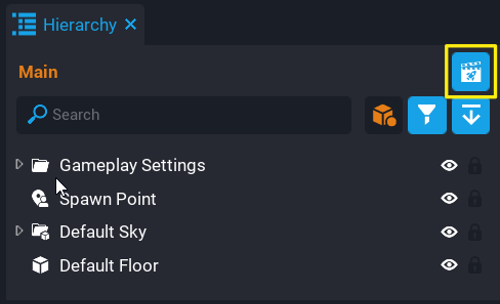

Scenes button (1st image), Scenes window (2nd image)
The Main Scene
The Main Scene is the Scene that the player first loads into when clicking on your game. That might be something like your Main Menu, Your Lobby, or your Over-world. You would then add scenes that would be levels, dungeons, or game modes.
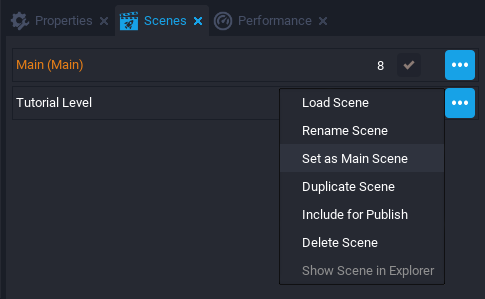
To make a different Scene your main Scene, in the Scene Window, hit the three dots to the right side of whichever scene you would like to designate the main scene, and then hit "Set As Main Scene"
- This is also how you would rename the scene, and duplicate the scene.
- To load between your Scenes for editing you simply click on their name in the Scenes window.
Adding Or Removing A Scene
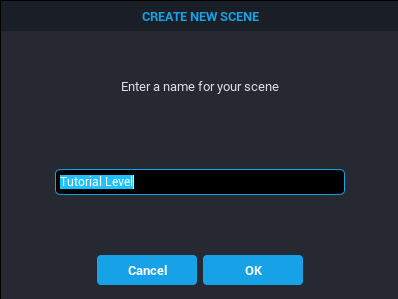
To add a scene, hit the Create New Scene button shown at the bottom of the Scenes window.
![]()
You will then be presented with a window asking you to name the scene. You can name this whatever you'd like, I named mine "Tutorial Level".
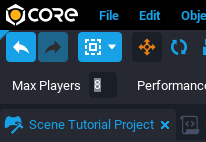
Each Scene you add can have its own max player count. To set this, inside the scene you want to change go to where it says "Max Players" in the top let of your screen, and simply change it the player count wanted.
Its that easy to add a scene! We aren't done yet though, we have no way to transfer the player!
Adding Logic
A quick an easy solution to getting your players into another game is one of Core's built in assets the Scene Portal.
In Core Content located on the bottom left of the screen, search for "Scene Portal"
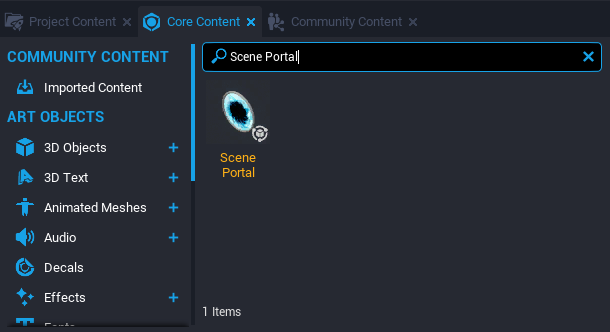
Drag this into your preview window or hierarchy, it should look something like this:
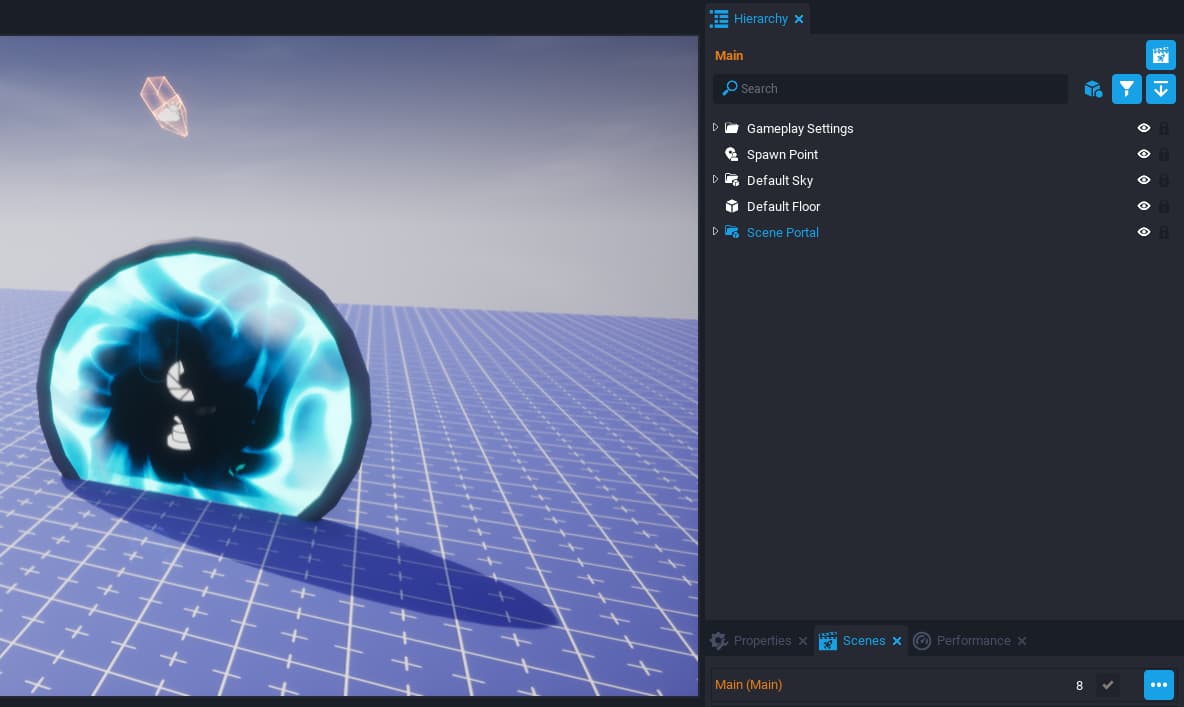
Now that we have it in out hierarchy, lets take a look at its properties. Click on the Scene Portal in the Hierarchy and click on the Properties window on bottom right of the screen to view its properties.
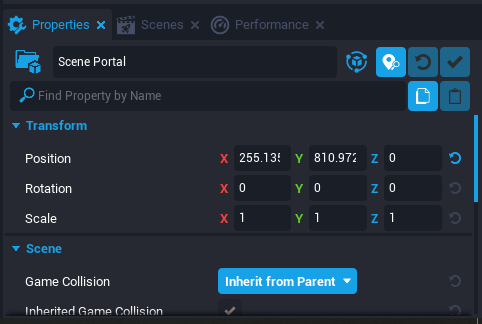
In the properties window there will be a property listed as "DestinationScene". Type in the name of your scene you want to transfer the player to, into this property.

Now when a player interacts with this object they will be transferred to your other scene, really!  (This will not work in preview mode)
Publishing Scenes
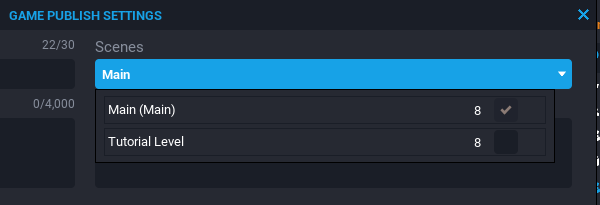
The main scene will always publish, to bring along other scenes you have to make sure those scenes are included in the push by checking their box's in the scene window:
To publish, hit the Publish Game button in the top right of the editor to bring up the Publish Settings:
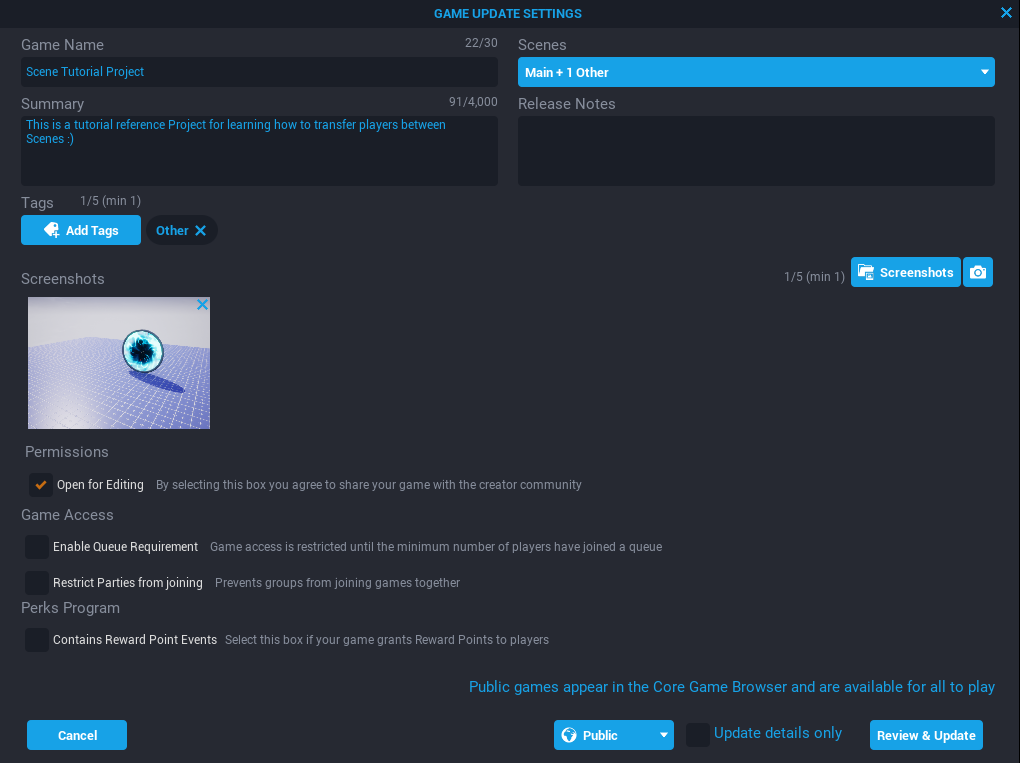
You can make sure they are checked by opening the scene drop down menu in the top right side of the publish settings window:
Hit "Review and Update" at the bottom right of the Publish Settings window, then "Update Public" in the same location to finish publishing!


The Lua
To transfer a player to a specific spawn point in another scene or to implement this code into something else, we are going to need to dive deeper.
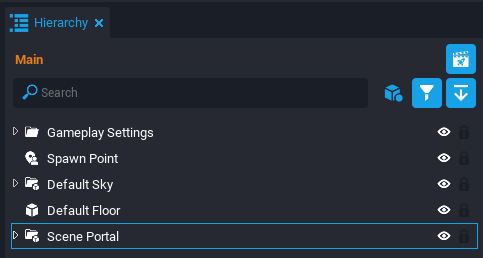
Expand the group labeled "Scene Portal" in your hierarchy. You will see a Script labeled "ScenePortalServer", double click on it.

This will open a new window showing you the script:
Copyright 2020 Manticore Games, Inc.

Permission is hereby granted, free of charge, to any person obtaining a copy of this software and associated
documentation files (the "Software"), to deal in the Software without restriction, including without limitation the
rights to use, copy, modify, merge, publish, distribute, sublicense, and/or sell copies of the Software, and to permit
persons to whom the Software is furnished to do so, subject to the following conditions:

The above copyright notice and this permission notice shall be included in all copies or substantial portions of the
Software.

THE SOFTWARE IS PROVIDED "AS IS", WITHOUT WARRANTY OF ANY KIND, EXPRESS OR IMPLIED, INCLUDING BUT NOT LIMITED TO THE
WARRANTIES OF MERCHANTABILITY, FITNESS FOR A PARTICULAR PURPOSE AND NONINFRINGEMENT. IN NO EVENT SHALL THE AUTHORS OR
COPYRIGHT HOLDERS BE LIABLE FOR ANY CLAIM, DAMAGES OR OTHER LIABILITY, WHETHER IN AN ACTION OF CONTRACT, TORT OR
OTHERWISE, ARISING FROM, OUT OF OR IN CONNECTION WITH THE SOFTWARE OR THE USE OR OTHER DEALINGS IN THE SOFTWARE.
--]]

-- Internal custom properties
local COMPONENT_ROOT = script:GetCustomProperty("ComponentRoot"):WaitForObject()
local TRIGGER = script:GetCustomProperty("Trigger"):WaitForObject()

-- User exposed properties
local DESTINATION_SCENE = COMPONENT_ROOT:GetCustomProperty("DestinationScene")

-- Check user properties
if DESTINATION_SCENE == "" then
	error([[DestinationScene missing or invalid. Specify the scene name.]])
end

-- nil OnBeginOverlap(Trigger, Object)
-- If the trigger is not interactible, portal any player who touches it to the destination scene
function OnBeginOverlap(trigger, other)
	if other:IsA("Player") and not trigger.isInteractable then
		other:TransferToScene(DESTINATION_SCENE)
	end
end

-- nil OnInteracted(Trigger, Player)
-- Portal any player who uses this to the destination scene
function OnInteracted(trigger, player)
	player:TransferToScene(DESTINATION_SCENE)
end

-- Initialize
TRIGGER.beginOverlapEvent:Connect(OnBeginOverlap)
TRIGGER.interactedEvent:Connect(OnInteracted)
The numbers on the side of the window help you find and differentiate the separate lines of the code.
To help us better understand which part of this script is transferring the player, lets look at what happens when the player interacts with trigger, shown on line 40
function OnInteracted(trigger, player)
	player:TransferToScene(DESTINATION_SCENE)
end
This says when the player interacts with the trigger, we transfer the player to given scene.
The documentation of this function on its own looks like this:
obj:TransferToScene(sceneName, { spawnKey = "TutorialStart" })
Spawn Keys
The optional parameter spawnKey allows the developer to send the player to specific Spawn Point in a given scene.
To do this, find your spawn point in your hierarchy by searching for it in the search bar, or drag a new one into your scene from Core Content.
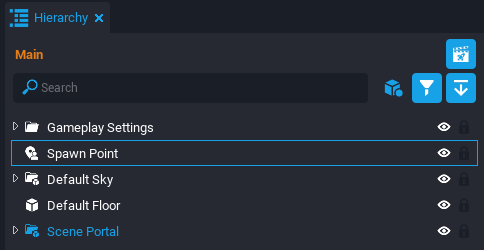
Click on it to view its properties, and search for the property labeled "Key", and type whatever you would like to use into its space, I named mine "MyKey".
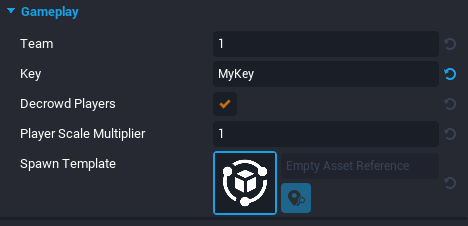
This is the key that you can use in any script with TransferToScene function, allowing you to send them to that specific spawn point!
Written out in Lua, the function looks like this:
player:TransferToScene("Tutorial Level", {spawnKey = "MyKey"})
As an example, to make your scene portal use a spawn key as well. To do this we are going to need to add a string to the property list of the Scene Portal Group, and reference it.
We are going to need to de-instance the template.
De-instance the template by right clicking it in the hierarchy, and clicking "Deinstance this Object"
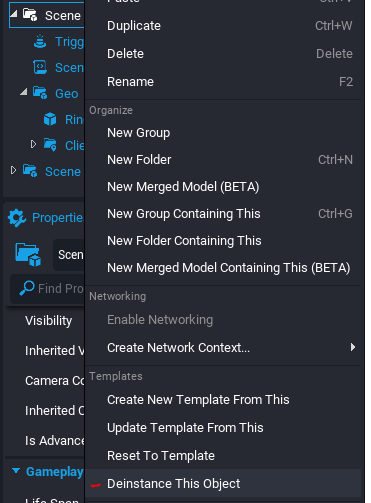
To now add a string, click on the template, and then click on "Create New Custom Property" Located in on the bottom of the property window, then click "String"
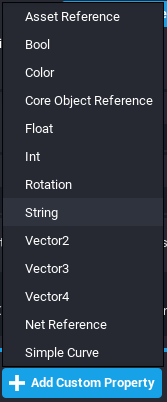
Name this property whatever you would like! I named mine "KeyName" for simplicity.
The string itself should be whatever key you would like to use for transferring.
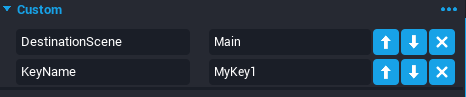
Now, inside of ScenePortalServer script, we already have a reference to the object we just gave the Key property to, called "COMPONENT_ROOT". Lets add our custom property using this reference.
Add this snippet to the top of the script:
local KEY_NAME = COMPONENT_ROOT:GetCustomProperty("KeyName")
Now we can change line 41 of the ScenePortalServer script to:
player:TransferToScene(DESTINATION_SCENE, {spawnKey = KEY_NAME})
Making the complete function now look like this:
function OnInteracted(trigger, player)
	player:TransferToScene(DESTINATION_SCENE, {spawnKey = KEY_NAME})
end
This will now transfer and spawn the player at the spawn point associated with that key in the given scene. You can now add as many scenes and portals as you would like 
Storage
Any data stored in Storage is transferred to the scene being loaded. For example, if a player has inventory data, this means the scene can look at the Storage for the player to retrieve that data without needing to use a Shared Storage Key.
For more information on:
- Storage
- Leader boards
- Parties
- Migration from game children to scenes
Check out the documentation here: Storage - Core Documentation
Reference Project
There is a project open for edit you can download to help you labeled "Scene Tutorial Project"
You can play the thrilling experience of walking through the scene portal here:
Congrats on finishing the tutorial! 
Thank you for reading!