What’s a Skybox, tutorials and things to keep in mind for a Great Skybox
Because the sky is the limit
CORE VERSION: 1.0.217-prod-s
SUGGESTED PREREQUISITES: None?
1: What’s a skybox (Explanation) – (2-5 minutes)

2: Let’s make a Simple apocalypse (Practical) – (10 -15 minutes)
3: Let’s make a Mystical Skybox (Practical) – (3-5 minutes)
4: Let’s make a Spacebox (Practical) – (10 minutes? I’m just guessing here)
5: Things to remember to make great skyboxes (Extra achievers) – (However long you want)
Space for video links if I ever get to that.
1: What’s a Skybox?
You may be tempted to think it’s simply a box that acts as the sky, but it’s actually a really really large inverted sphere.
Skyboxes can provide depth, set the mood, and make your game world feel larger than it is.
A basic skybox consists of a:
Sky Dome –
The giant inverted sphere responsible for the clouds and the colour of the sky.
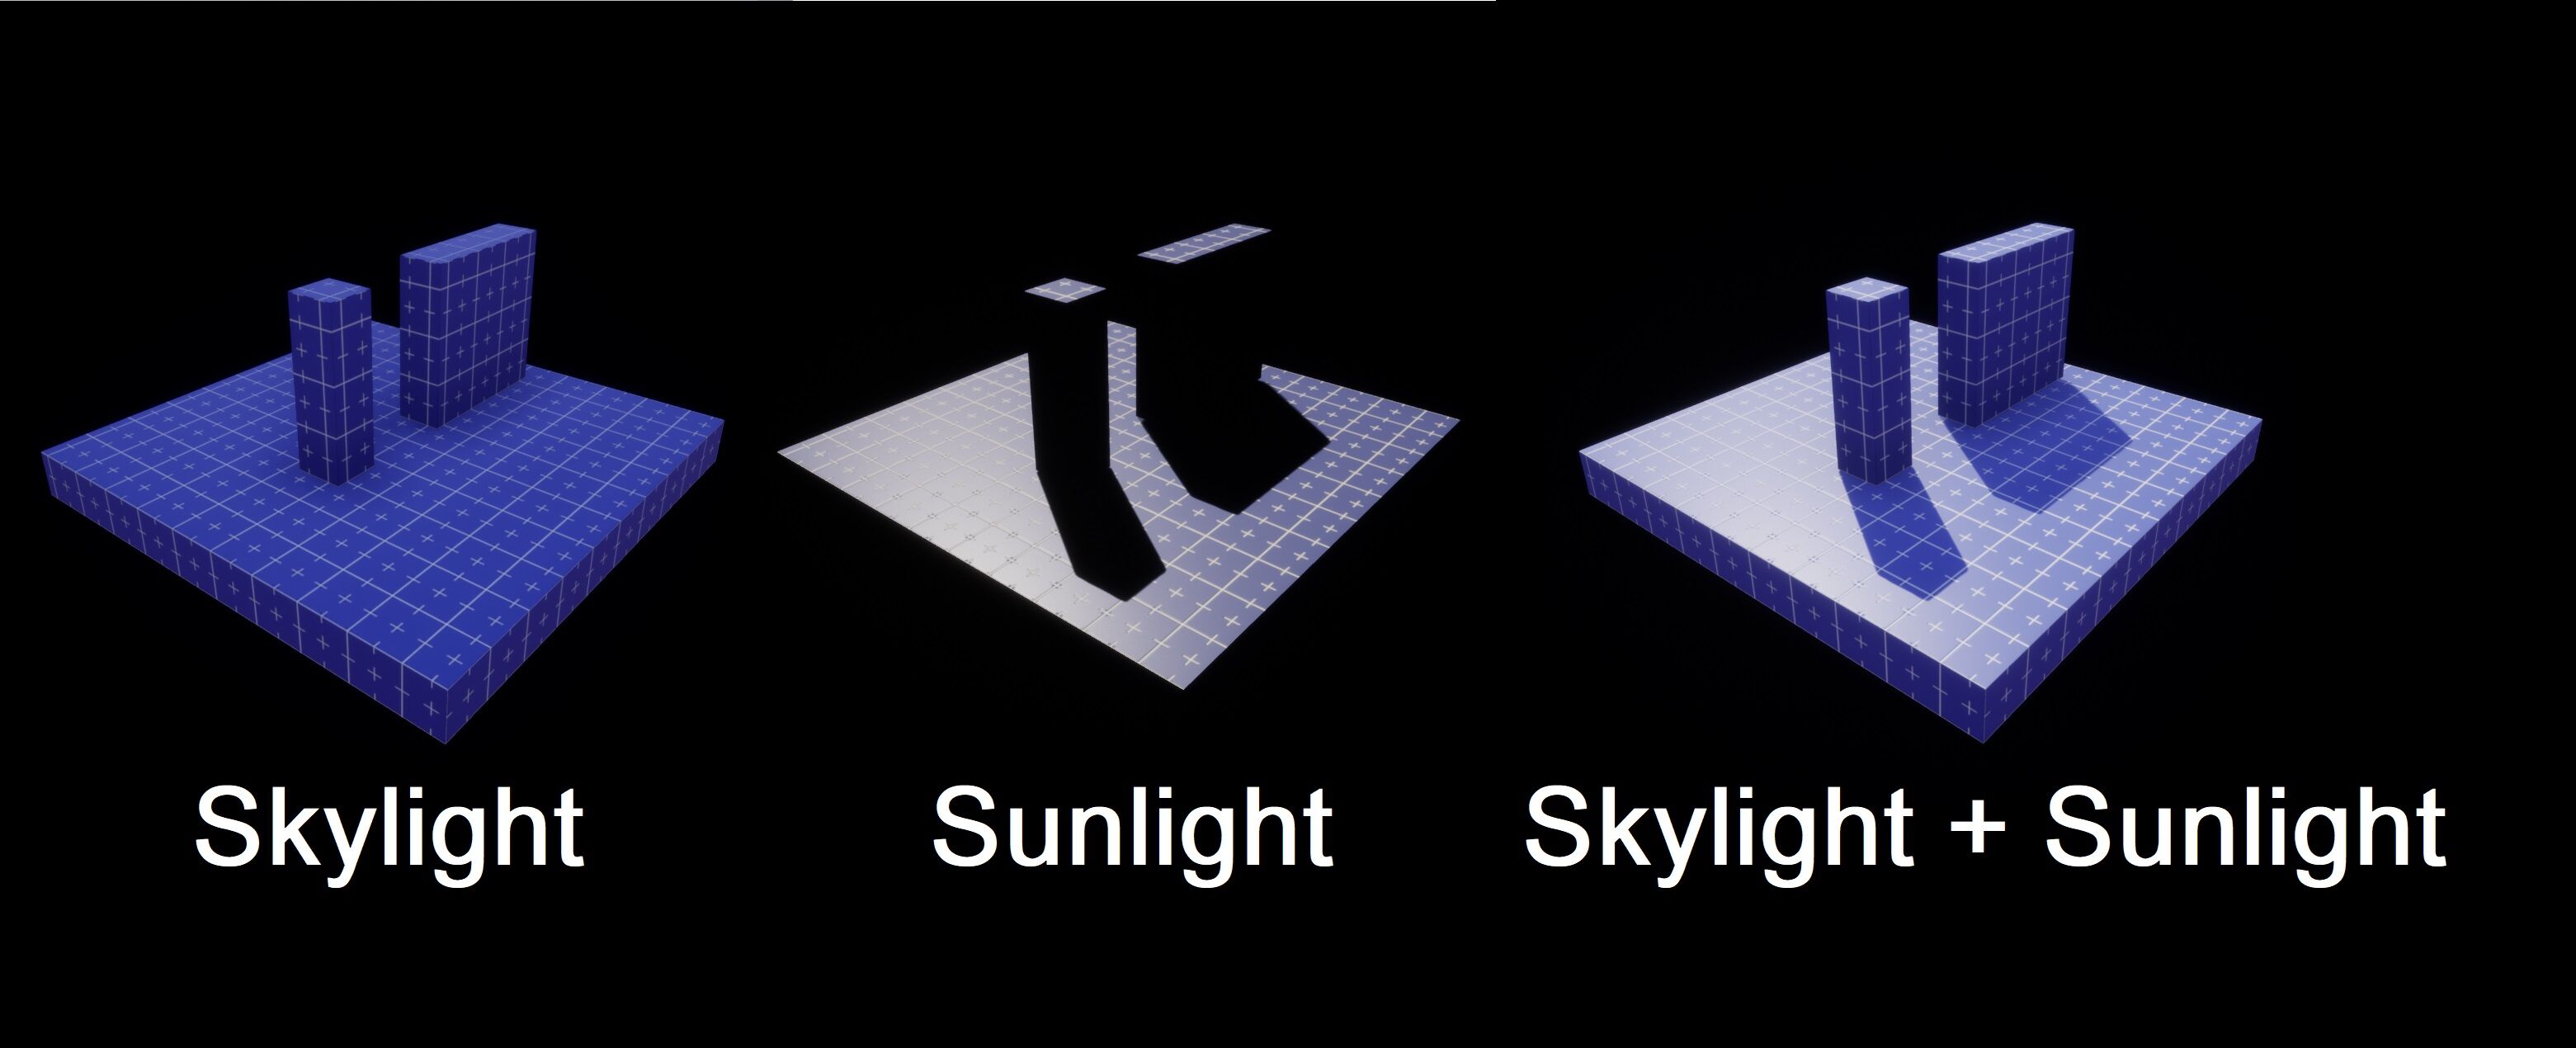
Sky Light –
An ambient light that will light up everything. Primarily sets the colour and mood of the lighting.
Sun Light –
Essentially a large spot light that casts directional light and is responsible for the sun and most of the shadows.
And extra components to spice things up are:
Star Dome –
Another dome that adds stars into the sky, a must have for a space themed sky.
Environment Fog –
Adds a colourable fog element into the world, keep note of this one for all your projects because it’s magical.
Planetary Objects –
Skybox specific objects such as – Planet, Nebula, Moon, Planetary ring, etc
All of these Skybox specific elements can be found under Core Content > Sky
And most of these have a large amount of properties that can be modified in the properties tab
There’s no harm in wiggling around the sliders to find out what they do (if they even do anything)
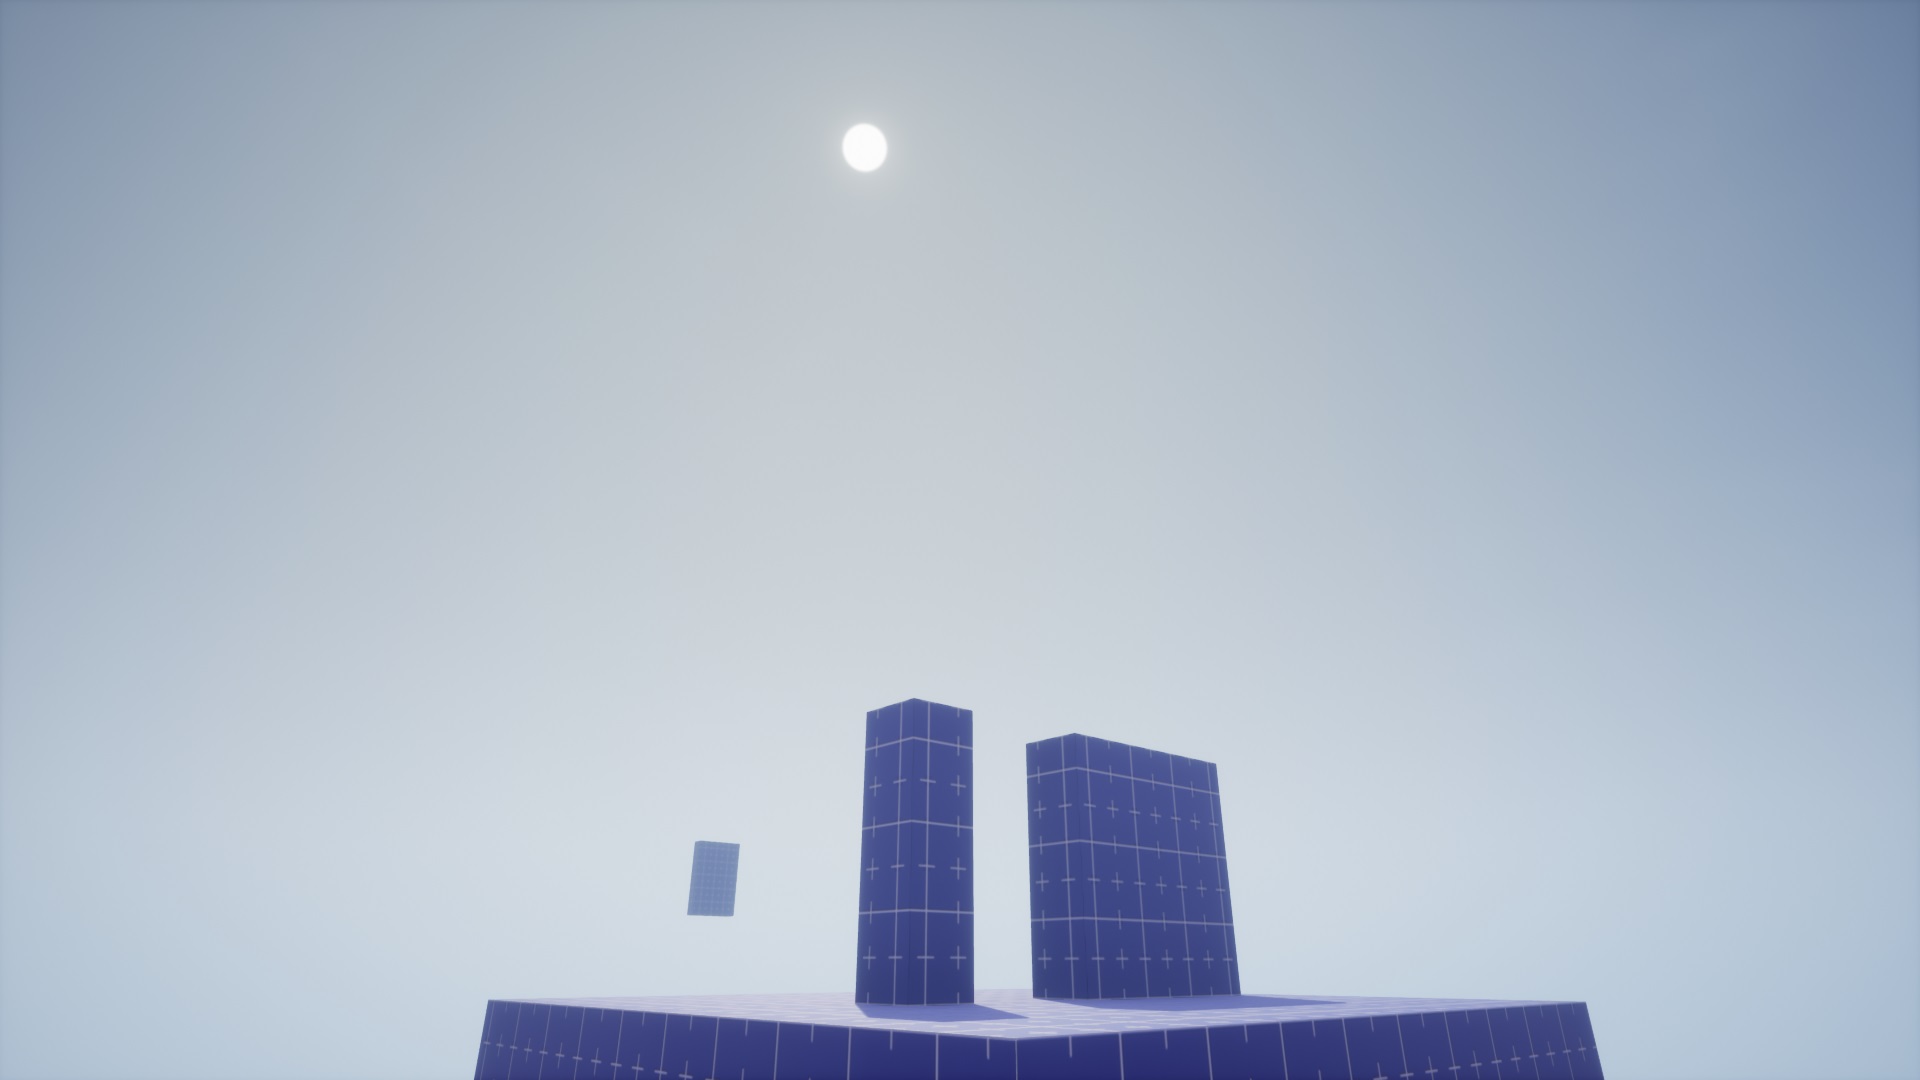
2: Let’s make a Simple apocalypse (Practical)
With this tutorial you’re going to modify a basic skybox to give it an apocalyptic feel.
The summary of this practical is starting off with a fresh new empty project, you’ll be changing the properties and colours of the default sky dome, skylight and sunlight.
The Sky Dome
--Sky Colours
Starting off with the Default Sky Dome,
Expand the Default Sky so that you can see the children objects.

Select Sky Dome and in the properties tab you will see Haze Colour, Horizon Colour and Zenith Colour.
These three properties control the colouring of the sky.
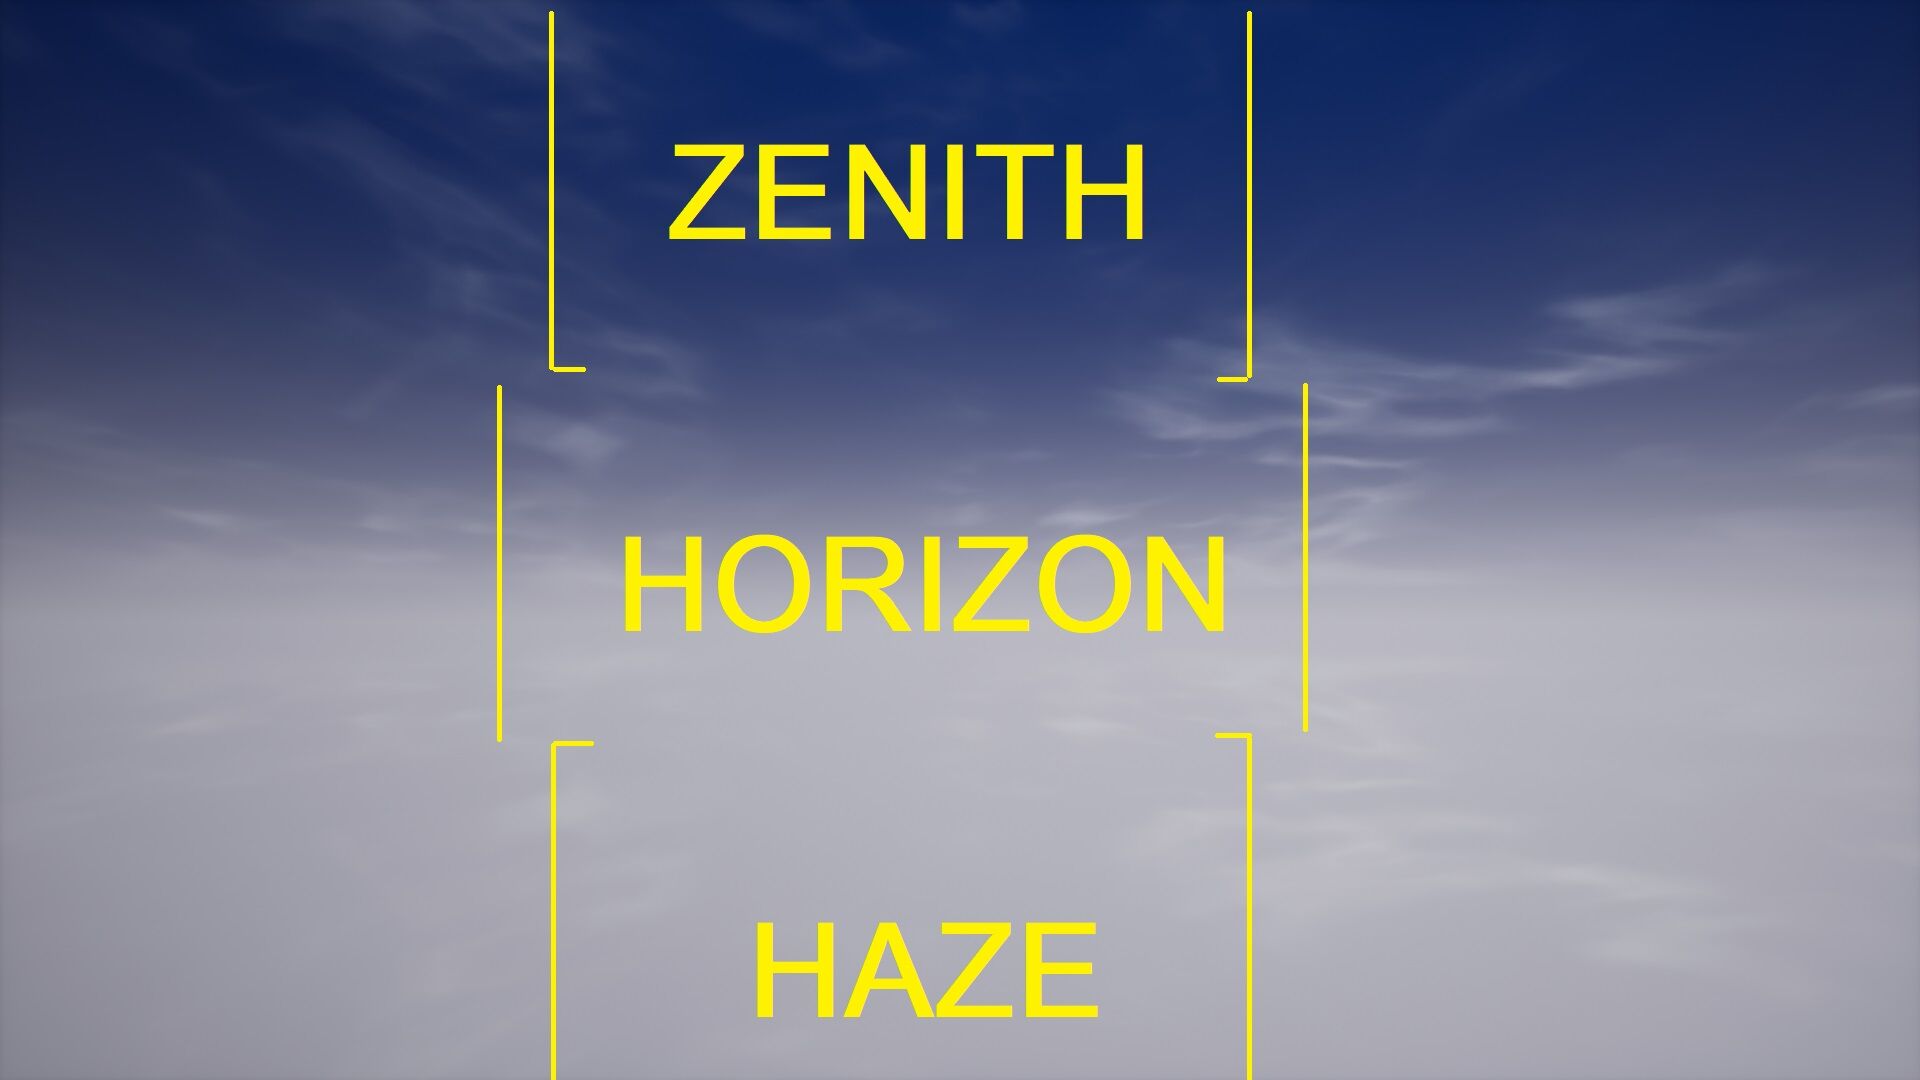
You’re going to change the colours to a darker red and brown mix by clicking on the colour next to the Haze, Horizon and Zenith and copy then pasting these Hex Linear Codes.
Hex color codes are values that tell the display how much of a color to show. The values are a special code that represents color values from 0 to 255.
Haze – 0A0606FF
Horizon – 2B0905E5
Zenith – 070201E2
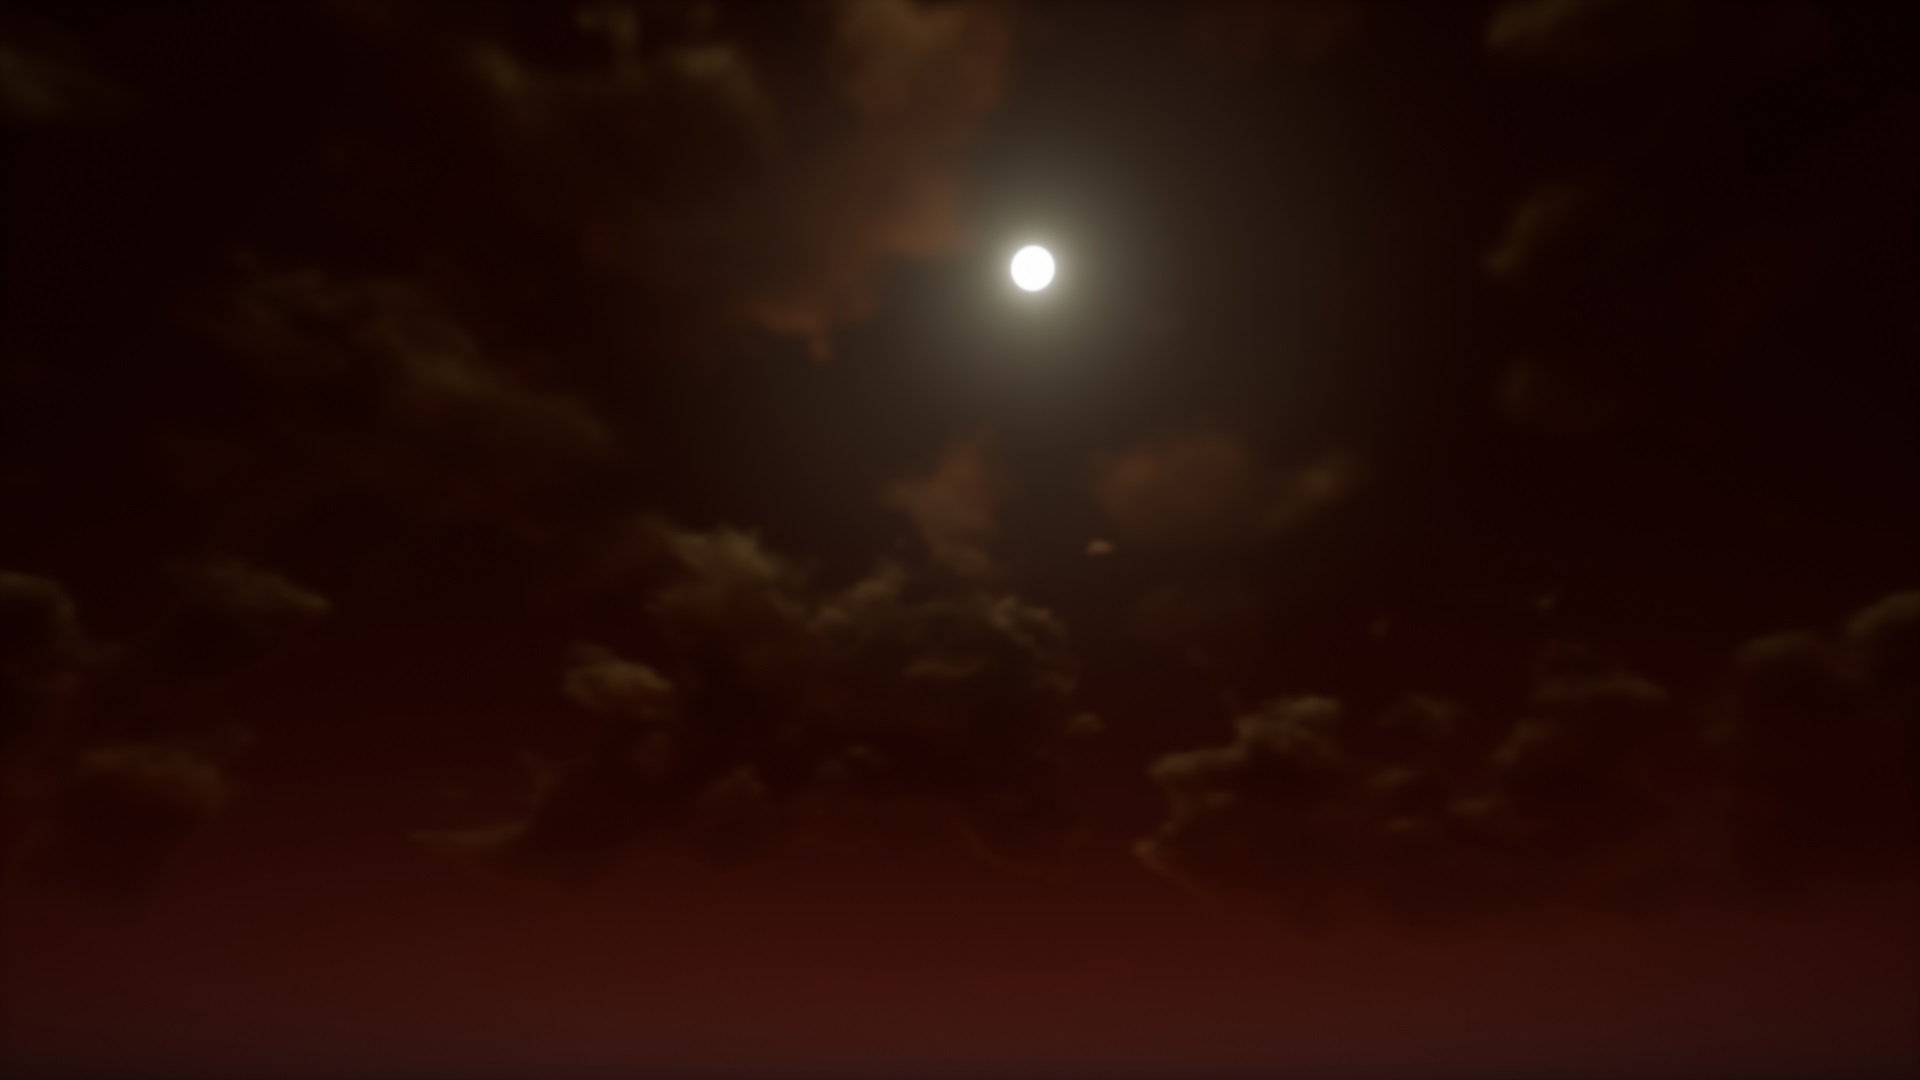
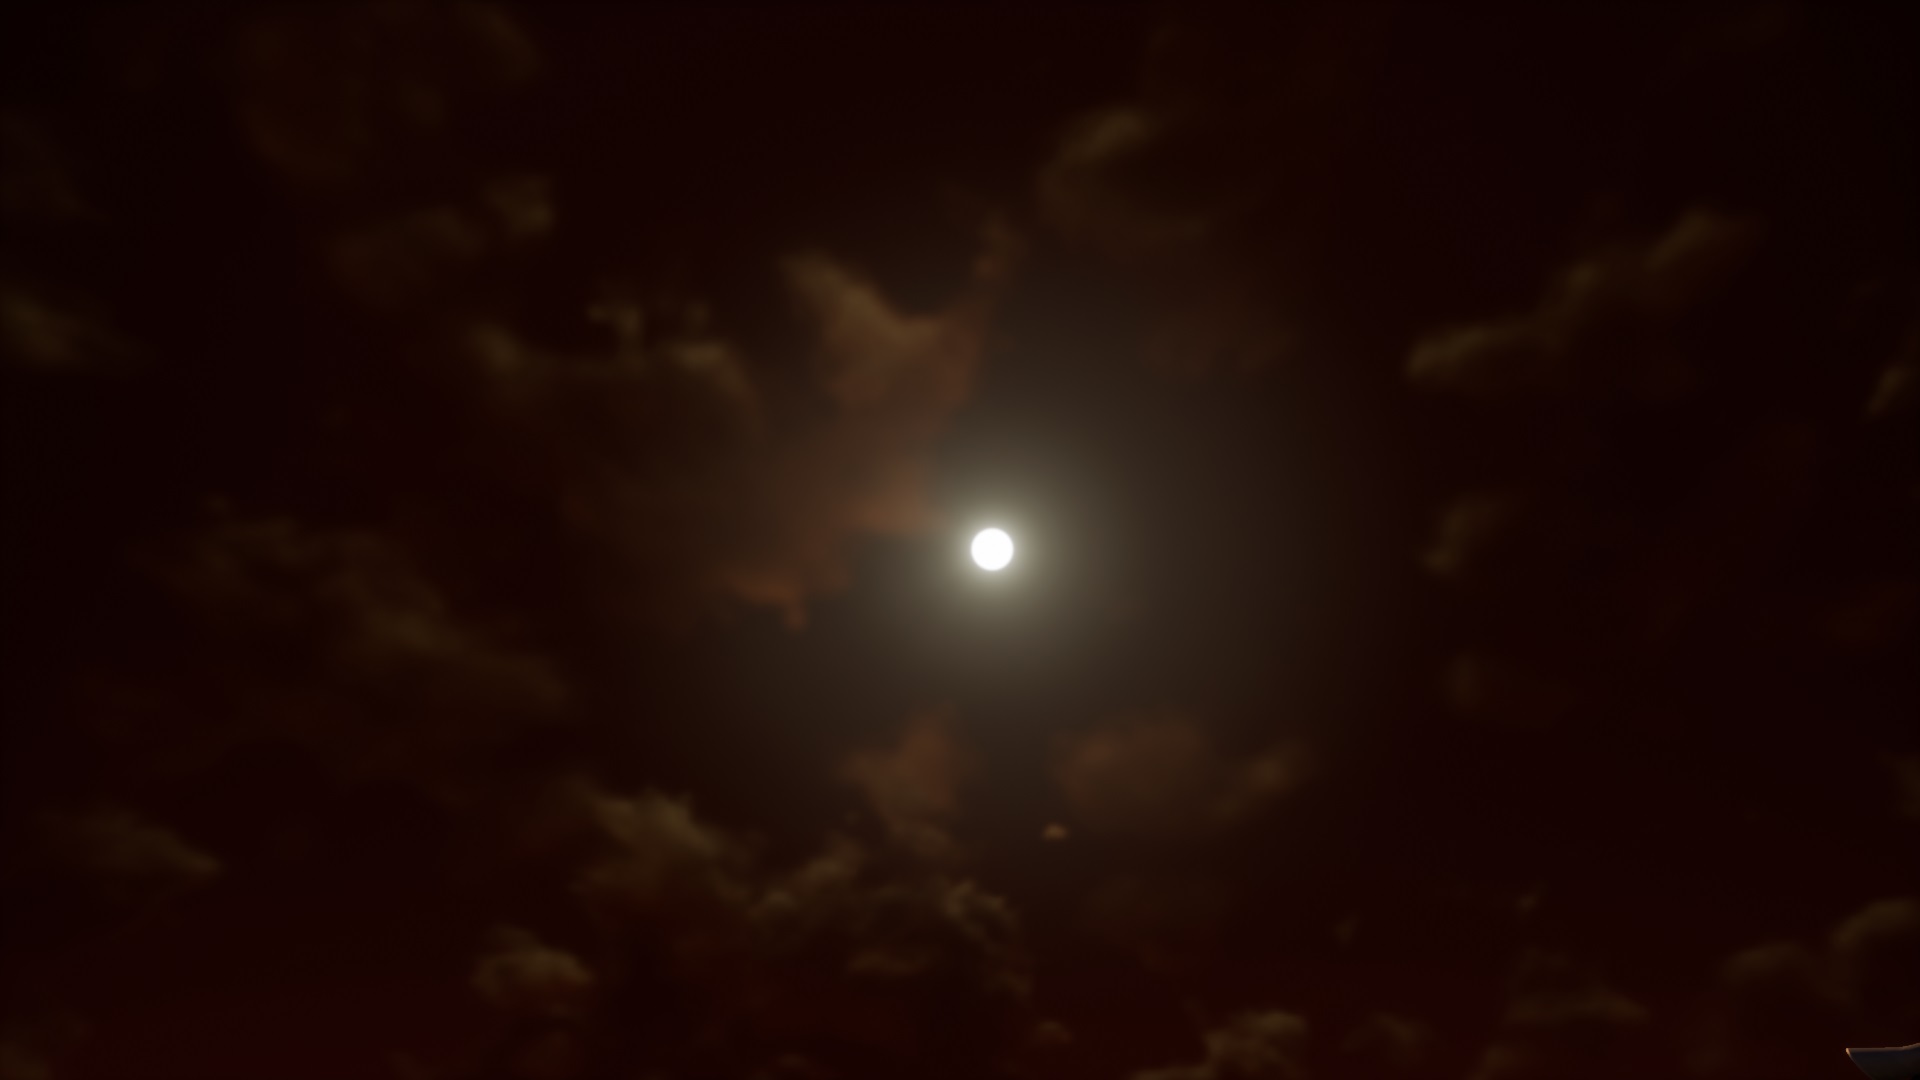
The result of these colours should give your sky a very muddy looking feel to it.
--Clouds and Colours
Now you’re going to add clouds and colour them.
Scroll until you find “Cloud Opacity” under the clouds section of the properties.
And set Cloud Opacity from 0 to 0.5 by moving the slider or manually inputting the number.
This will change the transparency of the clouds to something visible, the number goes from 0 (Fully invisible) to 1 (Fully visible)
Now with colouring the clouds,
There’s a lot of different areas of cloud colours,
Cloud Ambient Colour changes the main ambient cloud colour
Cloud Rim Colour changes the colour of clouds near the sun
Cloud Colour changes the colour of the suns directional light shining on the top of the clouds
Starting off with changing the Cloud Ambient Colour to the Hex Linear Code - 220800FF
Now instead of copying the colour code you can right click and copy the colour property. Then paste the colour property into Cloud Rim Colour and Cloud Wisp Colour.
Finally change Cloud Colour to the yellow code - FFFF78FF
This will give a slight yellow tint instead of the previous white colouring on the cloud.
The Skylight
Now the sky might look very cool and apocalyptic, but environmental lights still project the default lighting that doesn’t quite match the theme. Let’s change that.
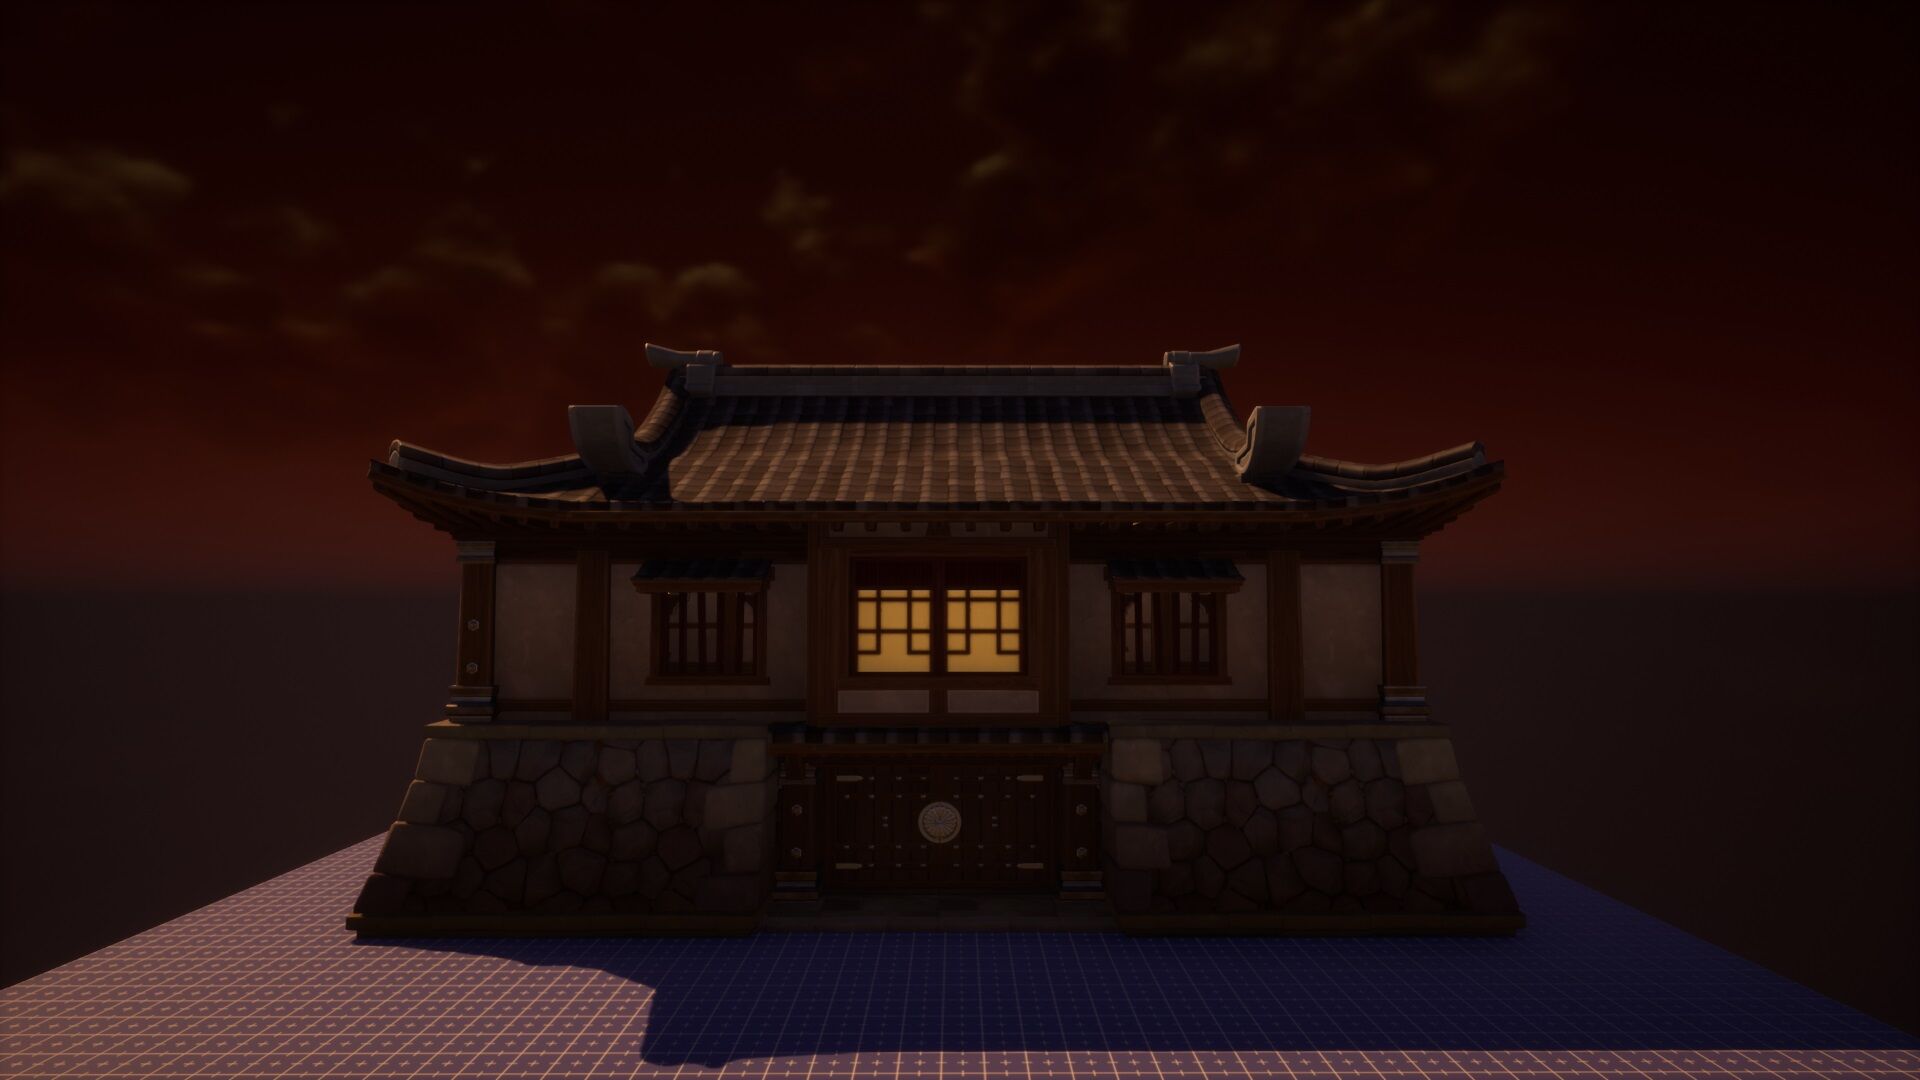
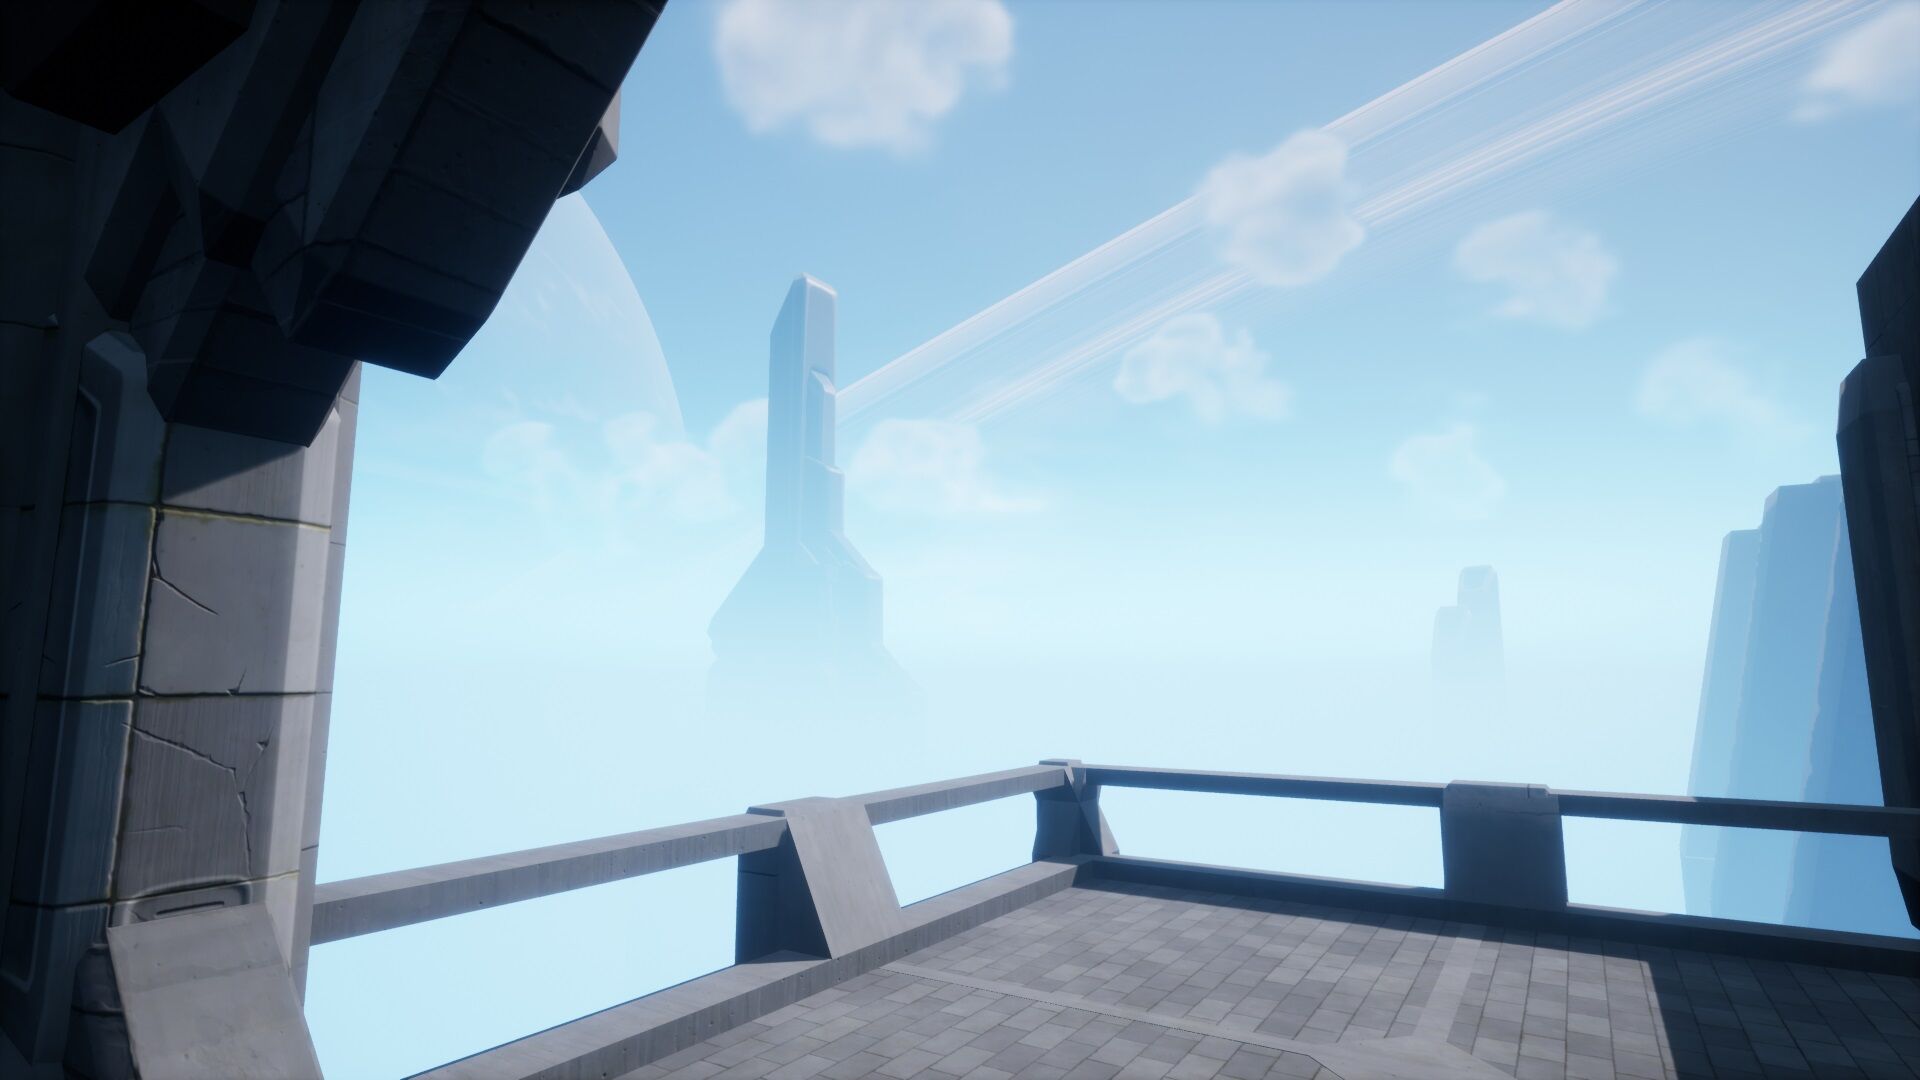
For reference on how the light may affect an object in the game, drag and drop an object from Core Content into the scene. It doesn’t matter which one you use, I used the Japanese Guardhouse.
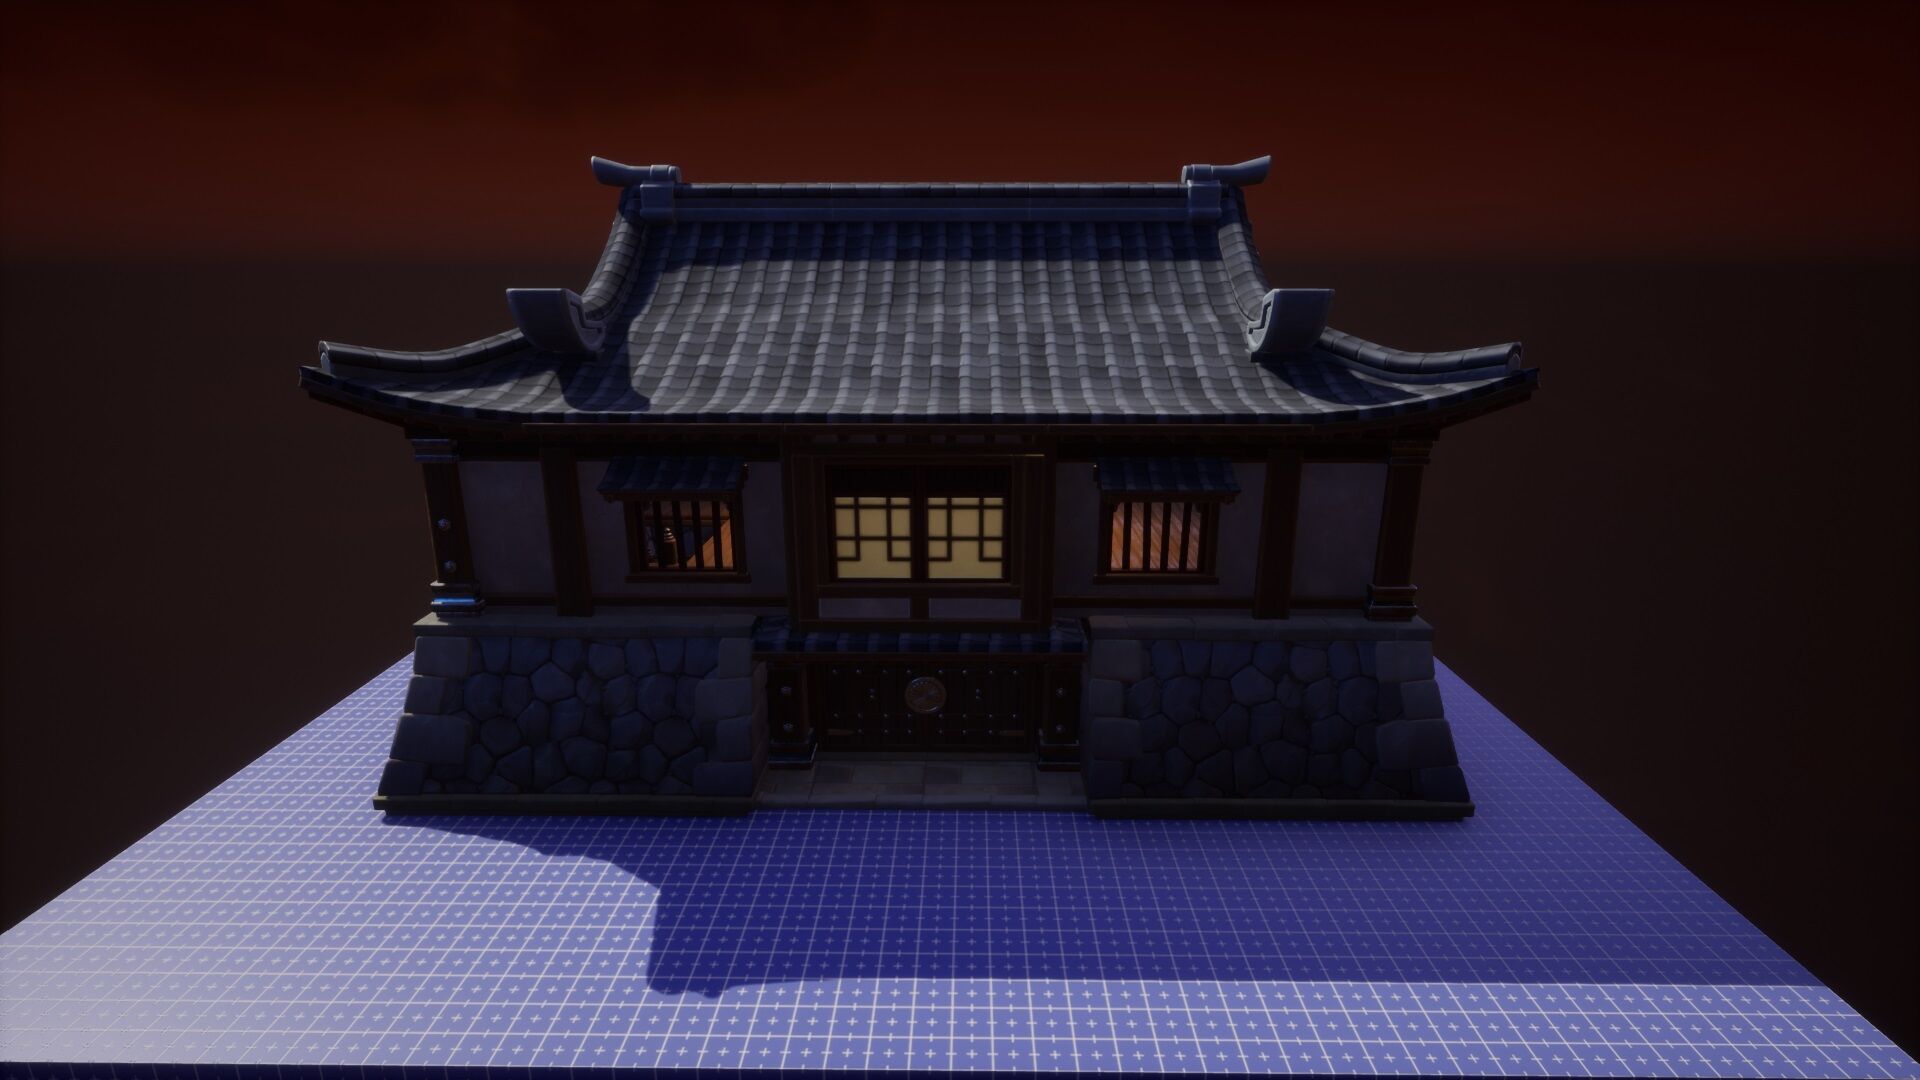
For the Skylight we’re simply going to change the Ambient Image to drastically change the colour of the ambient lighting.
Select the Skylight and change the Ambient Image from the drop down menu from “I want to Believe” to “Desert Night”.
Boost the Intensity using the slider directly underneath from 3 to 5 so it becomes brighter.
And that is it for the Skylight.
The Sun Light
--Sun Light Shaft
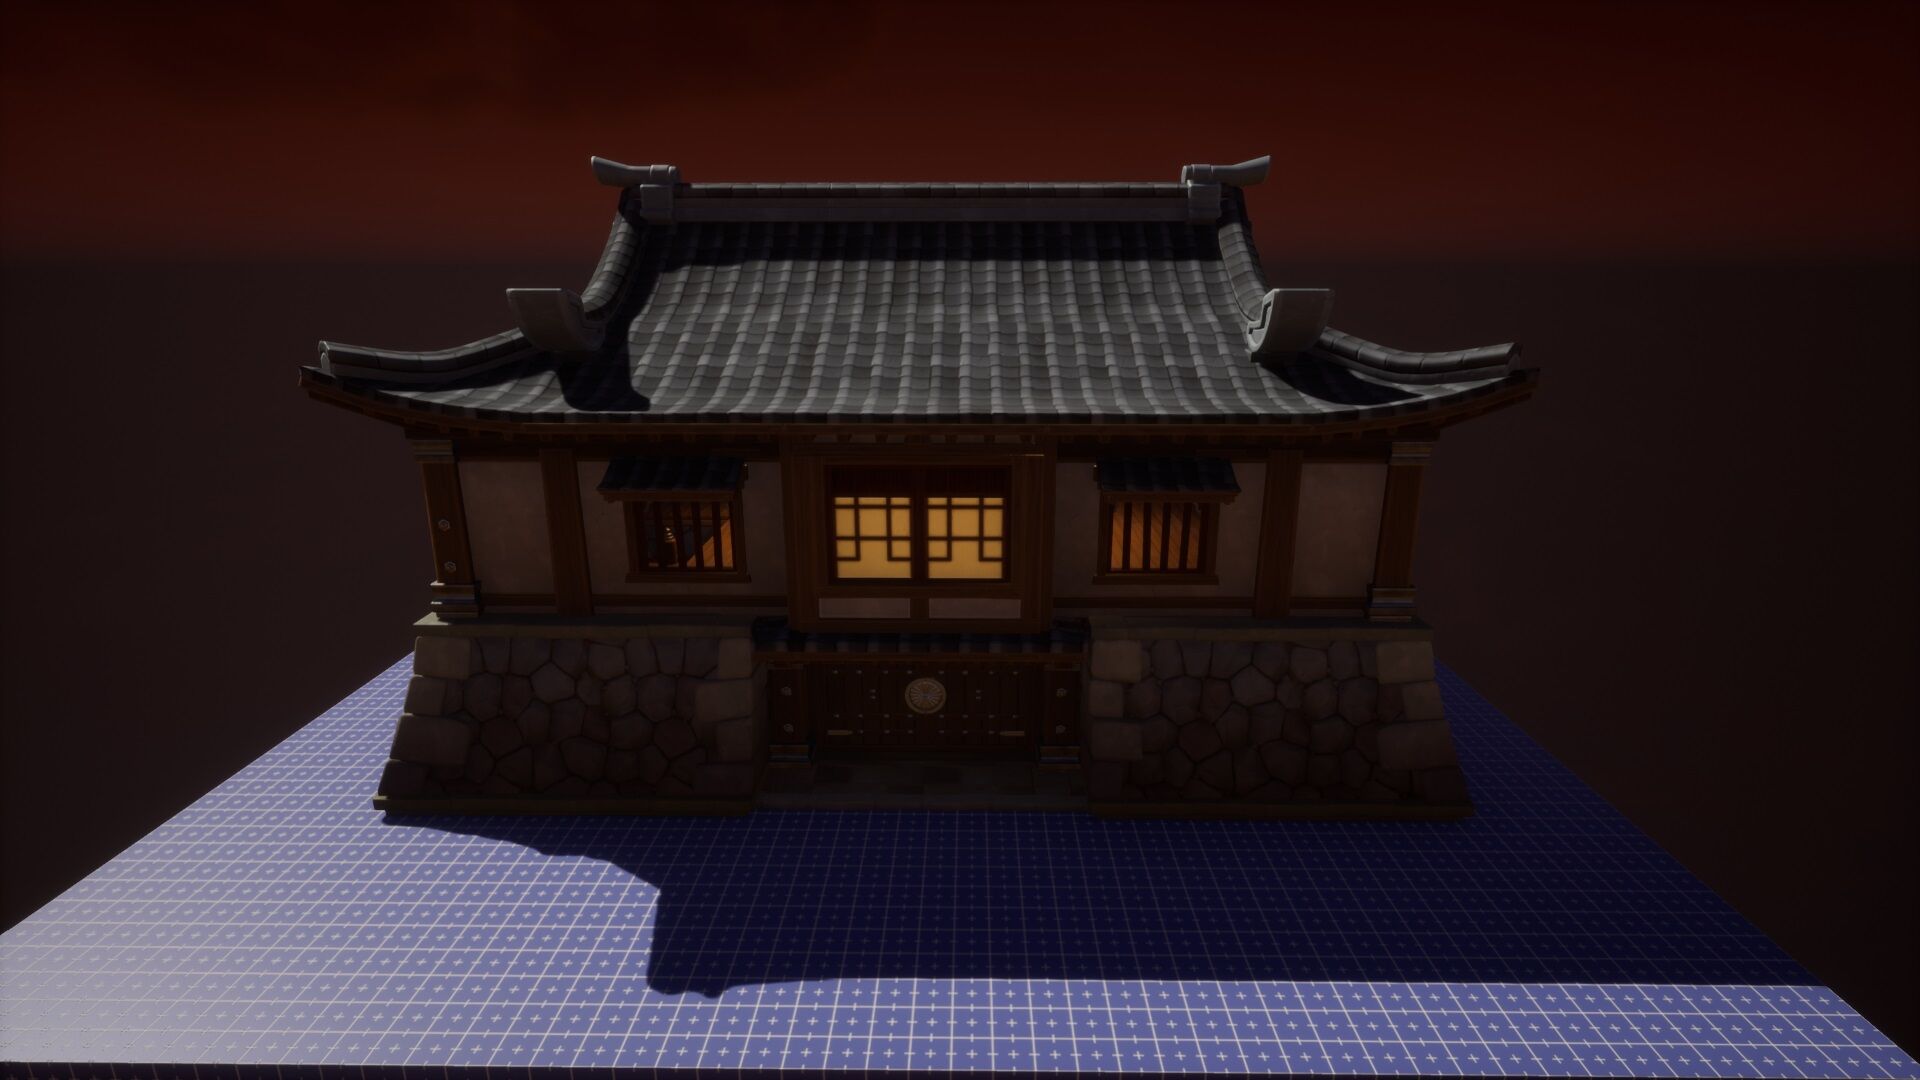
Now you’re going to change the directional light coming from the sun, and the colour of the sun itself.
Select the Sun Light and in the property tab change the Light Colour to – FF3C1AFF
Which should result in a more red colour of light.
Scroll down to find the “Light Shafts Advanced” Section.
This is where the light shafts seen when staring at the sun are handled.
We’re going to change the Light Shaft Bloom Tint from white to a more appropriate orange colour using the code - FF8D1AFF
You can use Scale to increase the light shaft size, or reduce it by increasing the Threshold.
--Sun Size and Colour
The current settings suit for our purposes so scroll down to the bottom of properties and you’ll find a section called “Sun Disc”.
This is where the colour and size of the actual sun are handled.
Using the slider we can increase the size of the sun from 1 to 10, but we have larger dreams.
You’re going to overclock the number by manually inputting 50
This will give us a very illogically sized but cool sun.
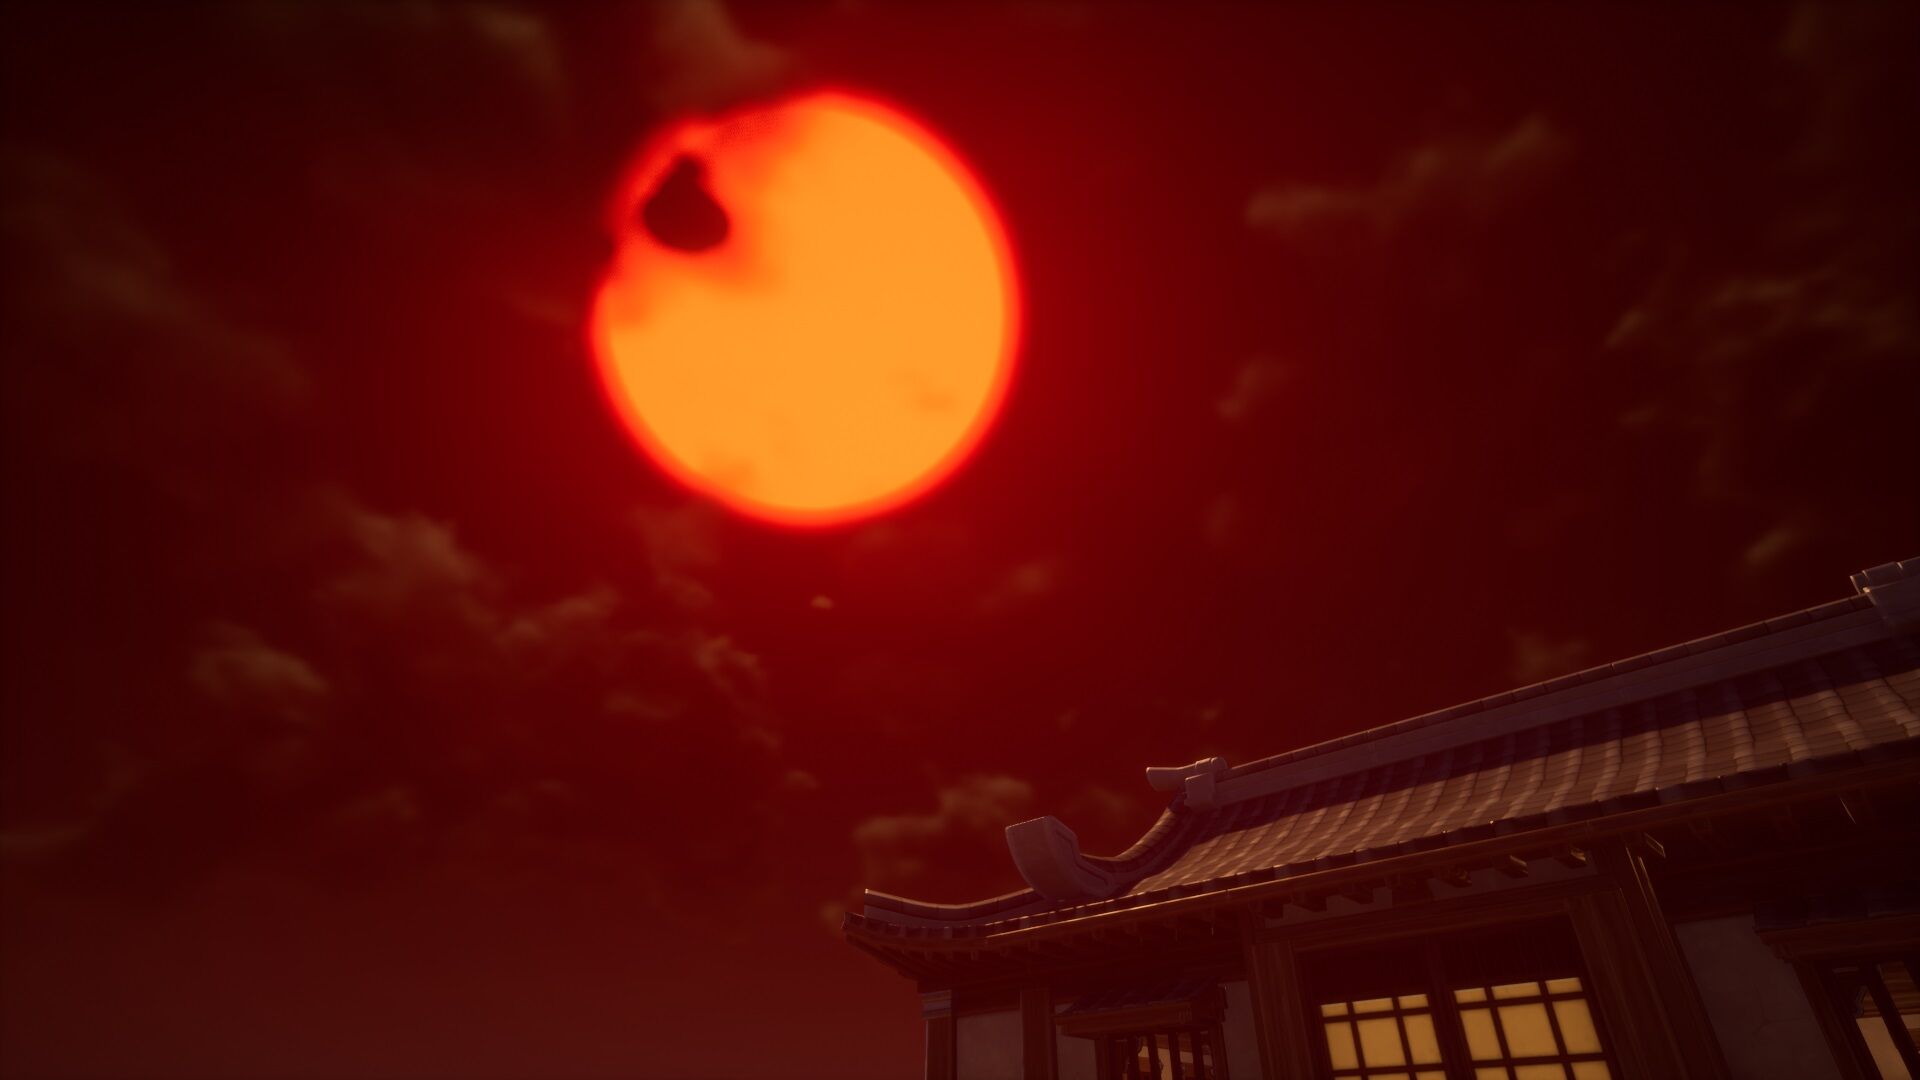
Now the final step is to colour the sun blood red.
Open up the Sun Disc Colour, and increase the Saturation (S) value to 1.
*Note that pasting in a Hex code does not come with the overclocked Value (V) of the colour, so you’ll have to manually place in the value 3
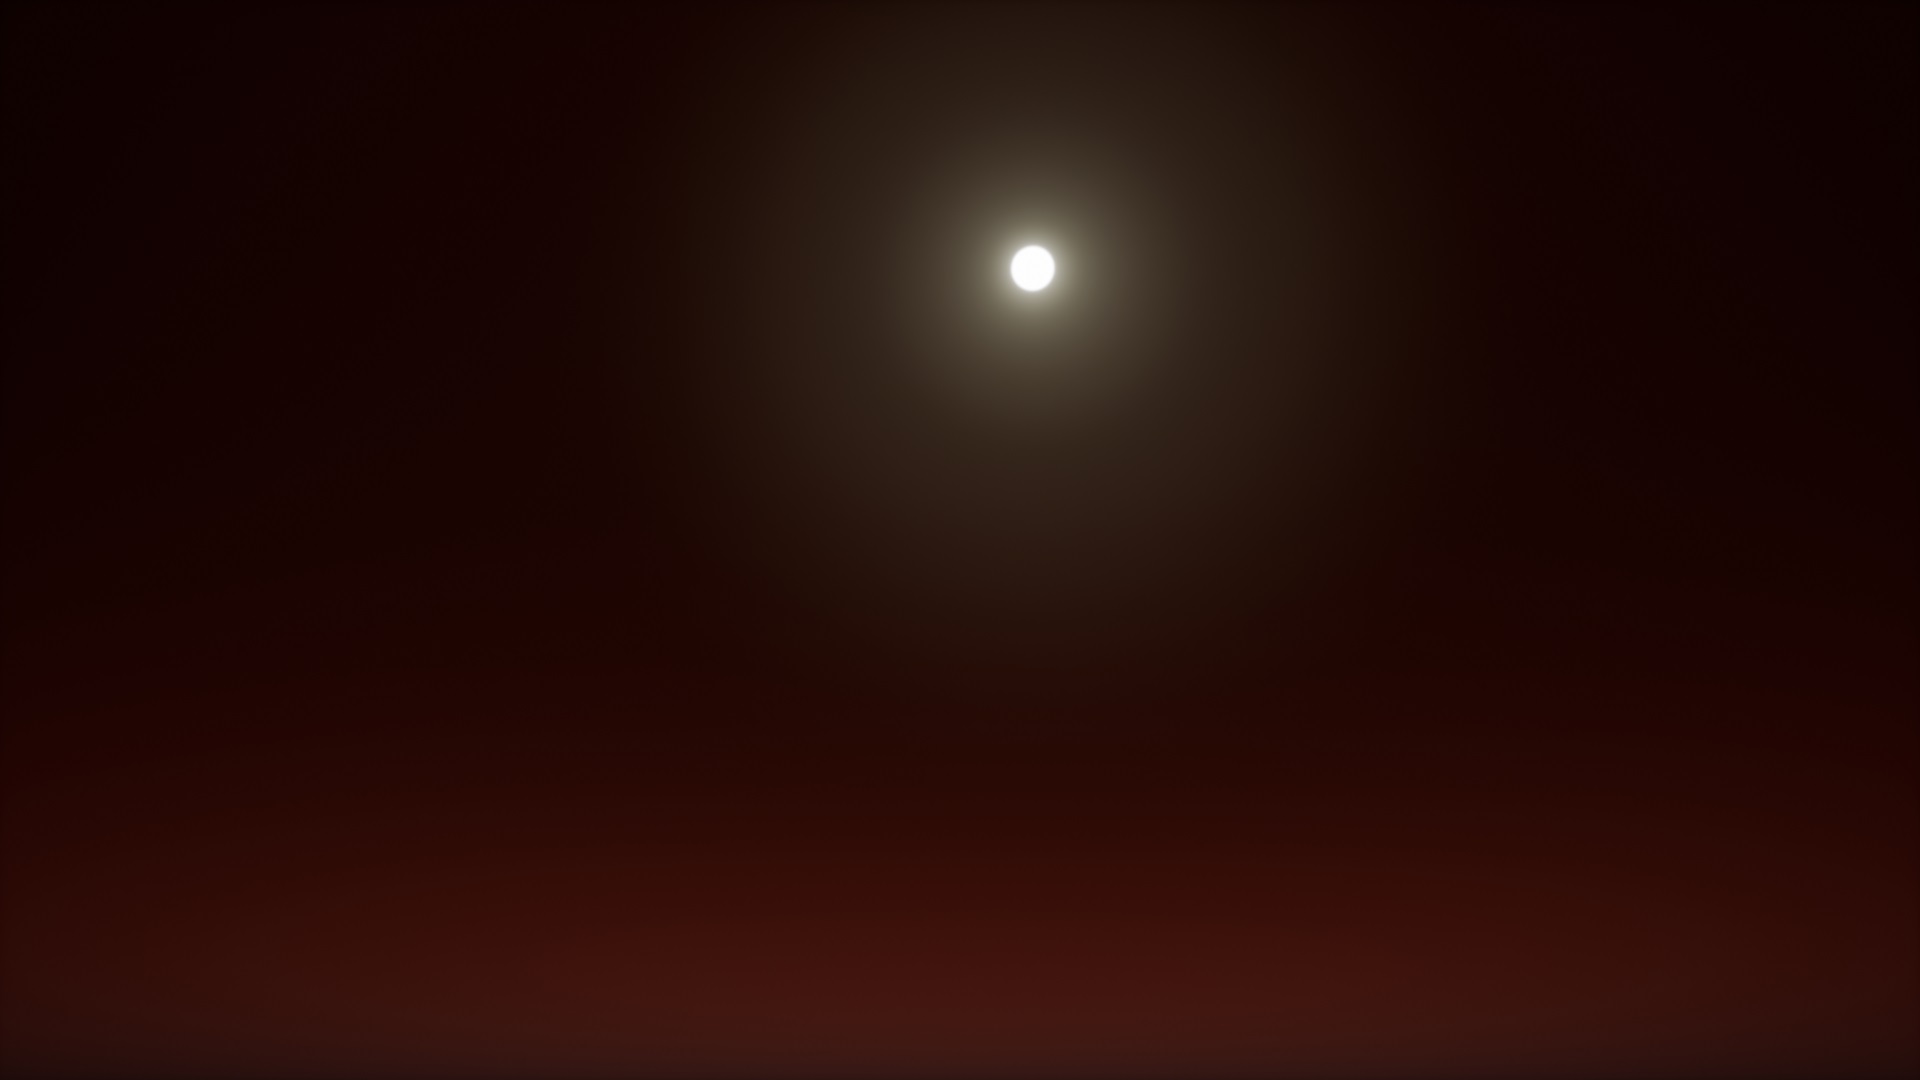
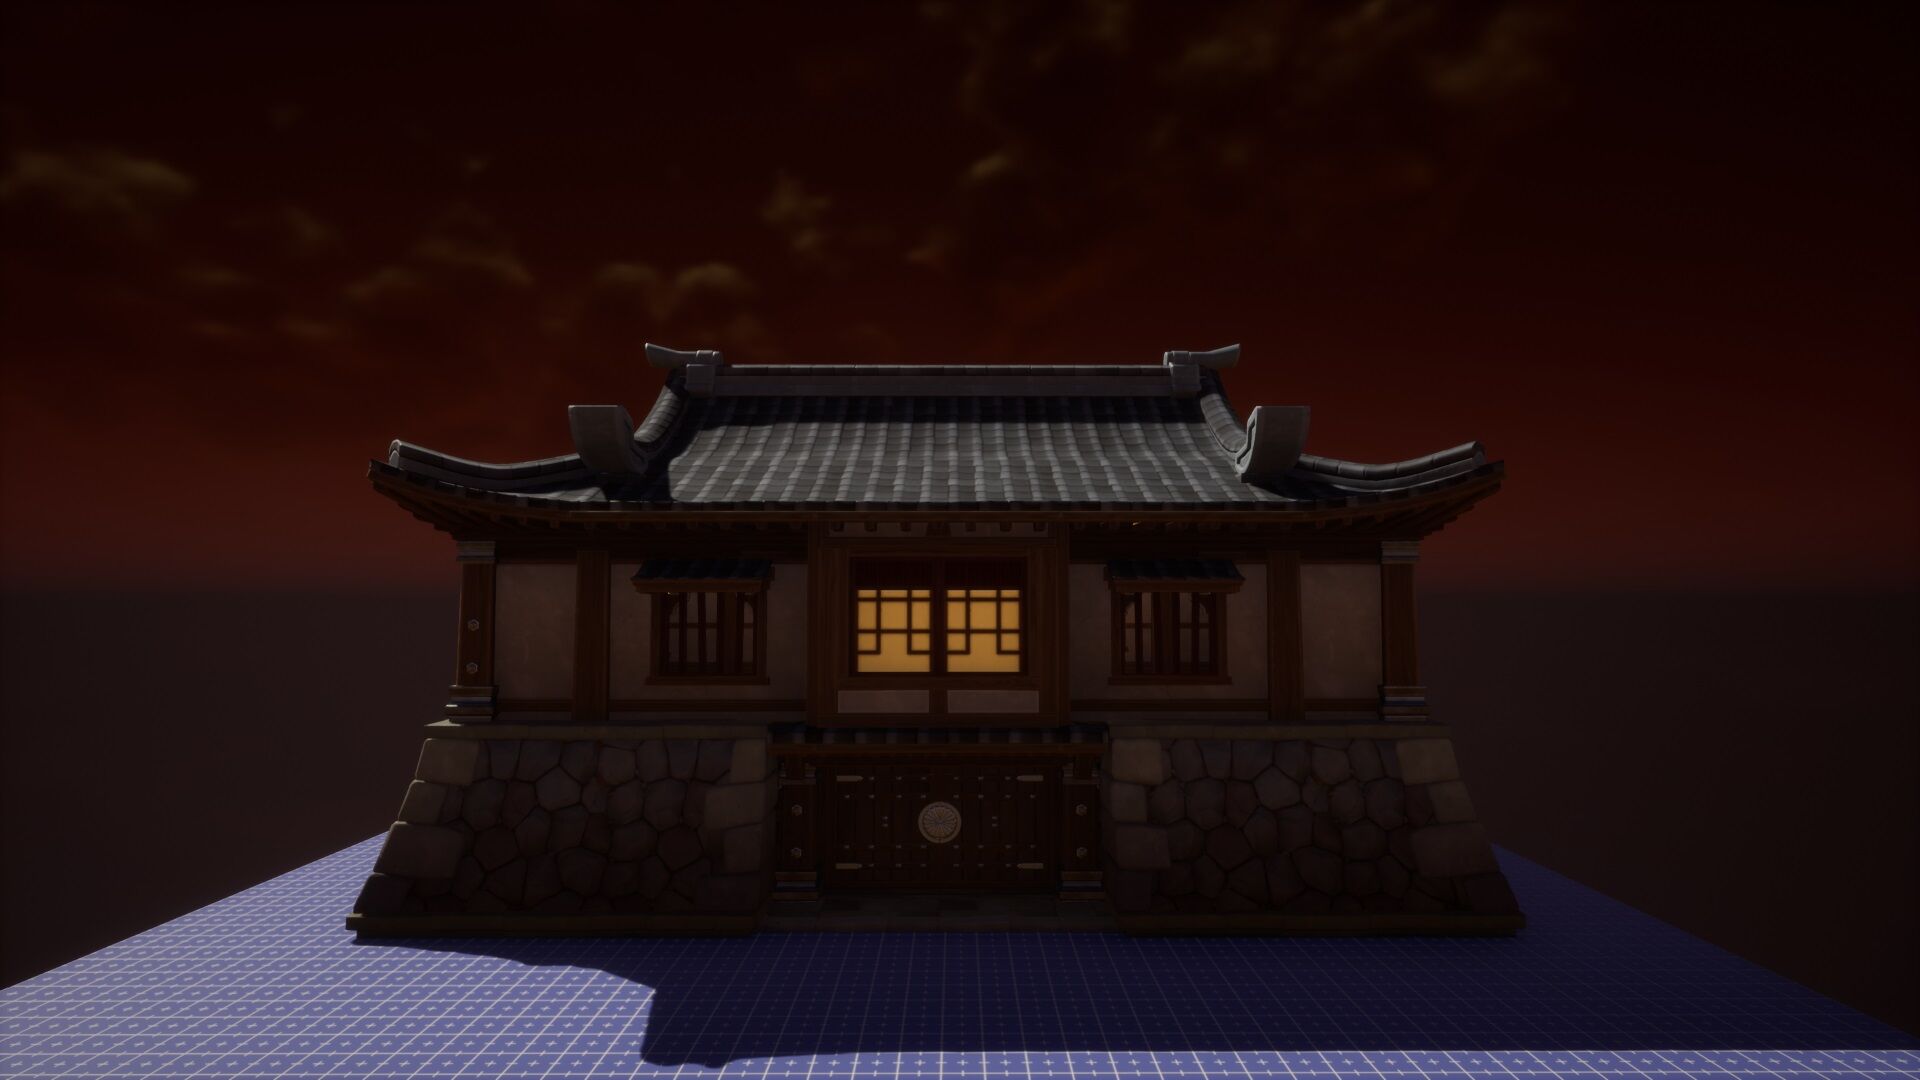
This should provide a rich red colour.
And there we have it, gone from the default sky box to a more red, darker, and harder to see apocalypse skybox.
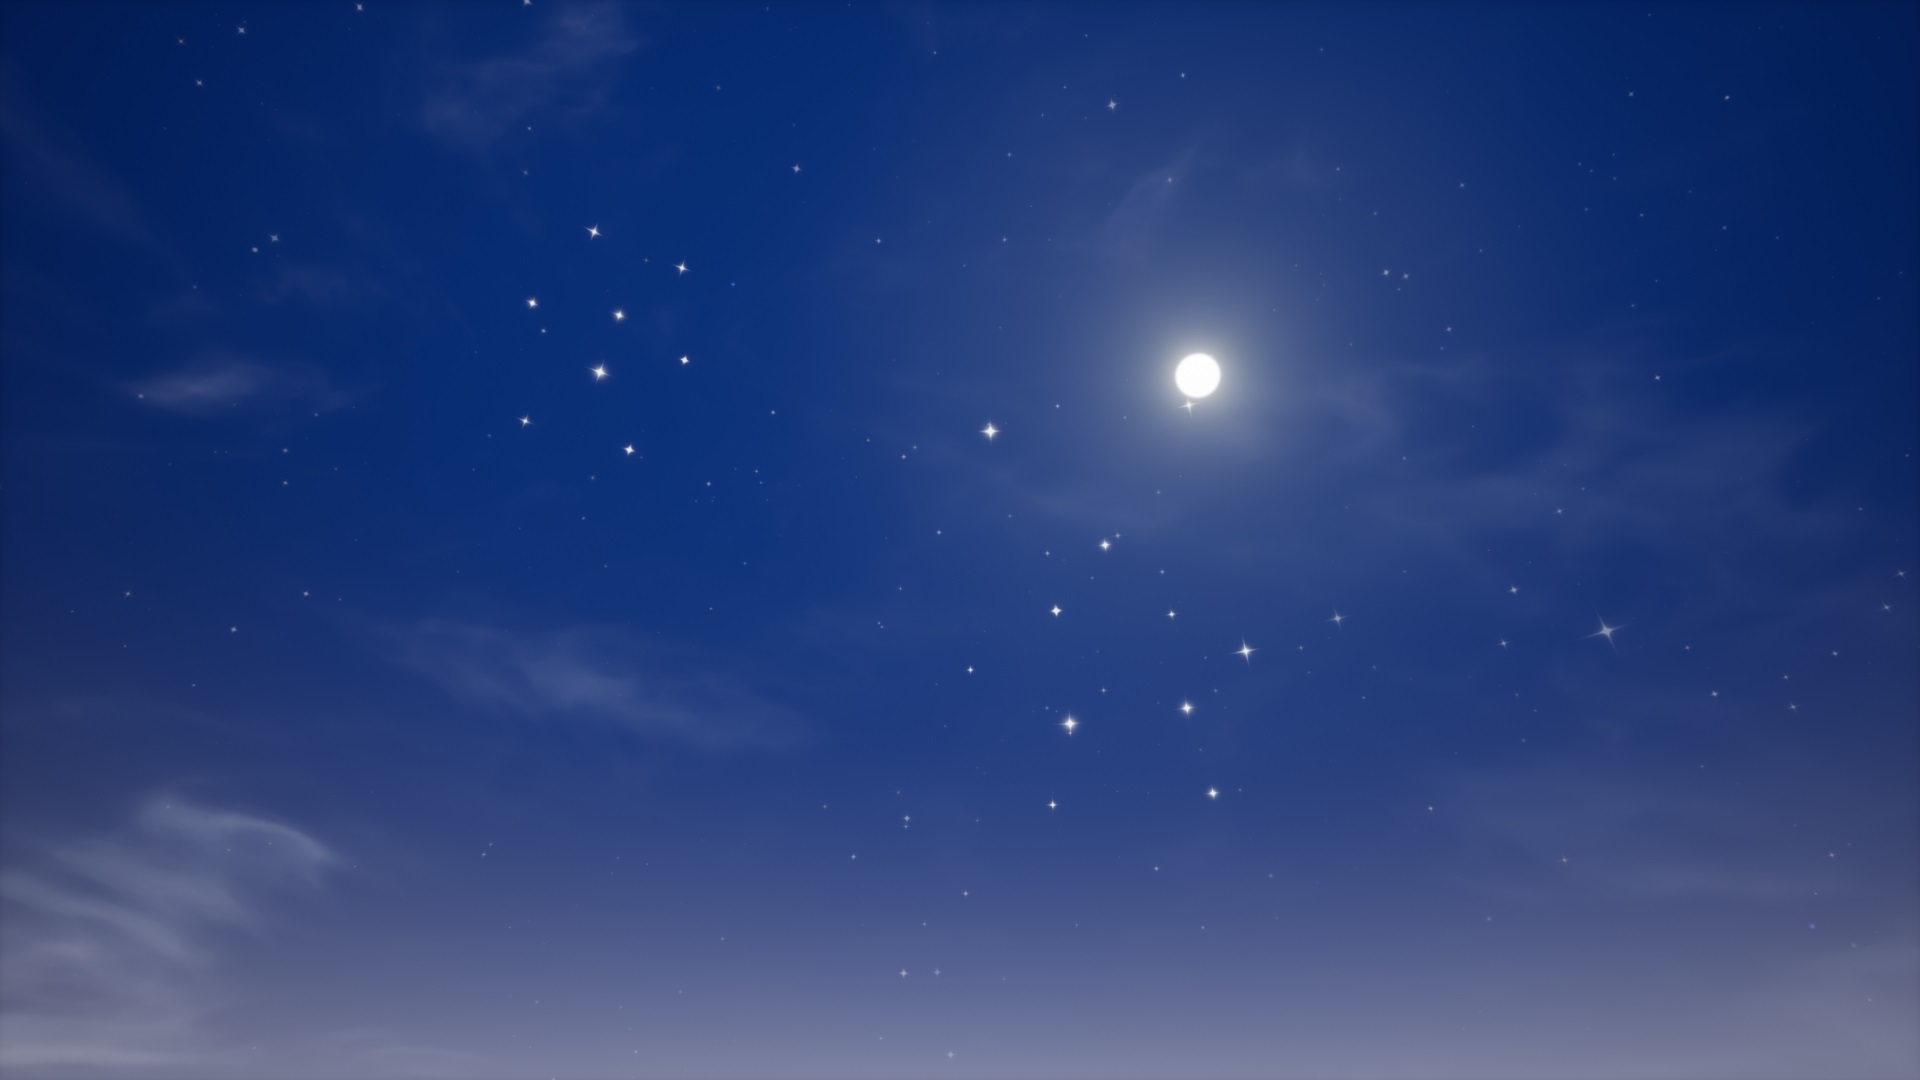
3: Let’s make a Mystical Skybox (Practical)
With this tutorial we’re going to use just an Underwater Post Process in a new project to create a mystical skybox.
Firstly drag and drop in an Underwater Post Process from Core Content.
Now in the properties tab, ensure “Unbounded” is ticked.
This makes the post process affect everywhere and even when you’re not in the attached trigger box.
Now you will want to untick “Water” and “Create Water Physics Volume”
This is so the screen won’t wobble like you’re underwater, and so the player doesn’t act like they’re under water and start swimming everywhere.
Increase the “Caustics Fade Distance” from 6 to 500.
This will increase the distance we can see caustics around the player.
For reference, Caustics seem to be the rays of light from the surface that you can see while underneath the water.
Scrolling down you’ll find the “Fog Colour”, change the colour to the Linear Hex code – FAFFAAFF
This will change the colour from watery blue to a brighter yellow colour.
But now the screen is a lot brighter than we want, so reduce the Fog Extinction Scale to from 4 to 0.25
Apparently a larger number makes a darker fog that light doesn’t penetrate, but reducing the number seems to work better for the desired result.

Now reduce the Fog Distance from 2000 to 500.
Changing this number does something more technical I swear, but for this example reducing it down to 500 creates a softer blend of the caustic light rays than at 2000.

Scrolling to the very bottom you’re going to want to untick “Audio”
Doing this means that the audio will not be distorted to sound underwatery.
Now, because we're going to remove the default sky you're going to have to untick "Use sun direction for directional caustics).
Next step is to manually input a rotation the caustics will come from.
Place the numbers into "Caustic Directional Angle"
I used x - "50", y - "0", z - "-23"
And the Final step is, you guessed it 
to delete the default sky.
Yeap, the Skylight, Sun light and Sky Dome. Time to remove it.

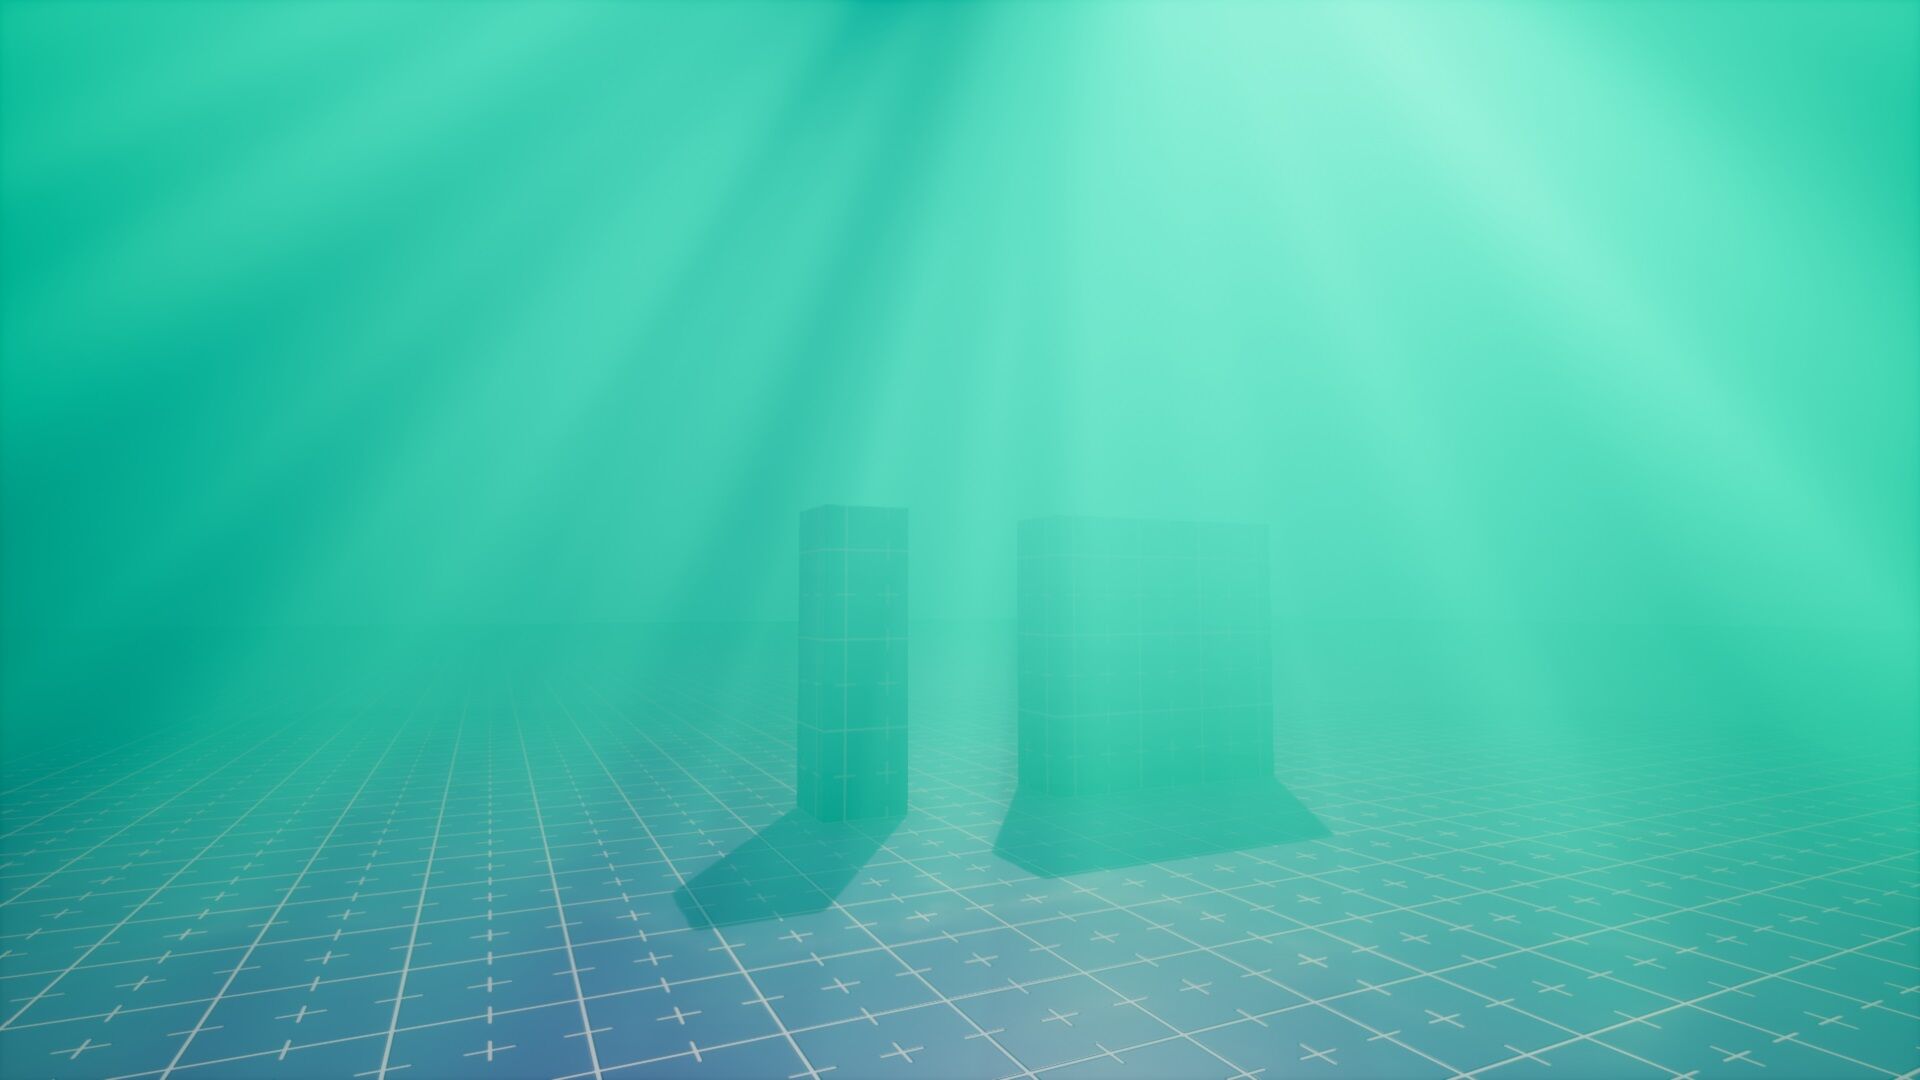
Now you have a cool “skybox” that doesn’t actually use the skybox and because it’s a post processing you can now untick the “Unbounded” property and the effect will only appear when you’re inside the trigger box.
It’s also very easy to change the colours for a different feel.
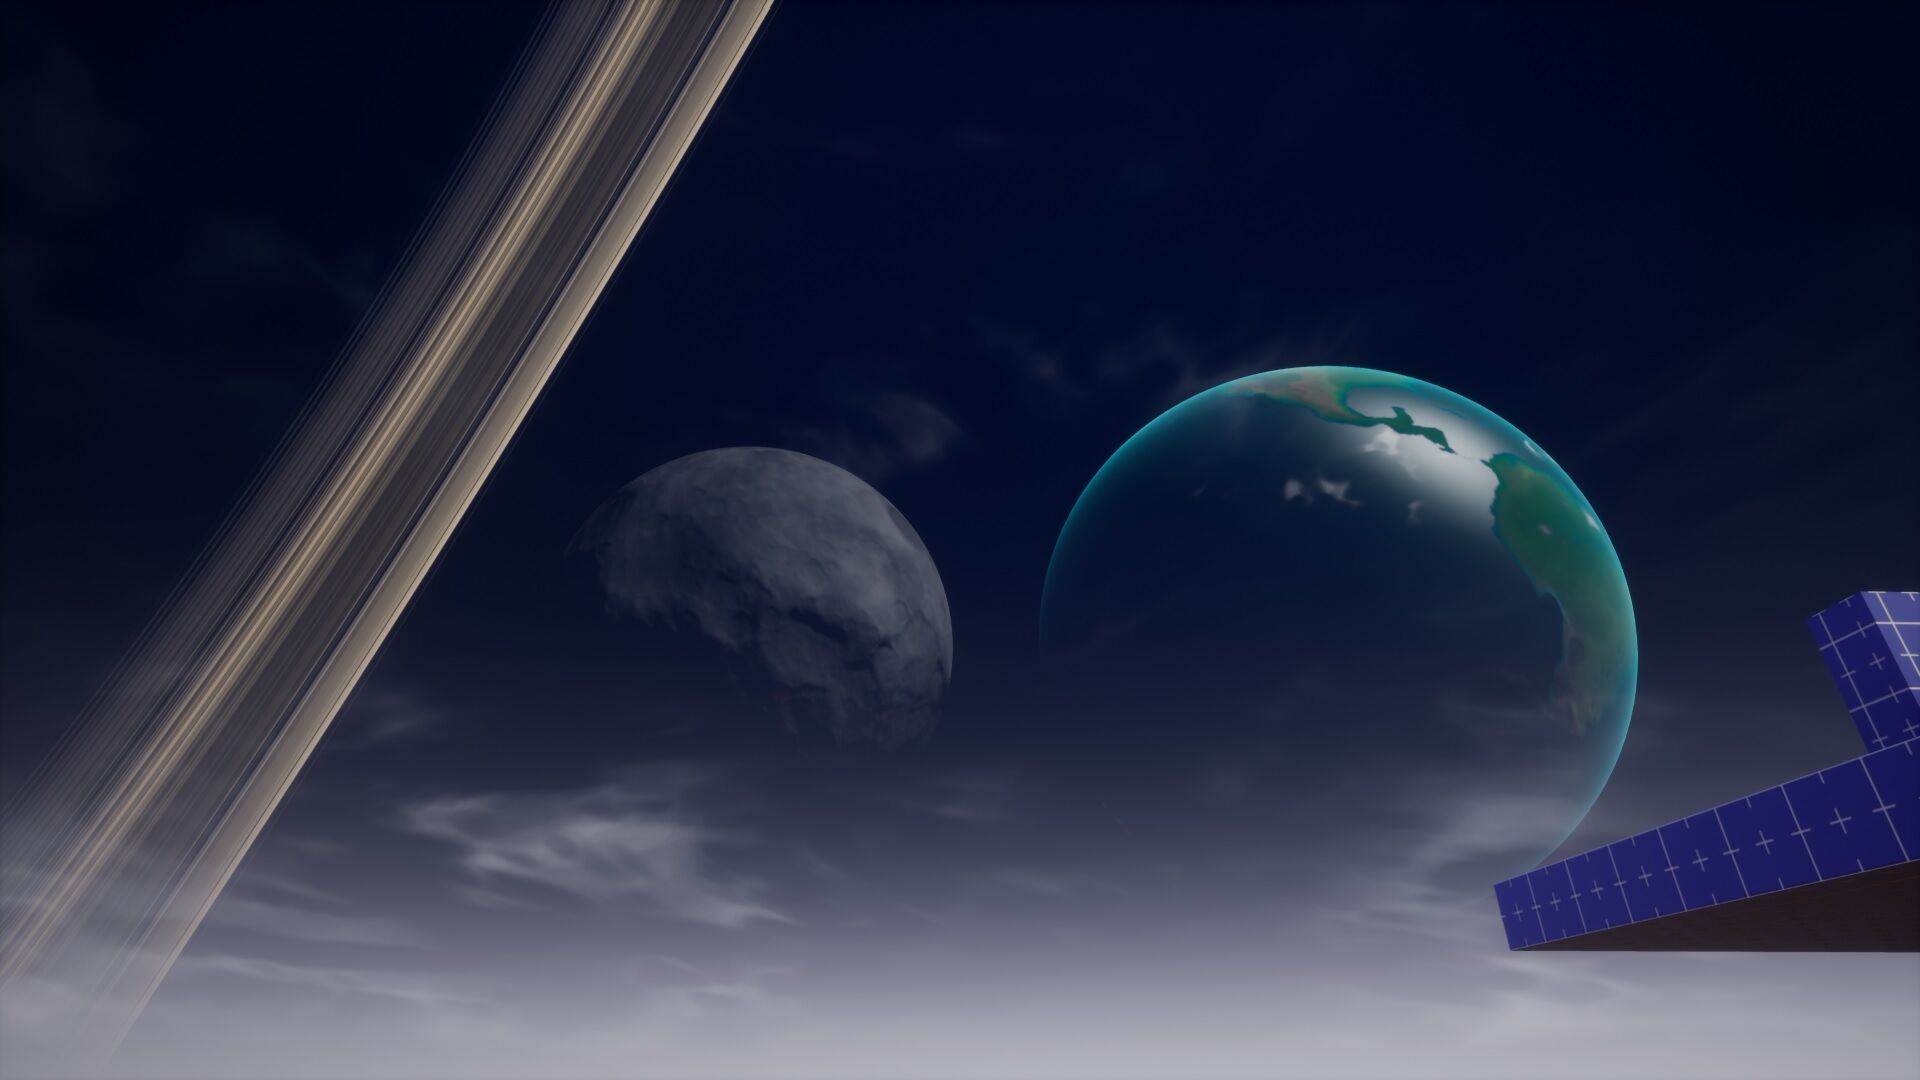
4: Let’s make a Spacebox (Practical)
In this here tutorial we’re going to make a box of space.
--Star Dome
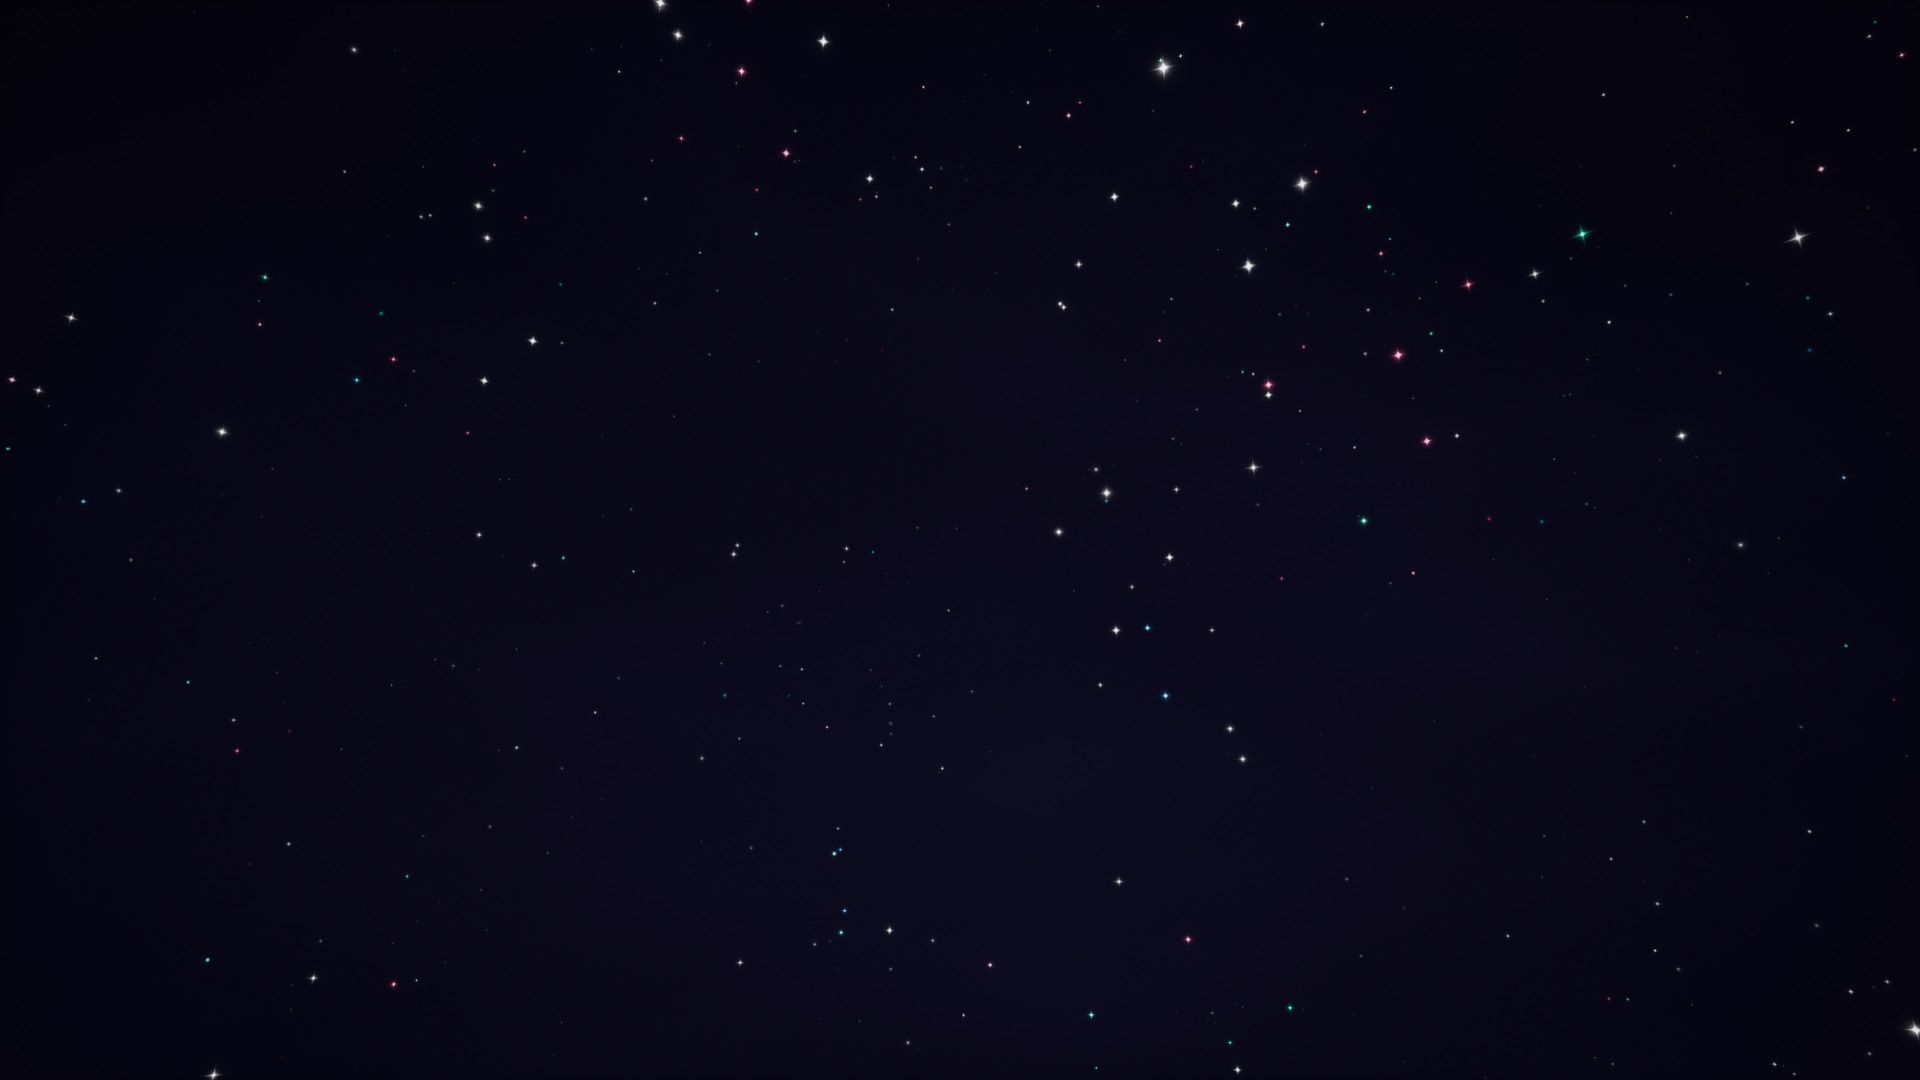
To start off, delete the Sky Dome in Default Sky, we’re going to replace it.
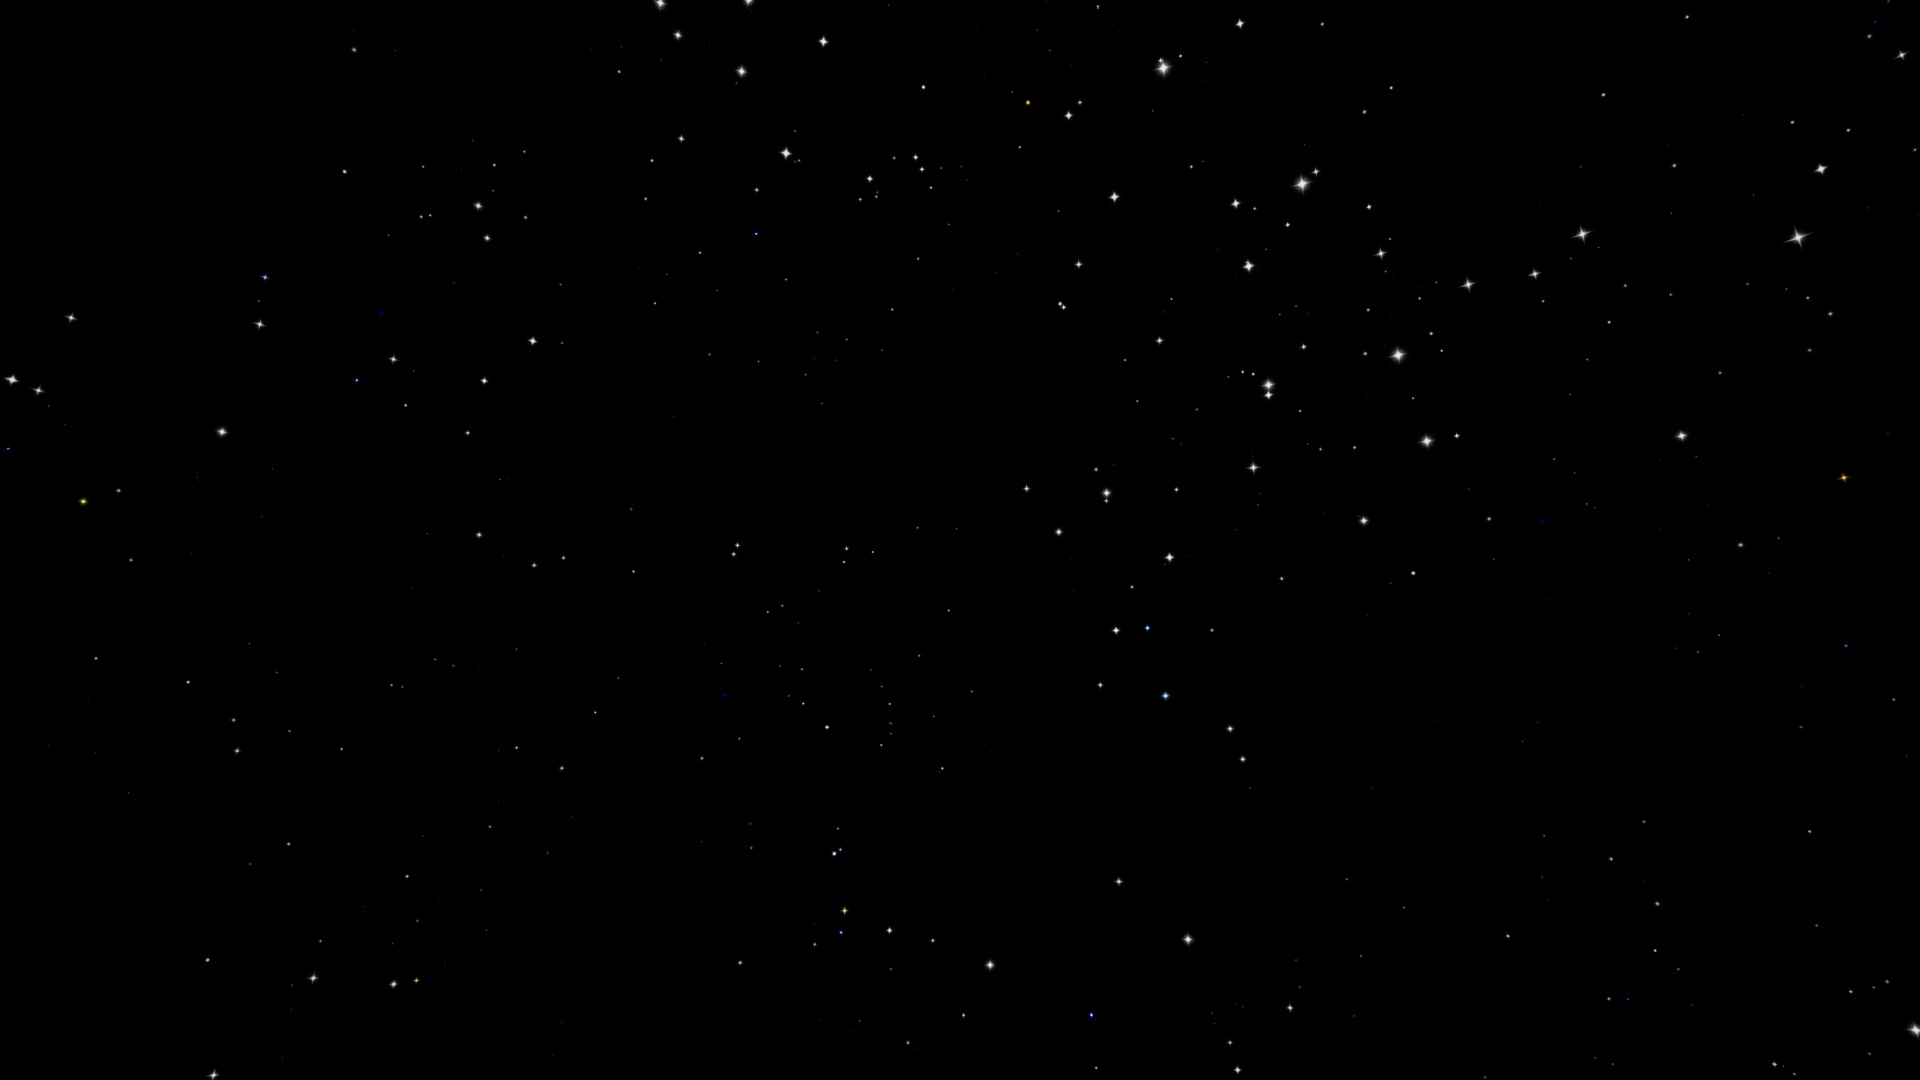
Now drag a Star Dome in from Core Content.
Look around the scene and admire all the sparkly stars.
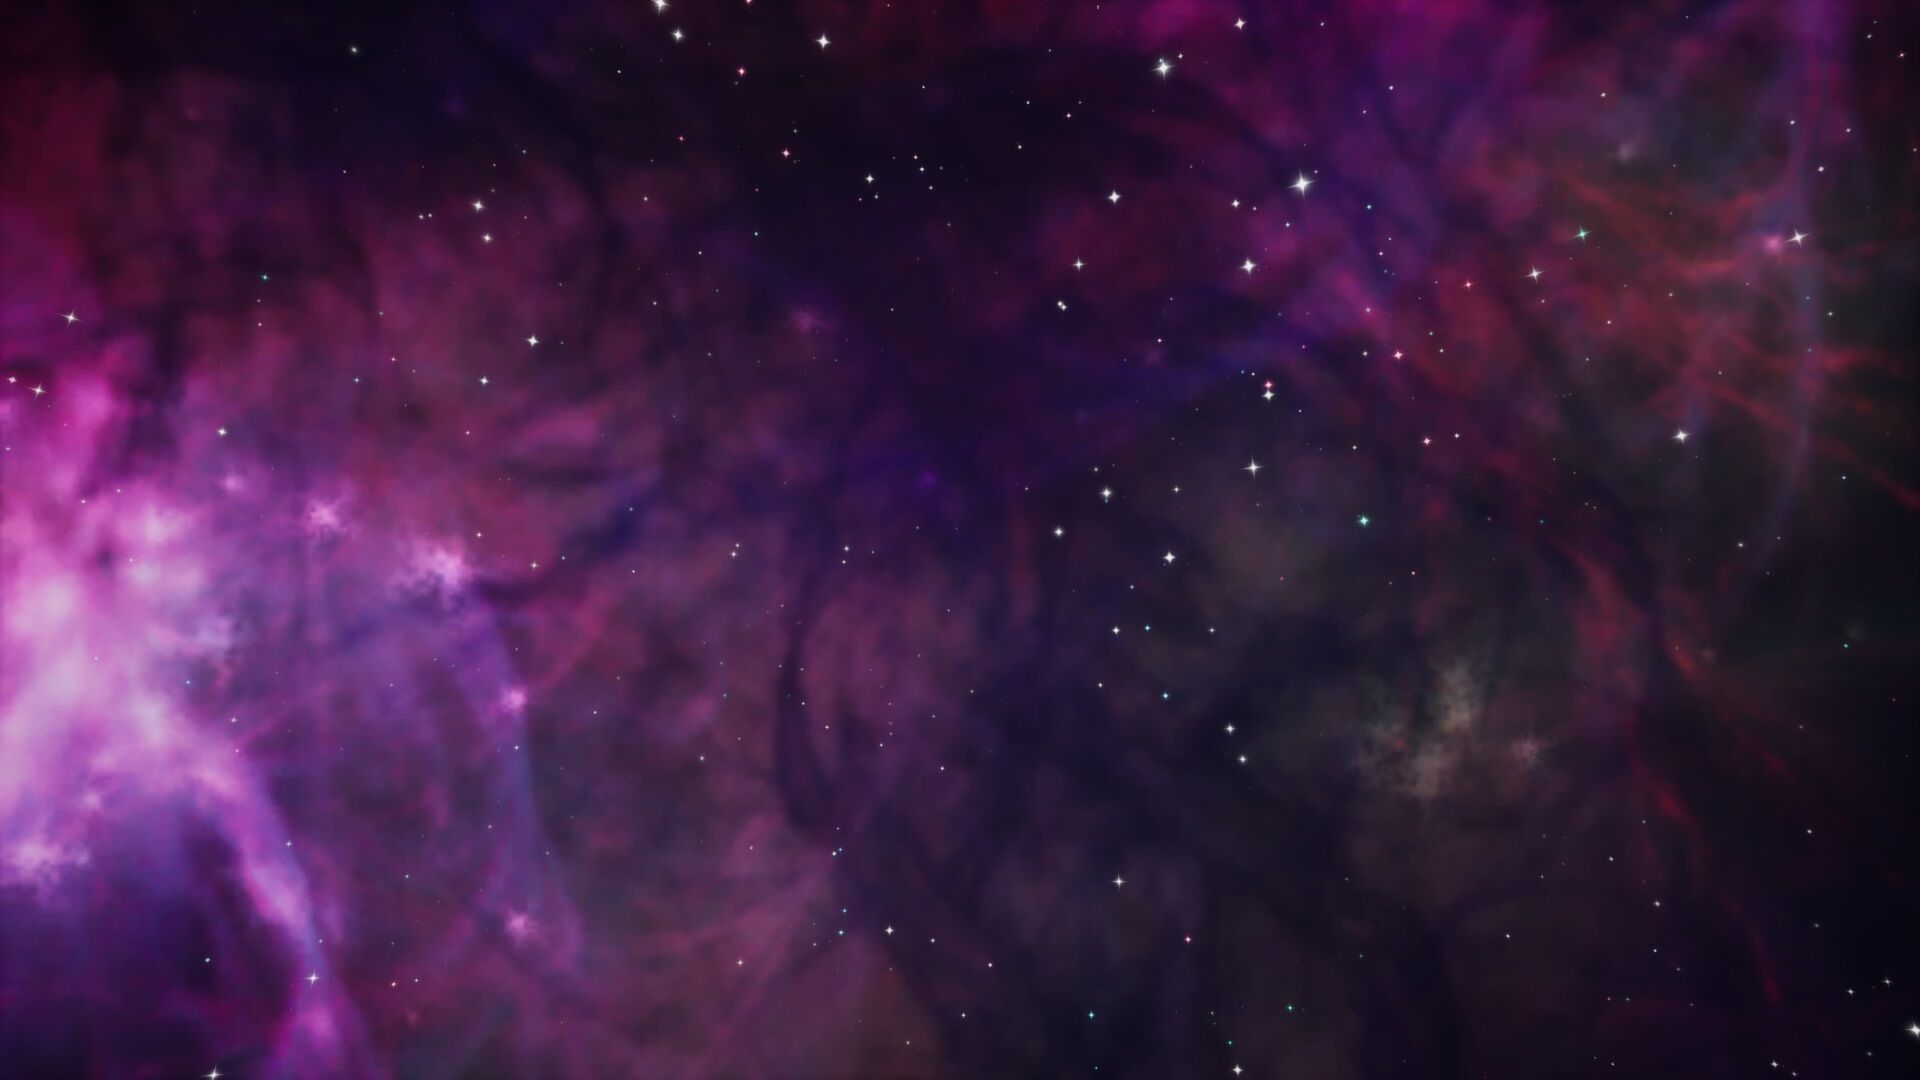
In the properties tab with Star Dome selected, you’ll be able to find “Space Tint”.
Change the colour by copy pasting the Hex Code – 1C1A3DFF
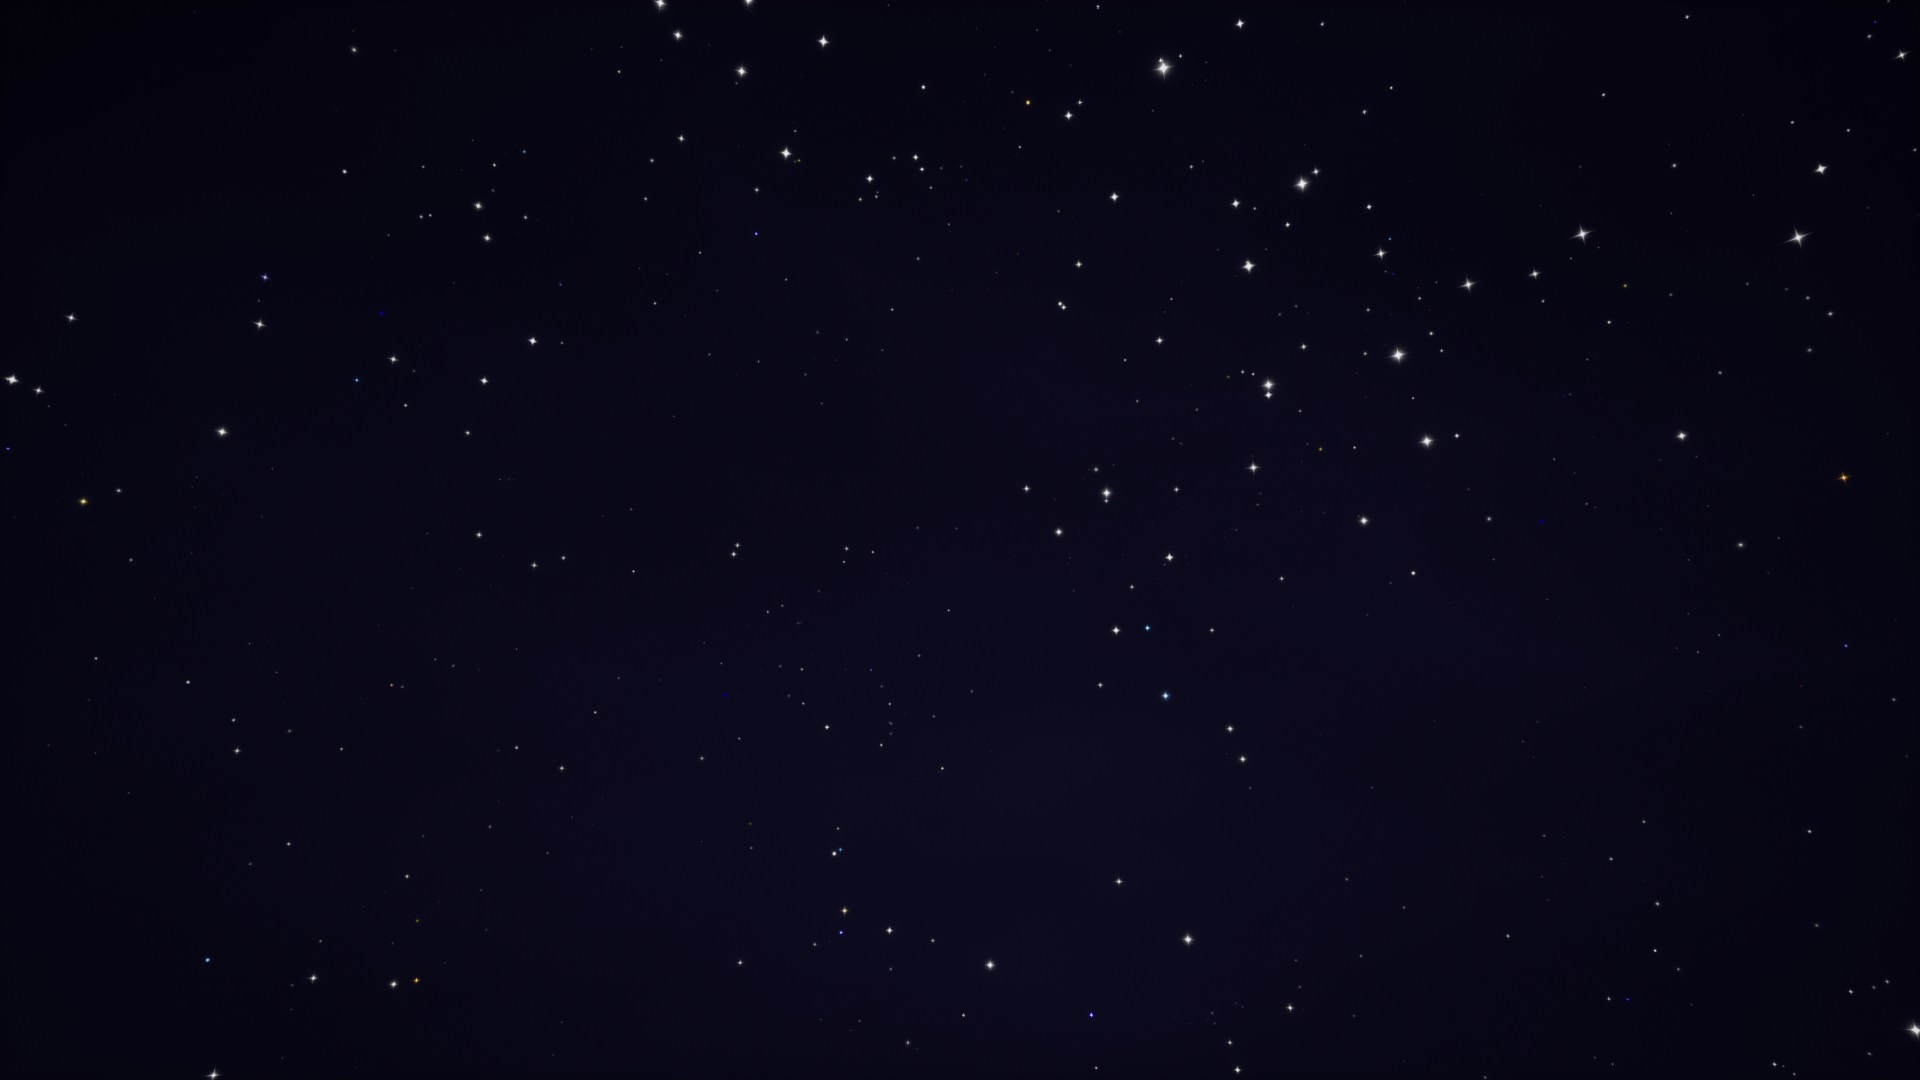
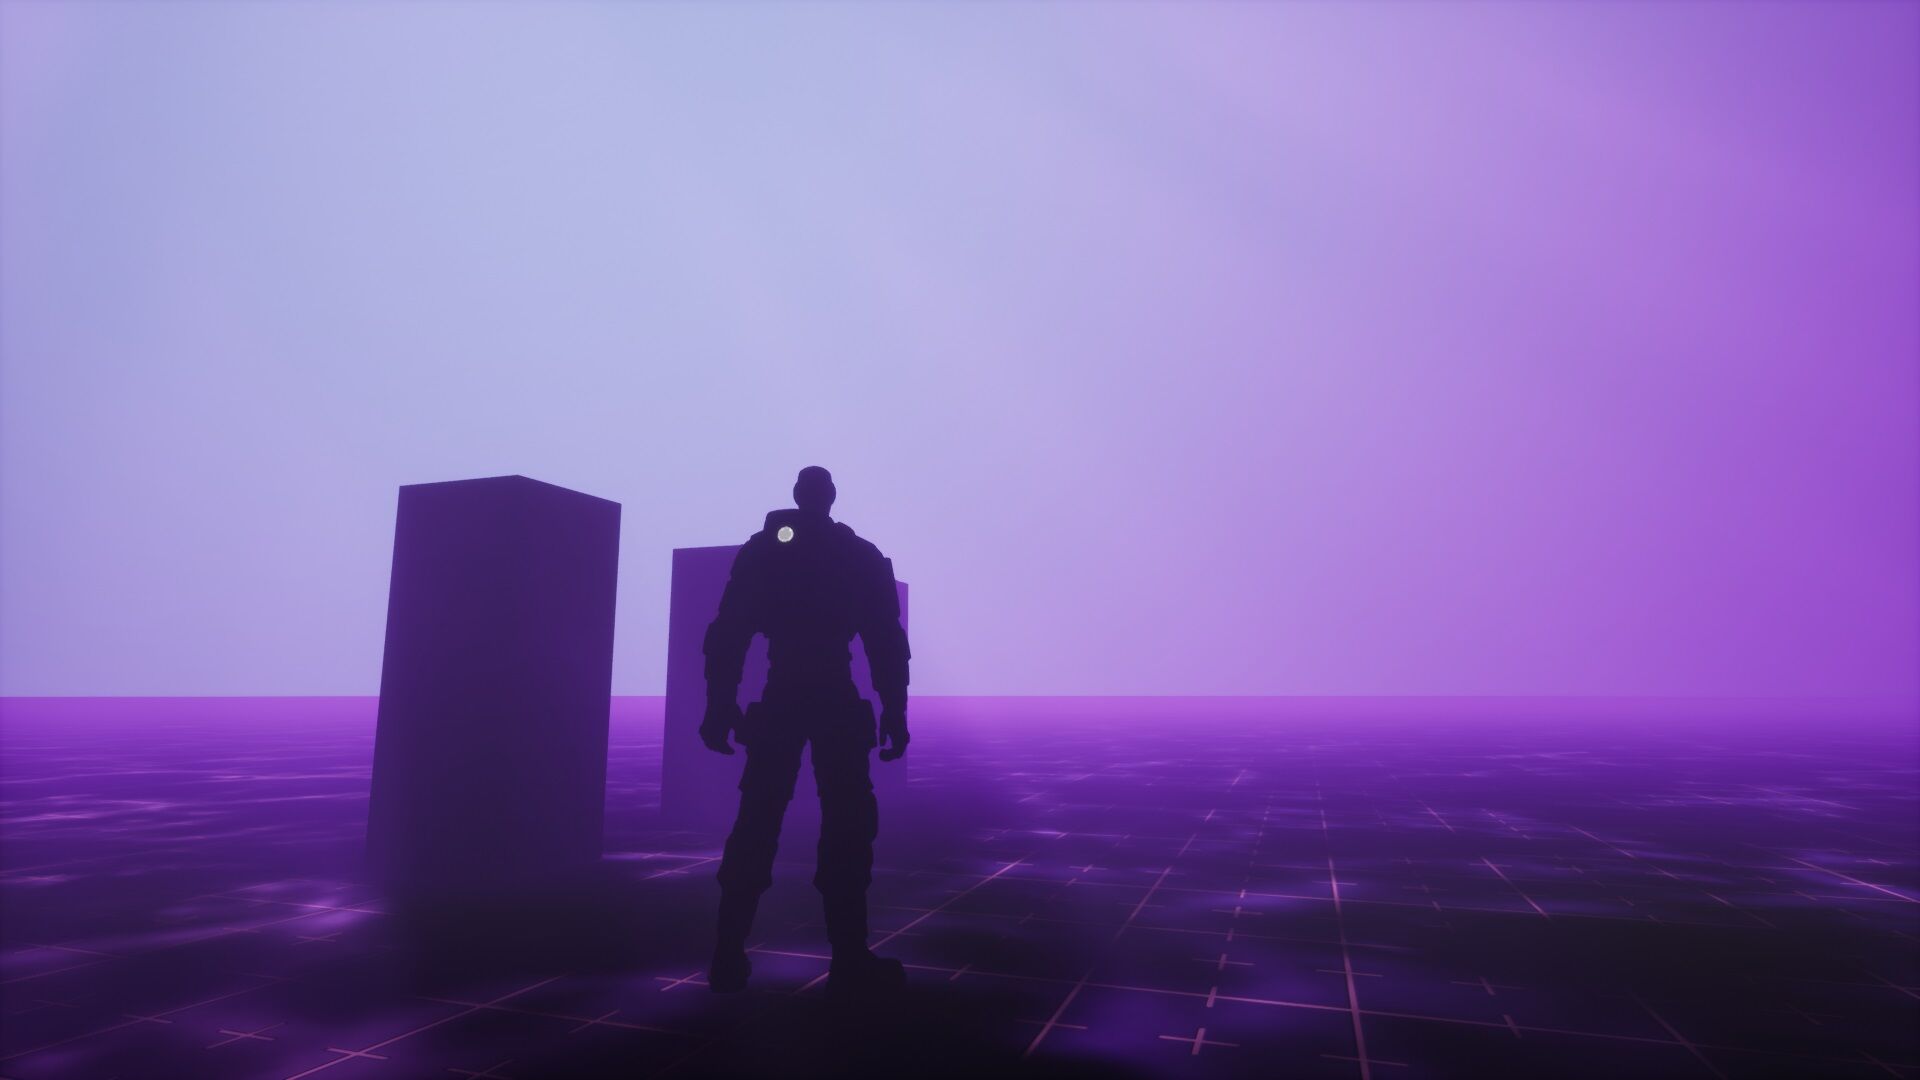
This will swap the completely black space background with a slightly tinted purple colour. Because space might be black in reality, but sci-fi fantasy says space must have colour to it.
Just lower in the properties tab is the “Colour Gradient”, this will change the selection of colours the stars will use.
Using the drop down menu next to Colour Gradient select “Purple Teal White”.
The difference may be small, but it is there.
--Nebulas
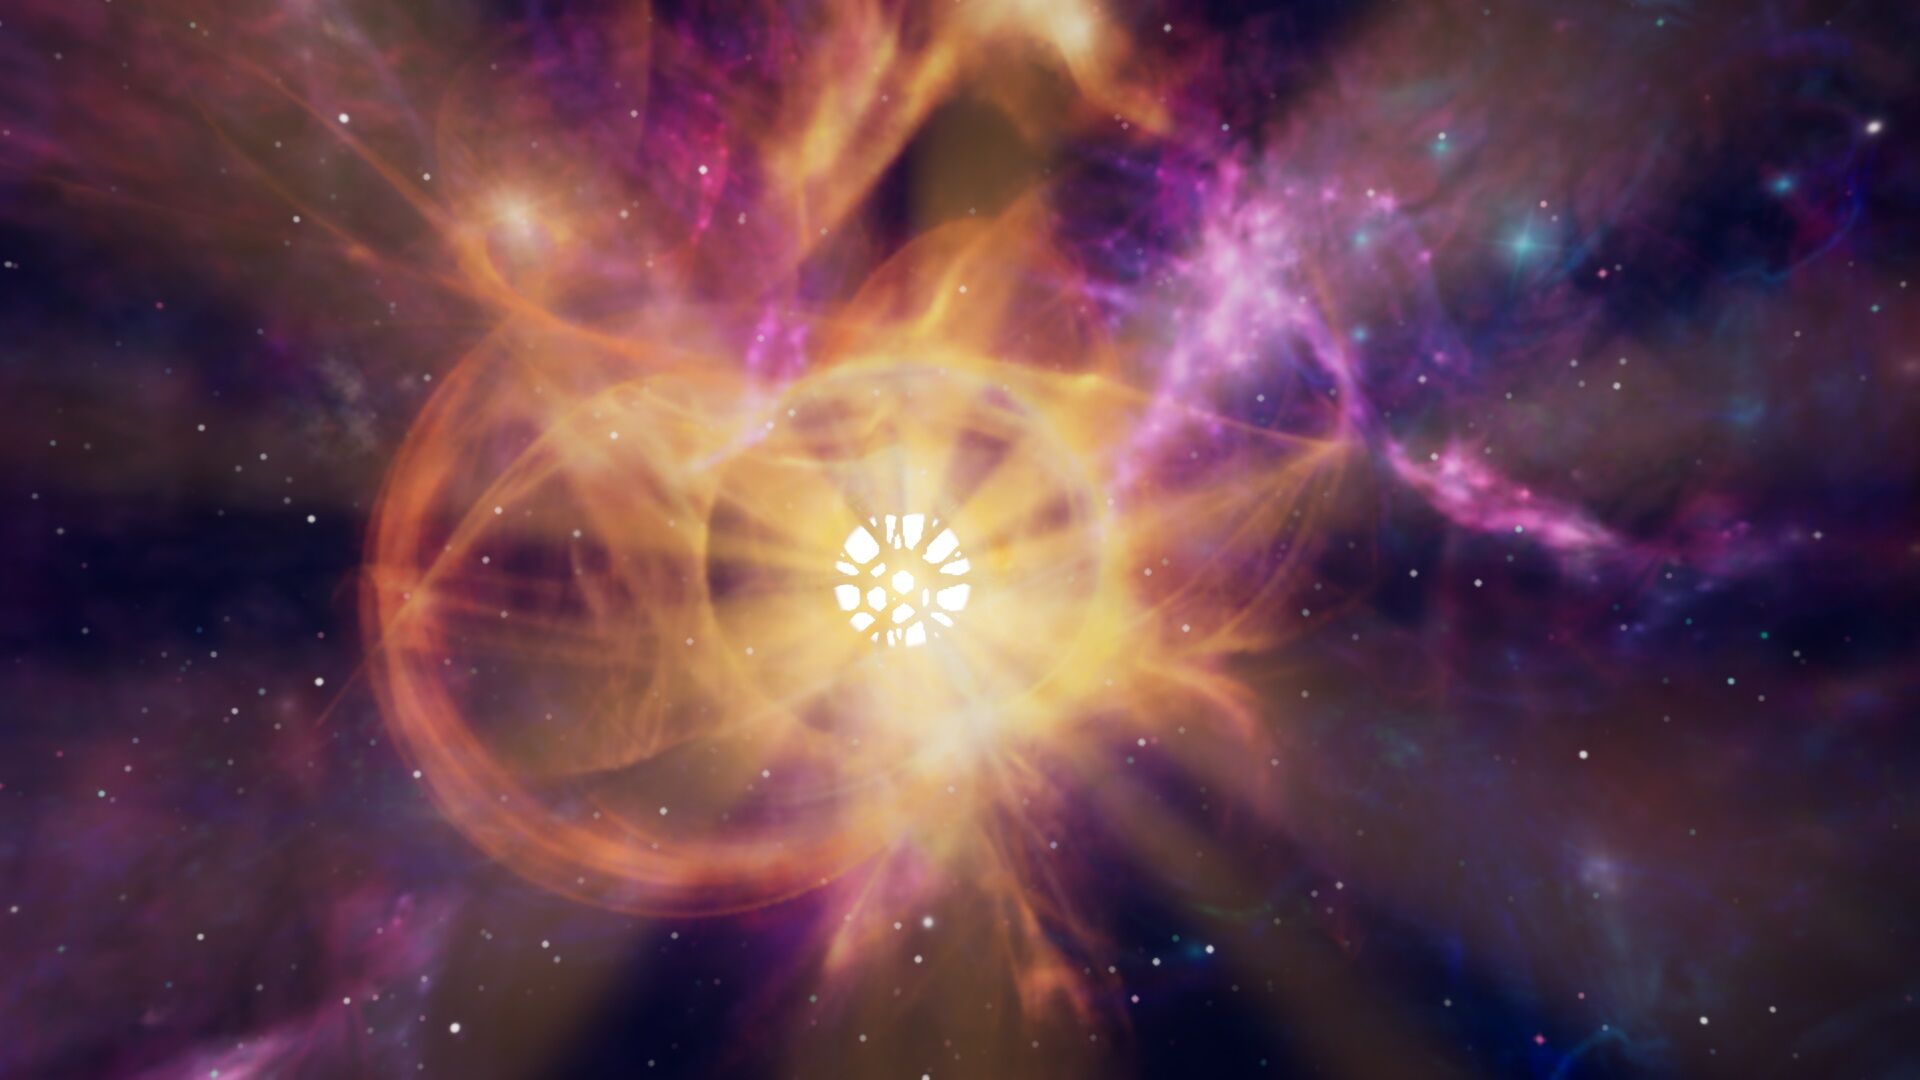
Now we’re going to add some fanciness by drag and dropping a “Nebula” from Core Content.
Currently if you look directly up in the editor you’ll see the nebula, but that’s not a great place for it to be in our skybox so we’re going to move it.
Use the normal rotate tool or manually input a rotation into the properties tab until it’s in a better location that’s easier to be seen.
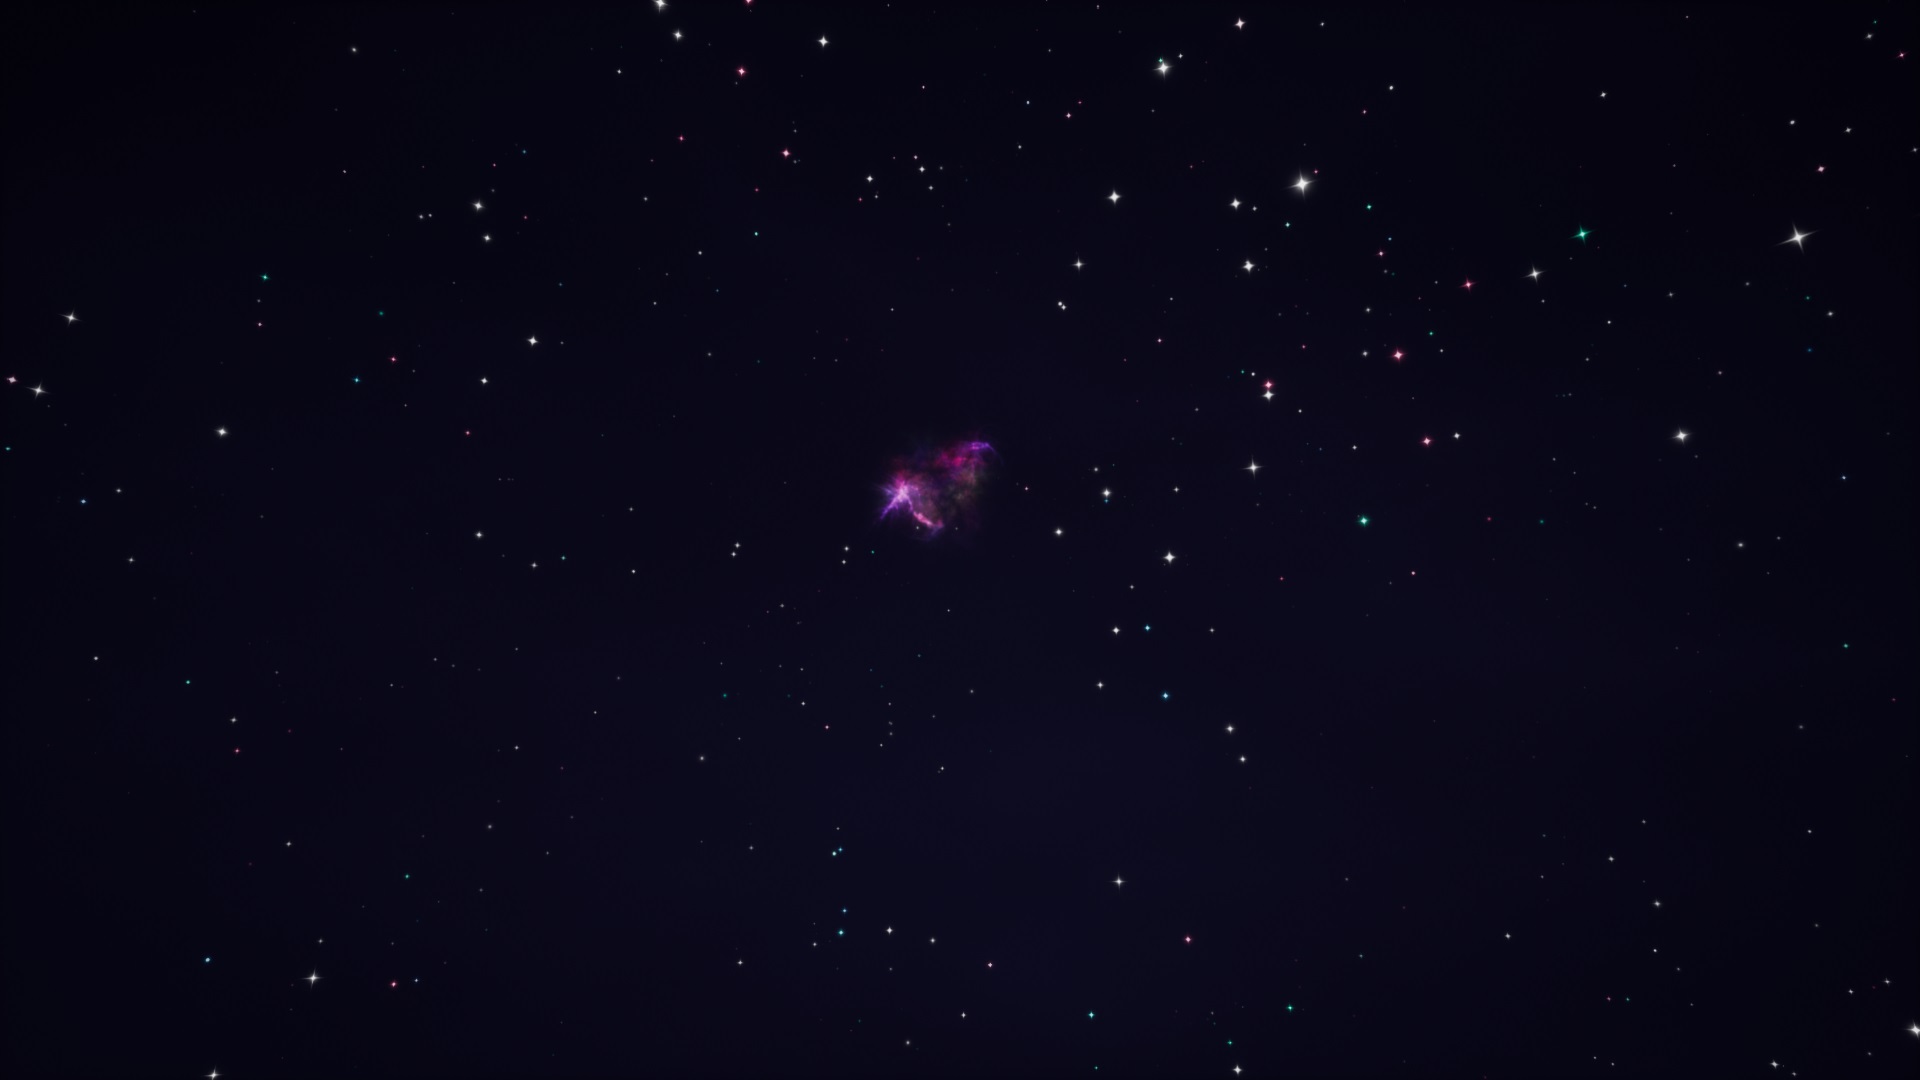
At the moment the nebula is quite small, so in the Size property**, increase all the numbers of the x,y,z to 2000, 2000, 2000.** Ensure that you are changing the Size property and not the normal Scale property
Doing this will increase the nebula’s visibility significantly.
To make the Nebulas blend in better with the space around it, you can select the colour and darken the Value (V) field from 1 to something closer to 0.2.
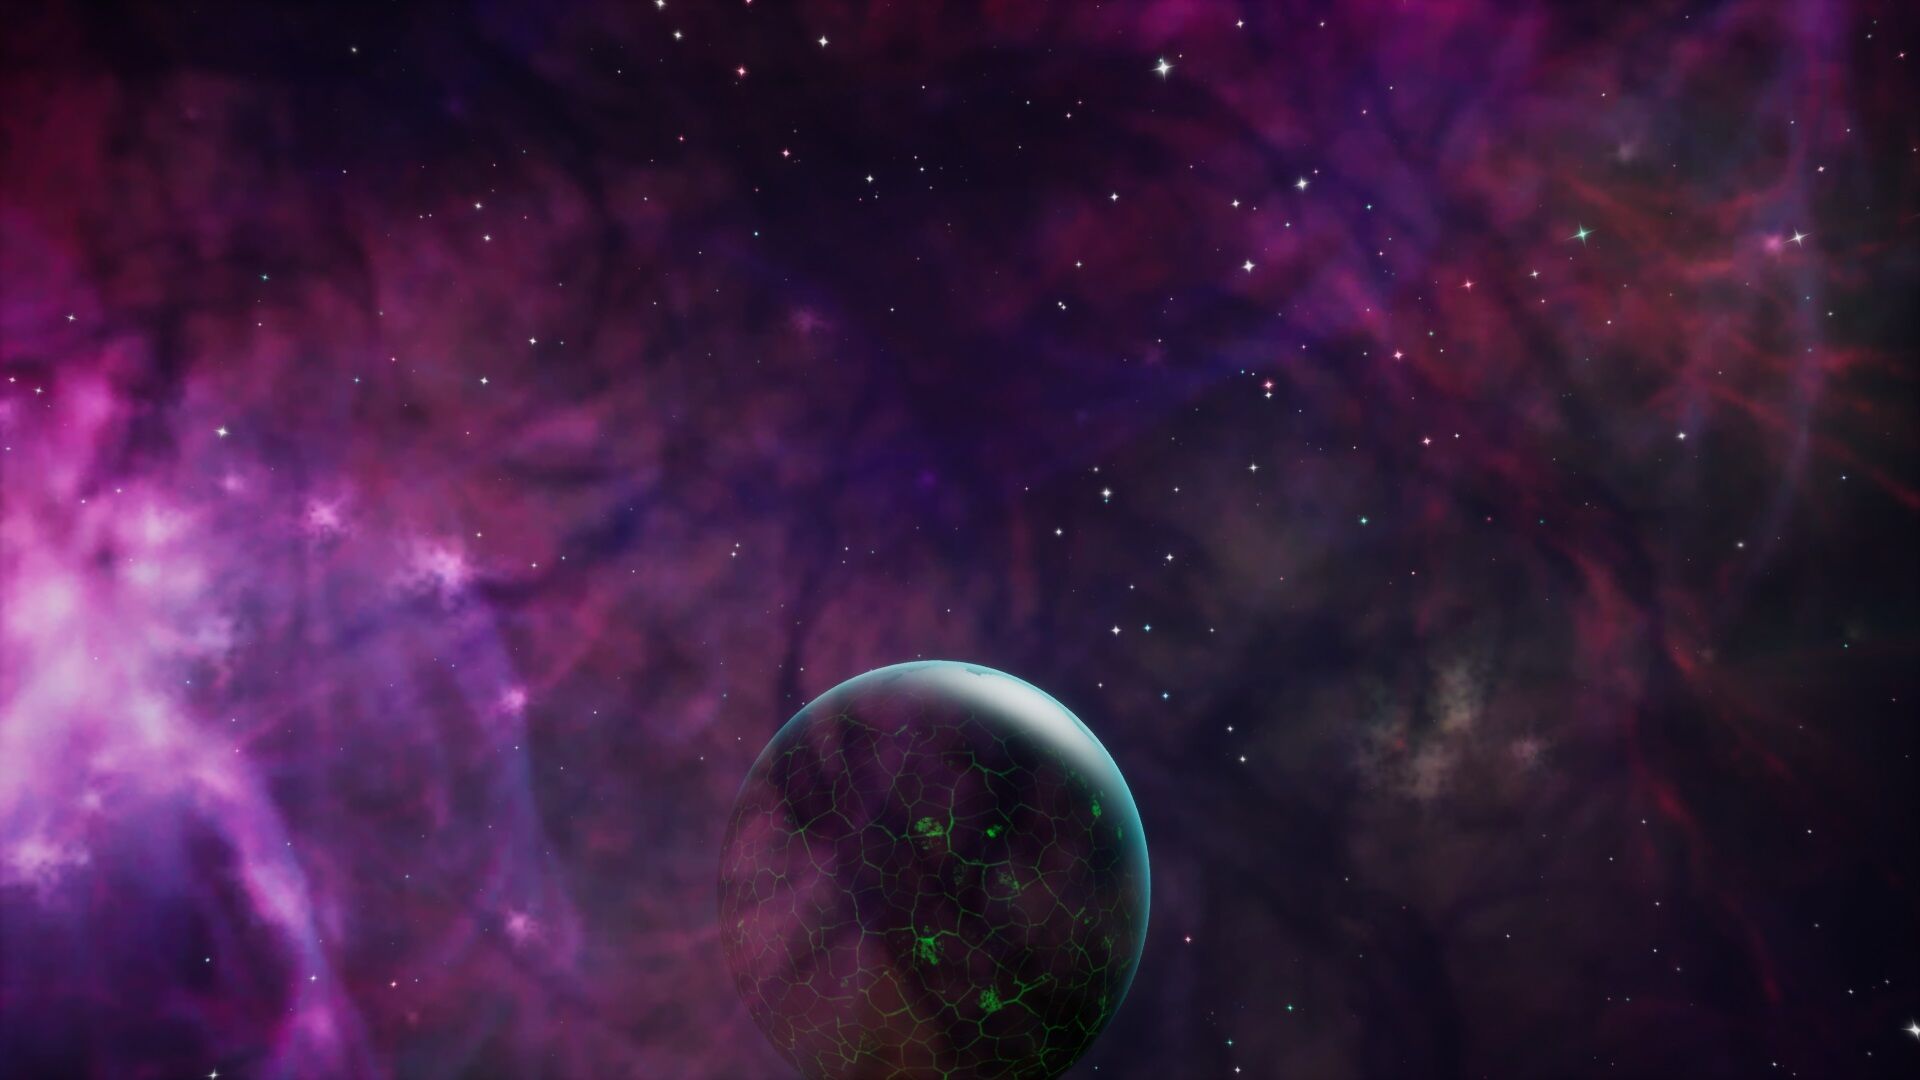
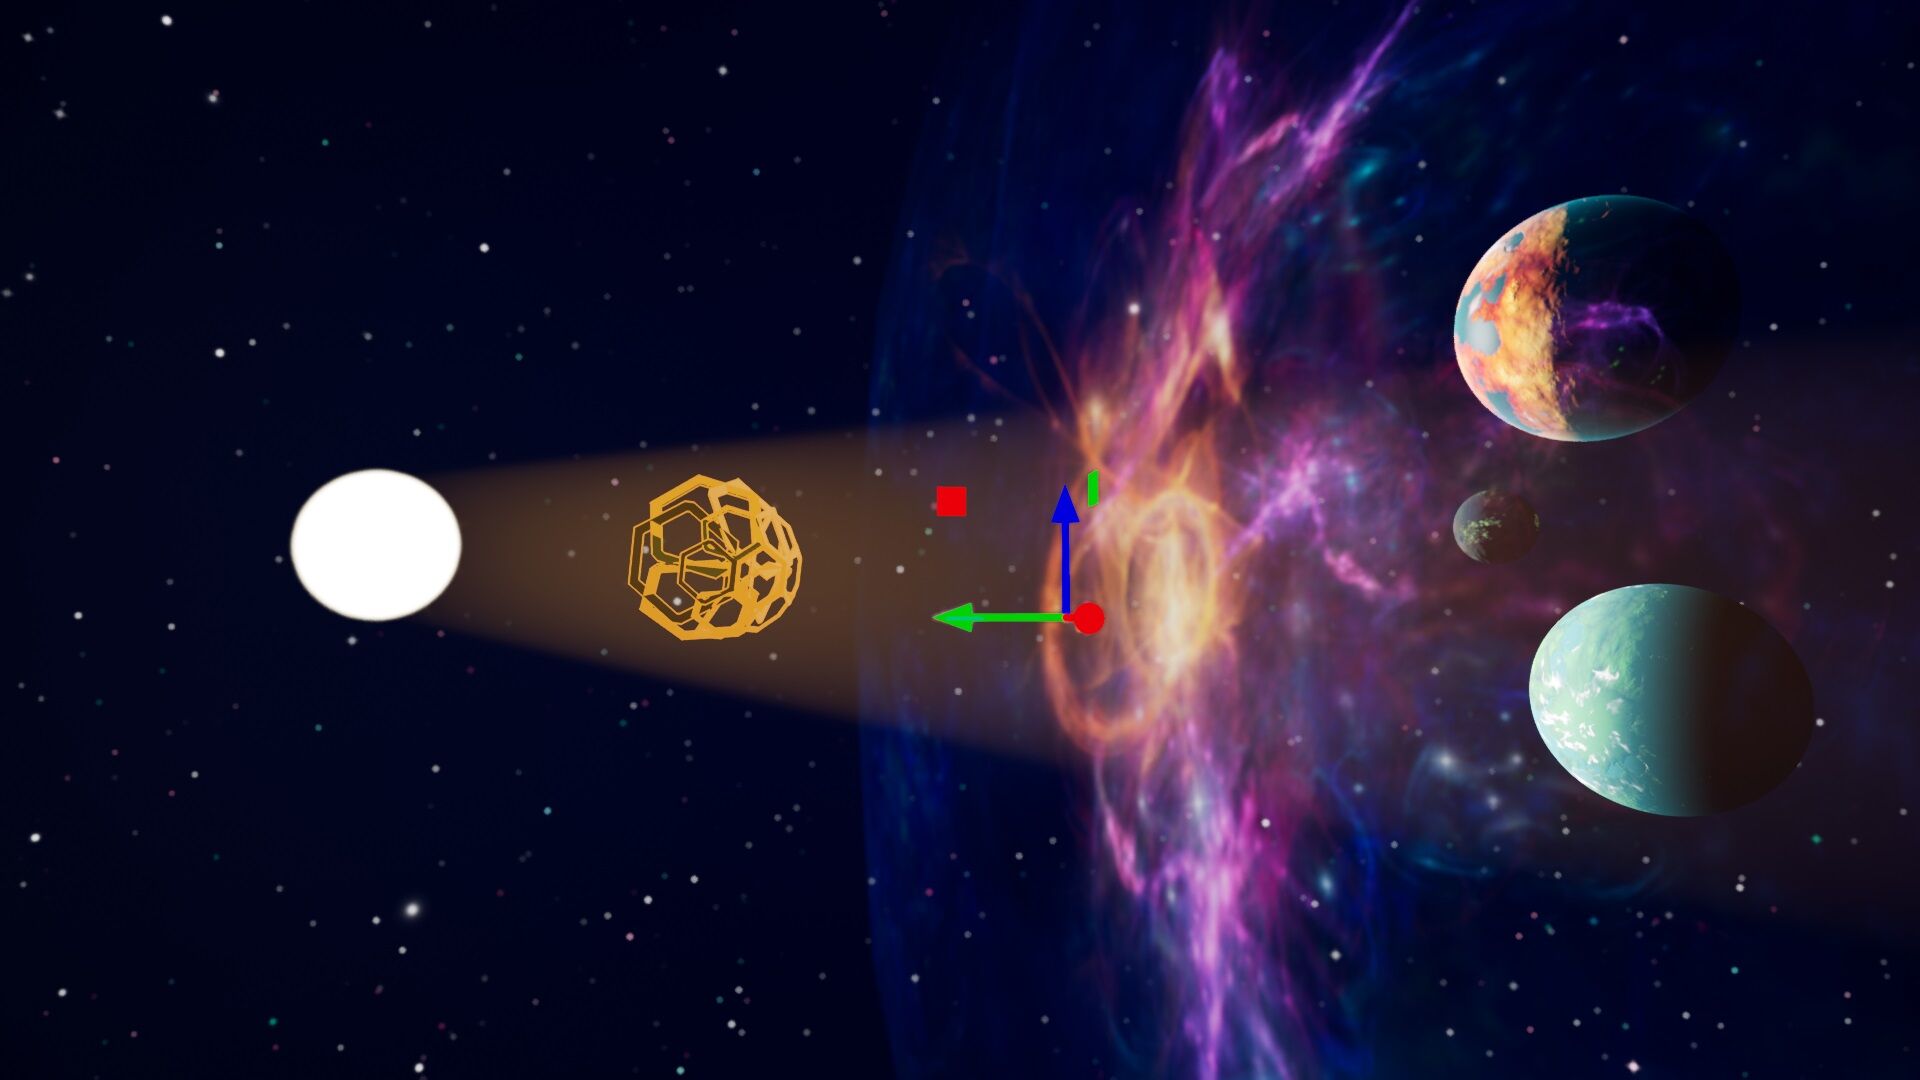
--Planets
But even space isn’t this empty, so now we’re going to add some planets in.
Drag and drop a “Planet” from Core Content into the scene.
This will provide another point of interest for your players in the vast skybox.

In the properties tab of the planet there are a lot of different fields to edit, a quick summary of the interesting ones are.
Distance: How far or close the planet is.
Scale: The size of the planet.
Colour: The Colour of the Landmass on the planet.
Planet Rotation: The rotation of the planet ._.
Planet Appearance: The type of landmass on the planet.
Dark Side Light Appearance: If there are lights on the dark side of the planet like cities or magma cracks (None, Earthlike and Magma are the only interesting ones in my opinion).
And a lot of these fields also apply to the “Moon” object in Core Content as well.
--Your Turn
Modify and edit your planet to how you wish, I’m just going to enable Magma on the Dark side using the drop down menu and set the colour code to – 00FFFFFF
Now it’s up to you to fill the remaining blank space around the skybox with ridiculously large nebulas and few large planets as well.
Note that you’ll probably want to turn off the light bloom on the Sun light if it’s flickering.
5: Things to remember to make great skyboxes (Extra achievers)
Cool! You know how to make a skybox and edit the properties, but now there are some things you’ll could do and may want to consider so that you can make a great skybox.
Is a skybox important to your game?
A lavish and fancy skybox might not be as important if you’re creating a top down shooter set inside a building. Consider how much effort and resources the skybox is worth vs how much it provides to the game experience.
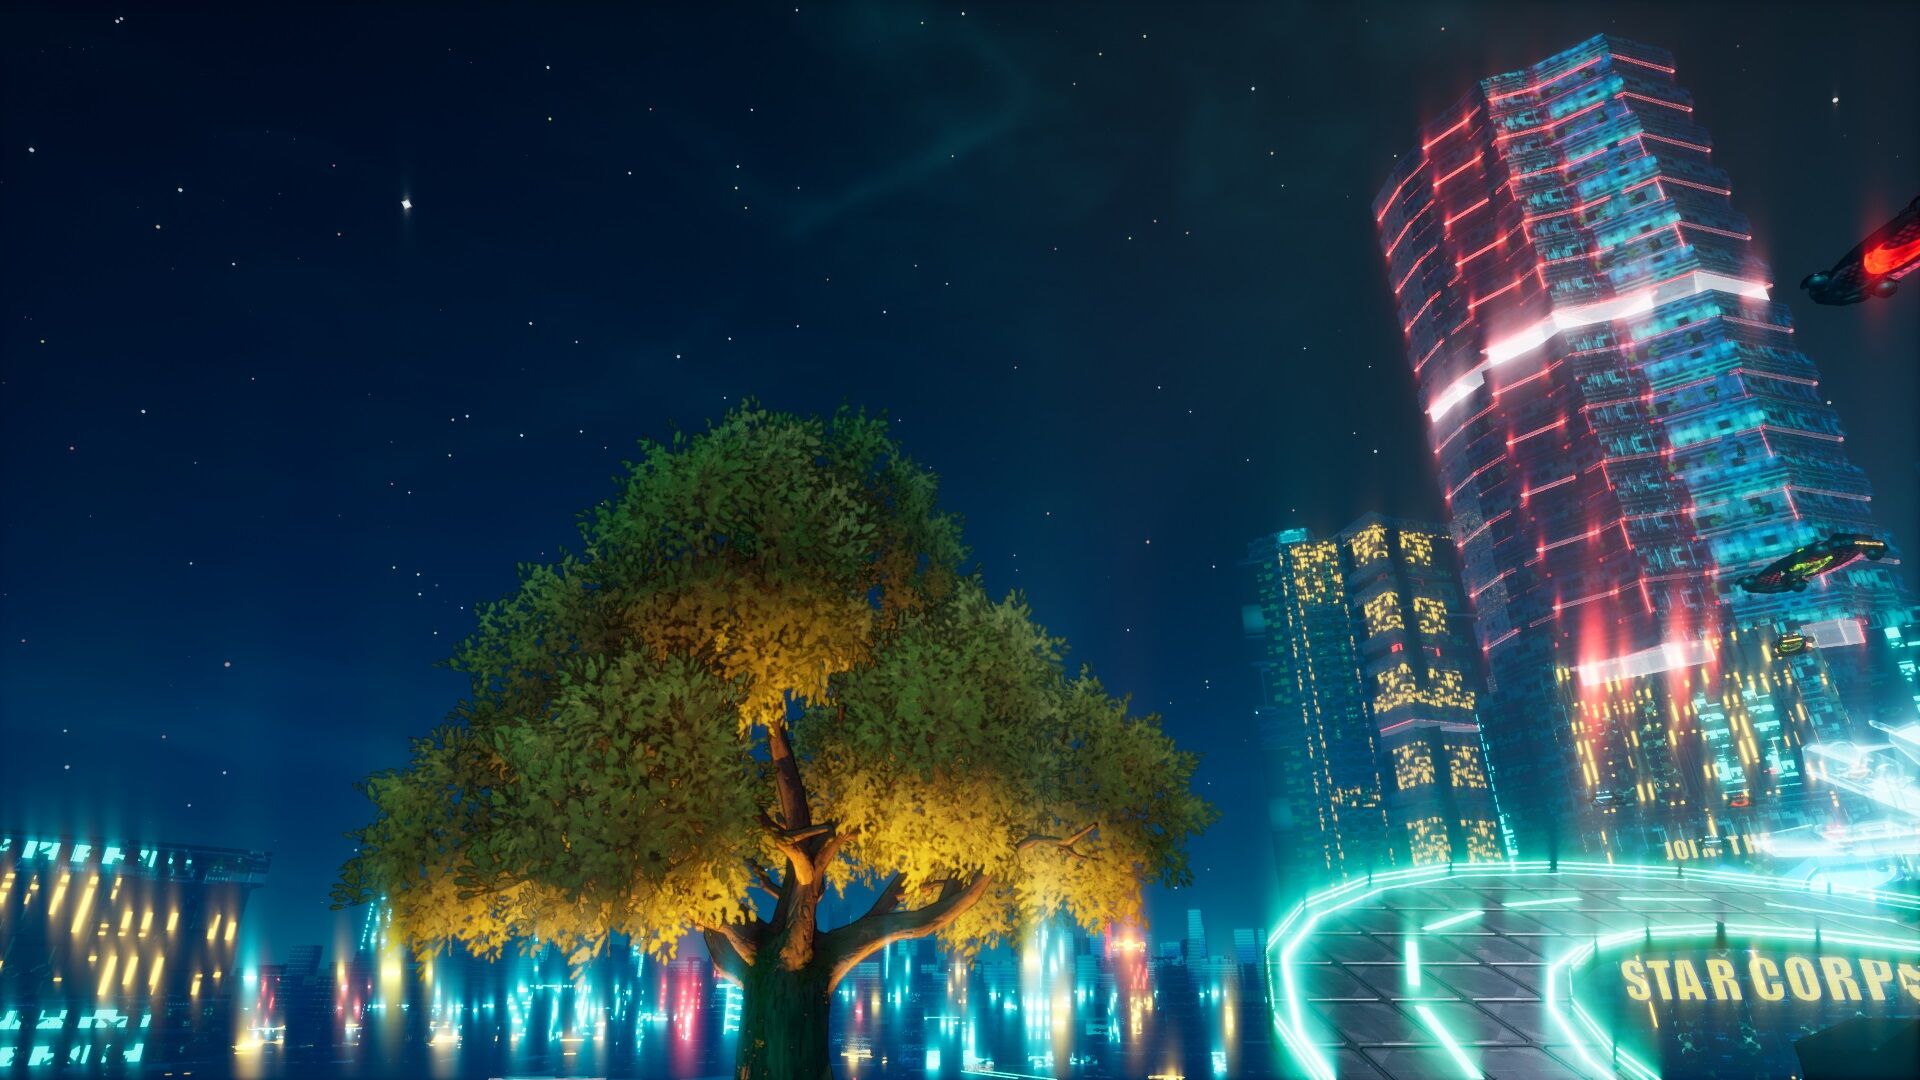
Use Adjustment Volumes for Dynamic Skyboxes
You can use Adjustment Volumes from Core content to modify skybox elements when the player enters the volume. Combine this with a trigger of the same size and you can time audio to play as the skybox blends to the new settings. This allows for drastic changes in mood and setting, and there are great examples in the different “Core Plaza” sections.
Use objects to build up your skybox
While not being technically skyboxes, I count large decorative pieces outside of the playable game space as a part of the skybox. Just because it’s not in the Sky tab of Core Content doesn’t mean you can use it as a part of the skybox. Kit bash some objects, remove the collision and go crazy. Just keep in mind that these objects will still count towards your object count.
Size Matters, and is interesting
Even if you’re game play area is small, you can still create the feeling of a large vast space beyond the invisible barrier. Having more prominent points of interest can create curiosity and guide your player in the direction you want to go.
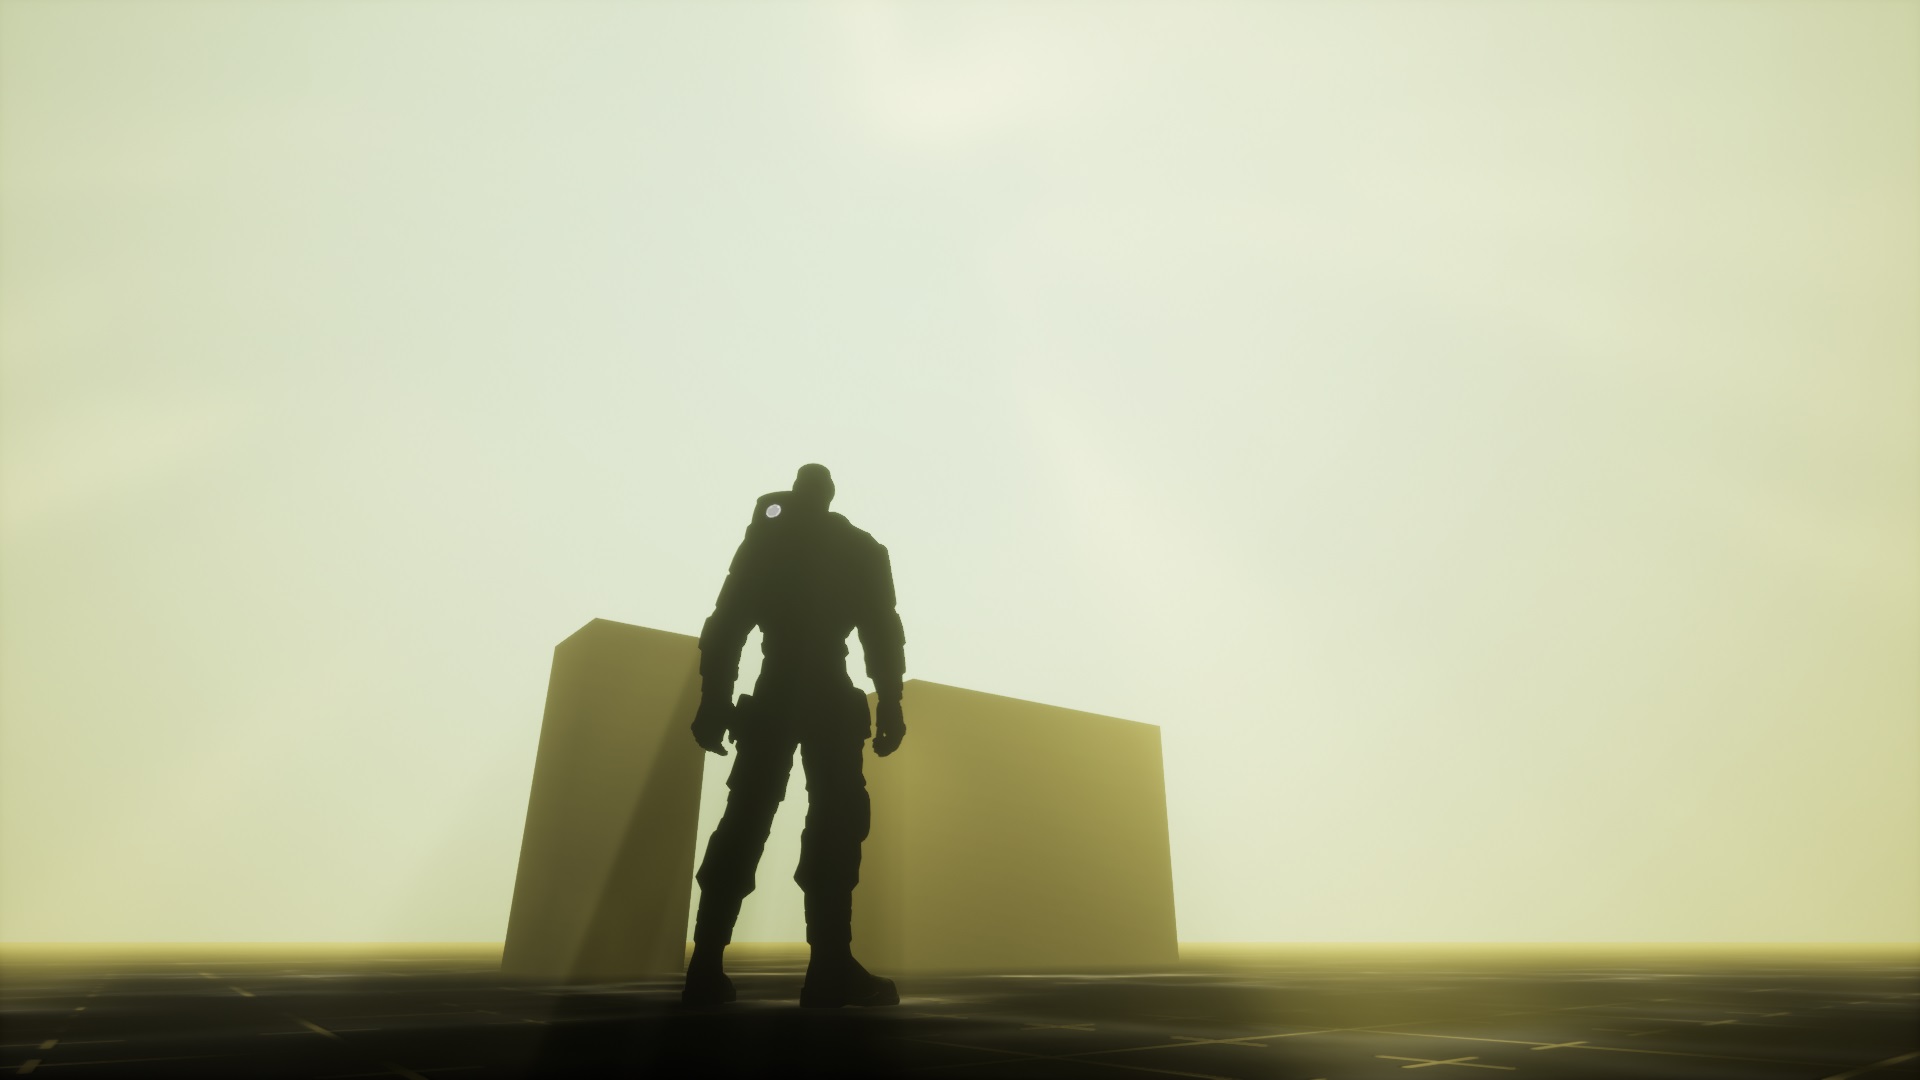
Remember it’s all about perspective
A skybox contributes to the players illusion that the world is a large place. As the creator you know what areas the player will experience the game from and can use it to your advantage. Create what seem to be vast mega structures that make the world feel big, but in reality are several really large cubes taped together at a far distance.
Wrapping up
But alas, there’s only so much I know. If you find out some additional helpful tips feel free to mention them below.
Hope this helps kickstart your sky high journey, Arkpoint out.
Link to CC project - Open for edit so you can download a copy.
Main scene - Space skybox
2nd scene - Apocalypse Skybox
3rd scene - Mystical Skybox
(In the editor, Windows > Scenes, to switch)
“Finished skyboxes even though the link just says Space Skybox” - Finished SkyBox Tutorials by Mucusinator - Core Games