THE ULTIMATE SKYBOX TUTORIAL: How to make epic sky environments for any game in Core!
Estimated Completion Time: 10-30 minutes depending on personal detail preferences.
Core Version: 1.0.218
Knowledge Level: Complete Beginner (but applicable to all creators).
TUTORIAL SUMMARY:
In this tutorial I will be showing you how to create skyboxes in Core totally from scratch. You will learn about the skybox elements, and how to use them to make the skyboxes of your dreams! We will touch on the basics, as well as the most important advanced properties. There will be a YouTube video to accompany this entire tutorial, so you are more than welcome to watch along with the video below if you would prefer that to reading through the material.
YouTube Video Link:

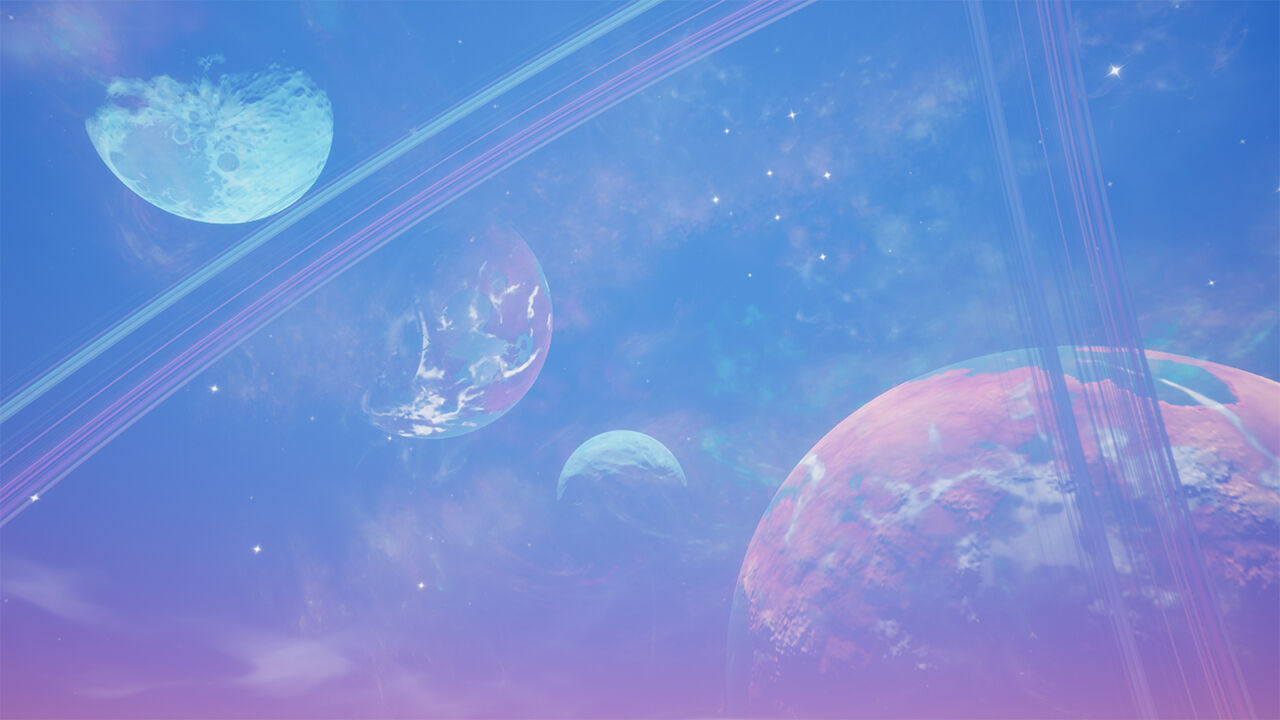
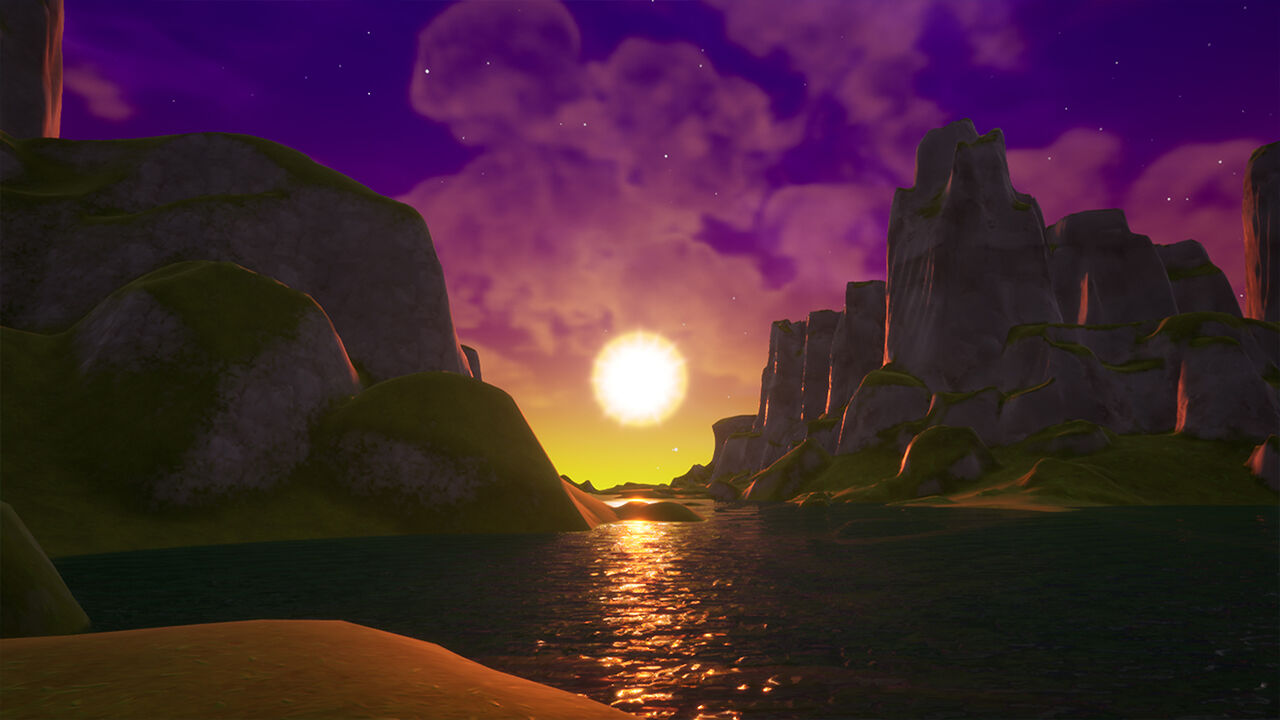
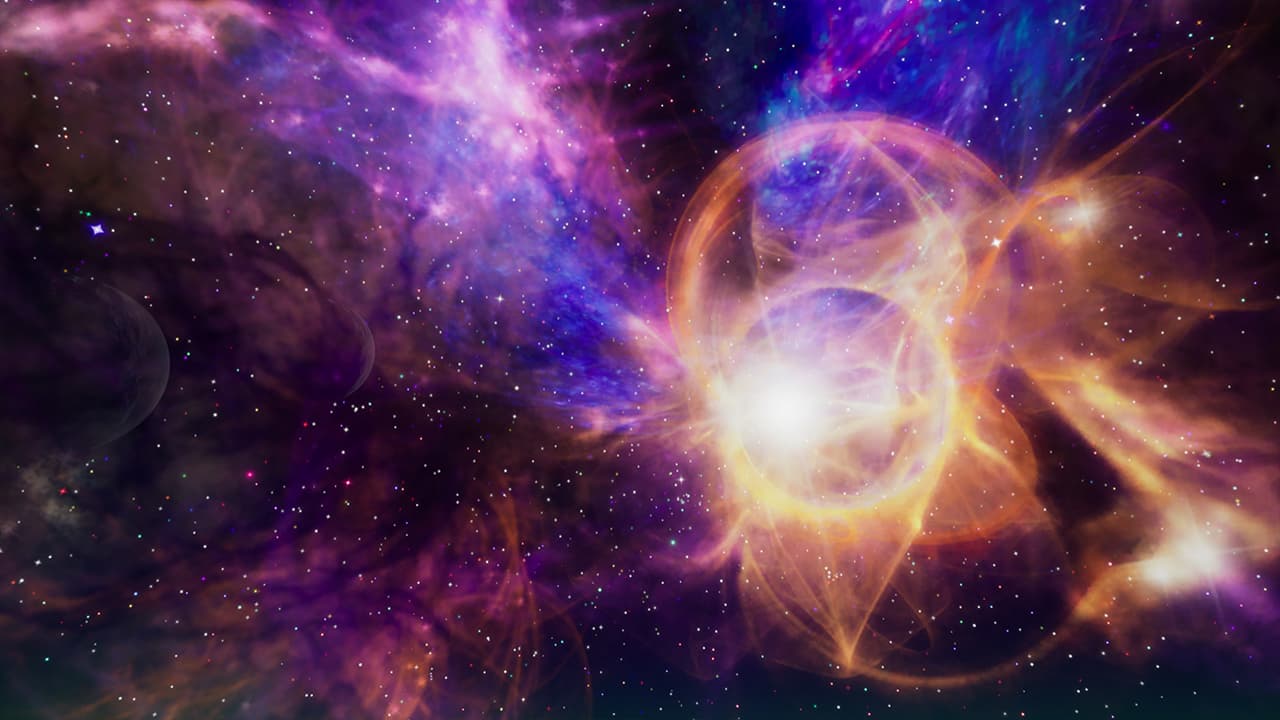
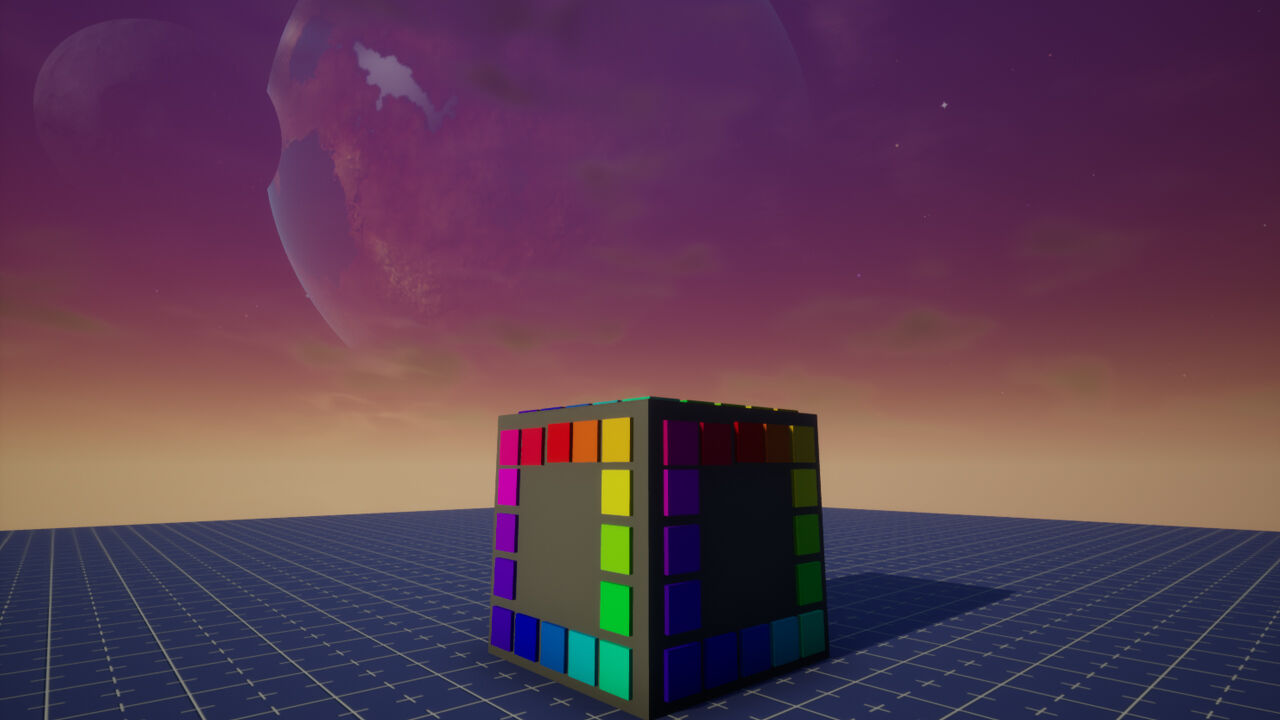
End Product Example Screenshots (4):

GETTING STARTED
-
Create a new blank project.
-
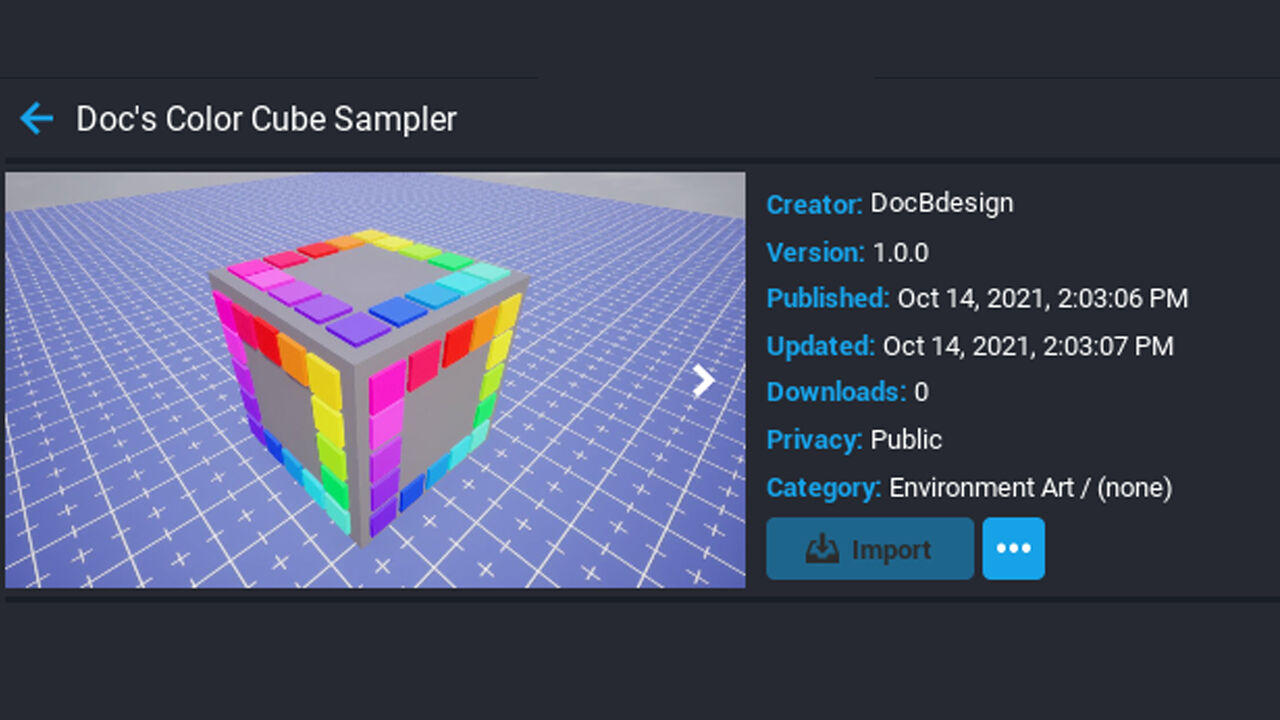
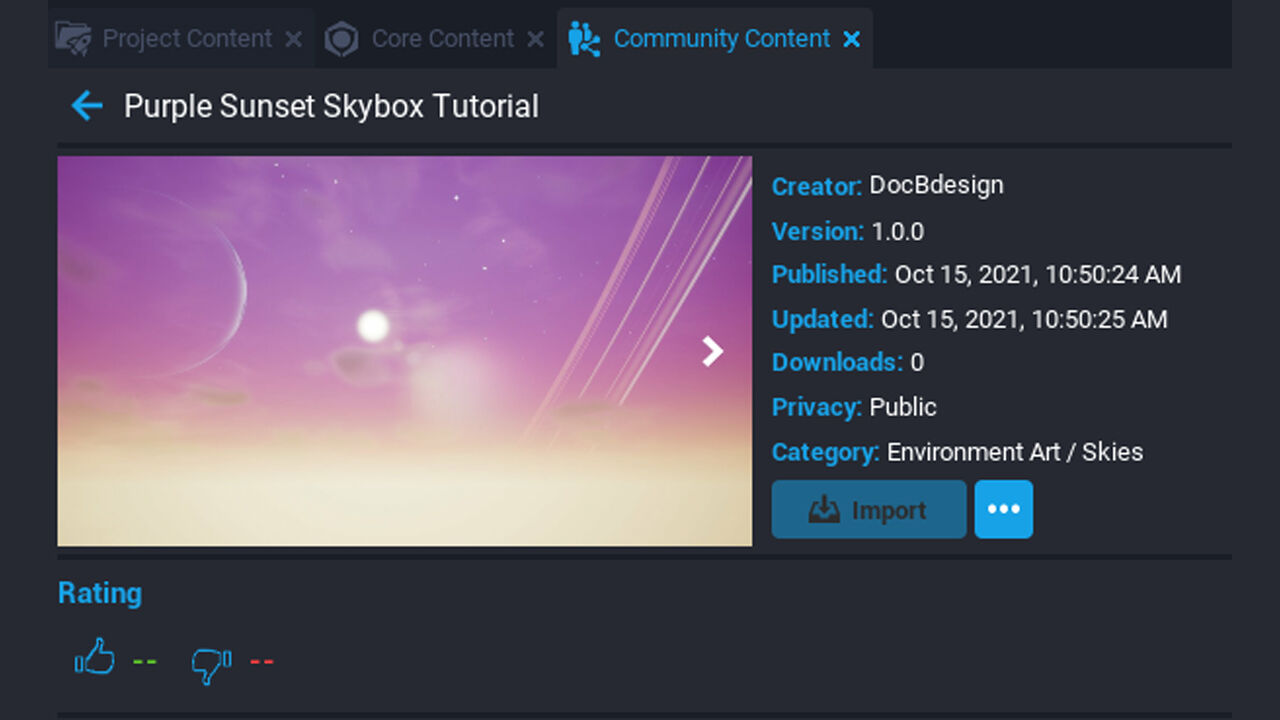
Click on the Community Content tab, and search for "Doc's Color Cube Sampler". Download this CC item, and drag it into your hierarchy. This cube will show you all of the colors in the spectrum while we go forward with creating a skybox from scratch.
-
Delete the "Default Sky" folder from the hierarchy, and then navigate to the Core Content tab.
-
Add a Sky Dome, Skylight, and Sun Light to your hierarchy. These will be the main 3 elements that make up your sky and lighting.

MAKING ADJUSTMENTS
Depending on what sort of sky you are looking for, you will want to pick different colors, rotations, and locations for some of the following elements. Looking at a reference picture from nature photography, or looking at digital concept art can help you if you are looking for inspiration. Below we will go over making a realistic and fully filled out pastel sky.
-
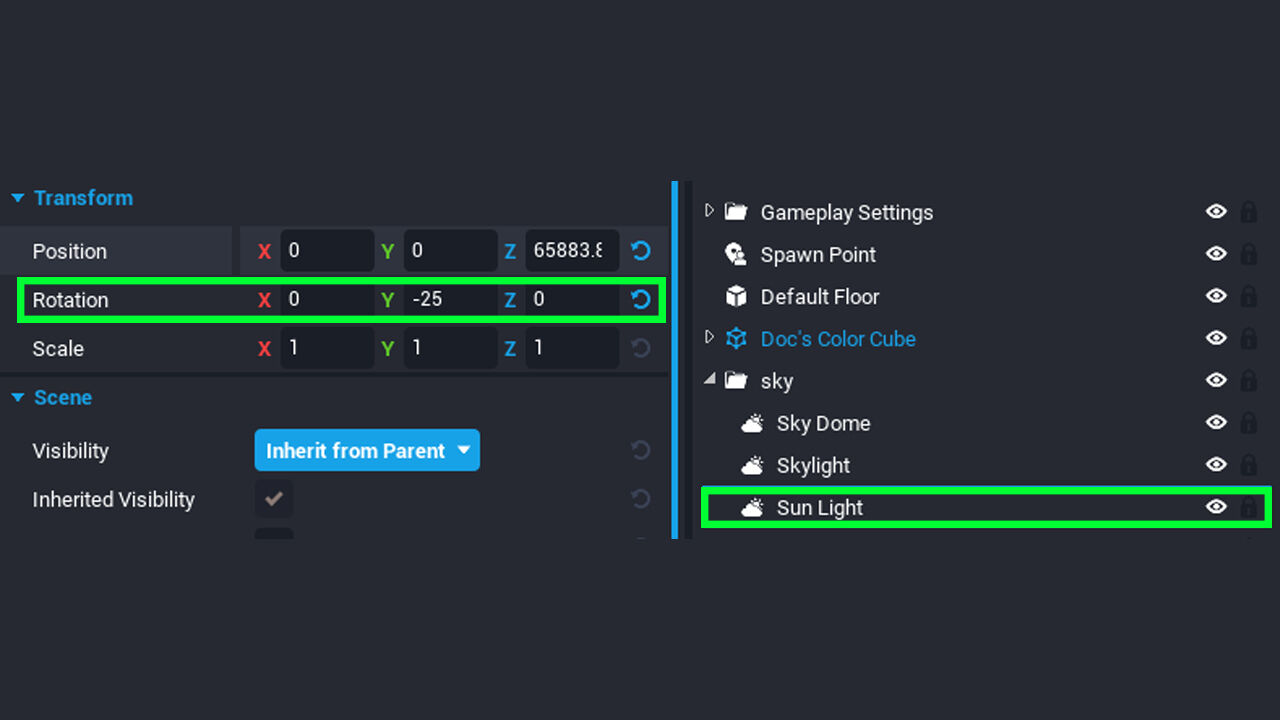
Select the Sun Light element in your hierarchy and change the Y rotation to a low negative value like -25. This will move your sun higher up into the sky. If you would like to rotate it around the sky, simply adjust the Z rotation value accordingly. I recommend that you move these numbers in small increments in order to keep track of your sun in the sky. For now, leave the Y rotation set to -25, and the Z at 0.
-
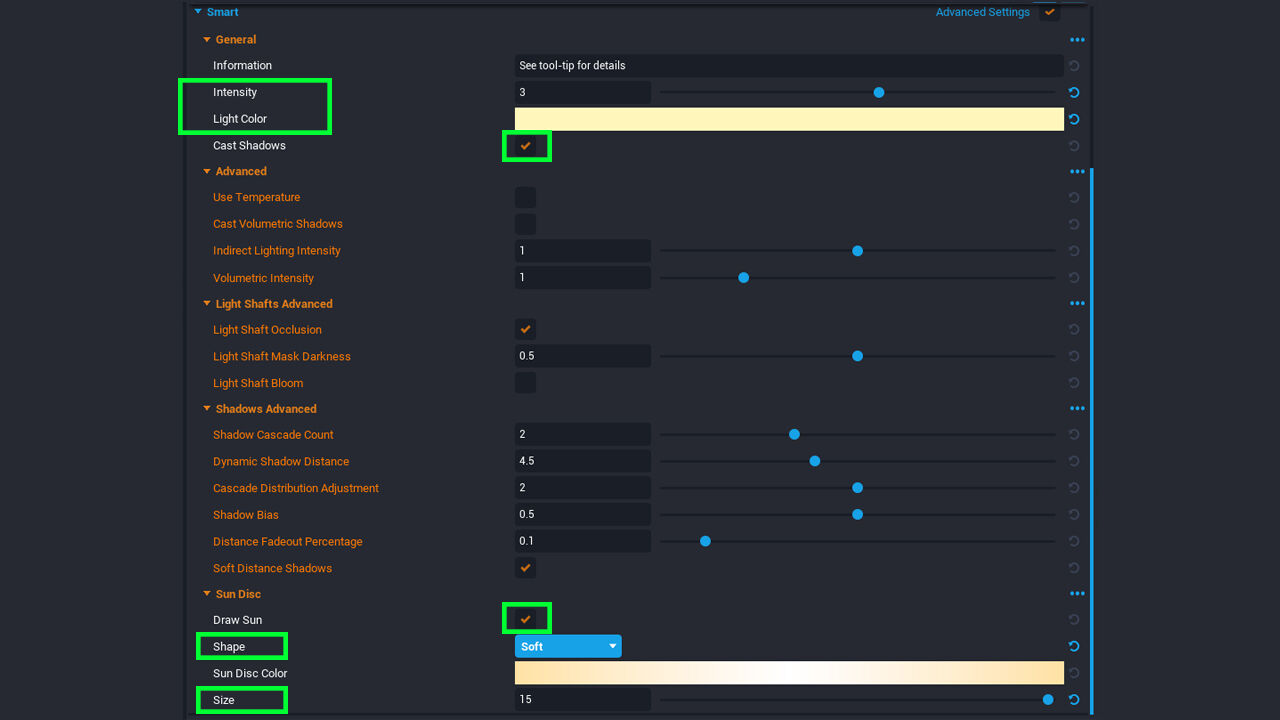
Sun Light Smart Settings: With the sun light still selected in your hierarchy, you should be able to view some smart properties. Start with intensity and light color. For our pastel sky, we will set the intensity to 3, and the color to a light yellow (HEX Linear yellow color: FFEA7FFF). Make sure that the 'Cast Shadows' box is ticked ON, as this will make sure your sun casts world shadows. This is very important for making your world lighting feel genuine. You can play around with the other settings as you wish, but for now skip to the bottom where the Sun Disc property is. Make sure that the 'Draw Sun' box is ticked ON, and change the shape to soft. Leave the color, but change the size to anywhere from 10-15. I would like a much bigger and more visible sun for players to look at, so I will enter a size of 15.
-
Select the "Skylight" in the hierarchy and change the tint color to a light blue (HEX Linear blue color: ABE1FFFF). This will help add a richness to the scene, and take away some of the bright white lights and reflections. I recommend always using a color that is slightly off of white, unless you would like a washed out and bright scene. For now, leave the rest of the properties alone on the Skylight. More advanced blending can be used with them later on, but I recommend first adjusting the Sky Dome properties to your liking (next step).
-
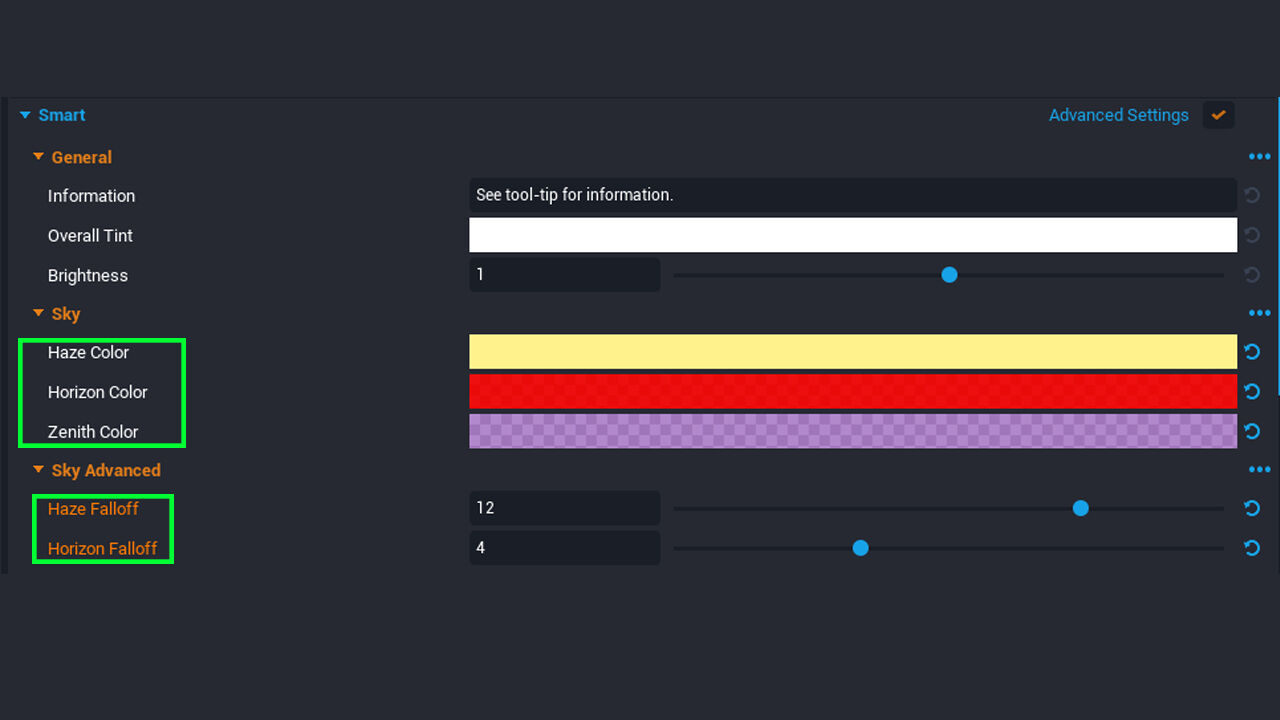
Select the Sky Dome in your hierarchy, and open up all of the smart properties. Since we are going for more of a pastel themed sky in this tutorial, we will not want to choose colors that are too bold in the following steps, but feel free to experiment with these colors as you wish!
First, start off with your Zenith Color. You can think of Zenith as the far off space color. Select a light purple color close to (HEX Linear purple: 8A35DA99).
Next, change the Horizon Color to a very saturated red color close to (HEX Linear red: EB0000E6).
Finally, select the Haze Color and change it to a light yellow color similar to the color we used in the Sun Light above. Keeping these colors similar will help you tie the skybox look and lighting blend together very well.

As the sky sits now, our red color is not showing up much , so we will adjust the Haze and Horizon falloff in the "Sky Advanced" properties. Change the Haze Falloff to 12, and the Horizon Falloff to 4. This will give us a broader visible spectrum of the colors we just selected in the sky.
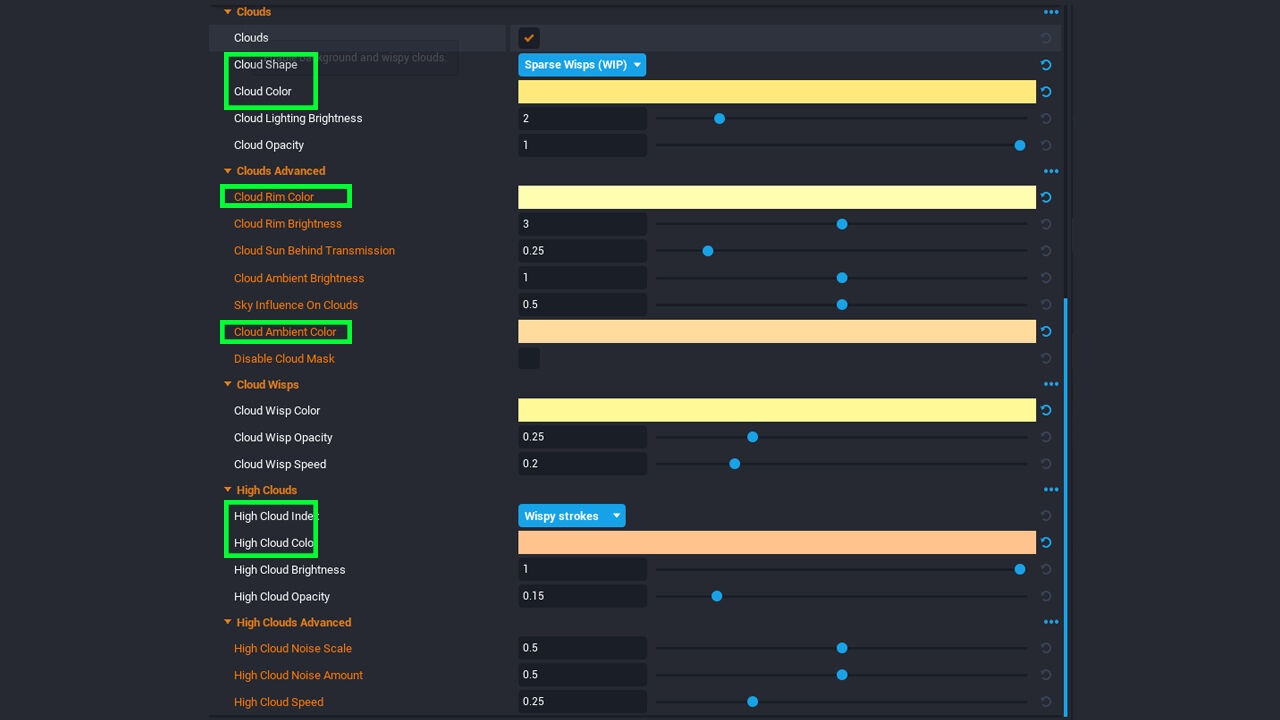
Clouds: Clouds in your sky is up to you, but for this tutorial, we will be adding Sparse Wisps clouds, and high Wispy stokes clouds. Since our sky is very pastel colored, we want the clouds to reflect that by being either yellow/orange or purple. Its always recommended to change your cloud colors from white to light color versions, so that they blend even if it is a small amount. Note that if you change the cloud colors, you should change all of the advanced color properties to be close in color.
ADDING OTHER SKYBOX ELEMENTS
Next we will be adding stars, planets, moons, and MORE!
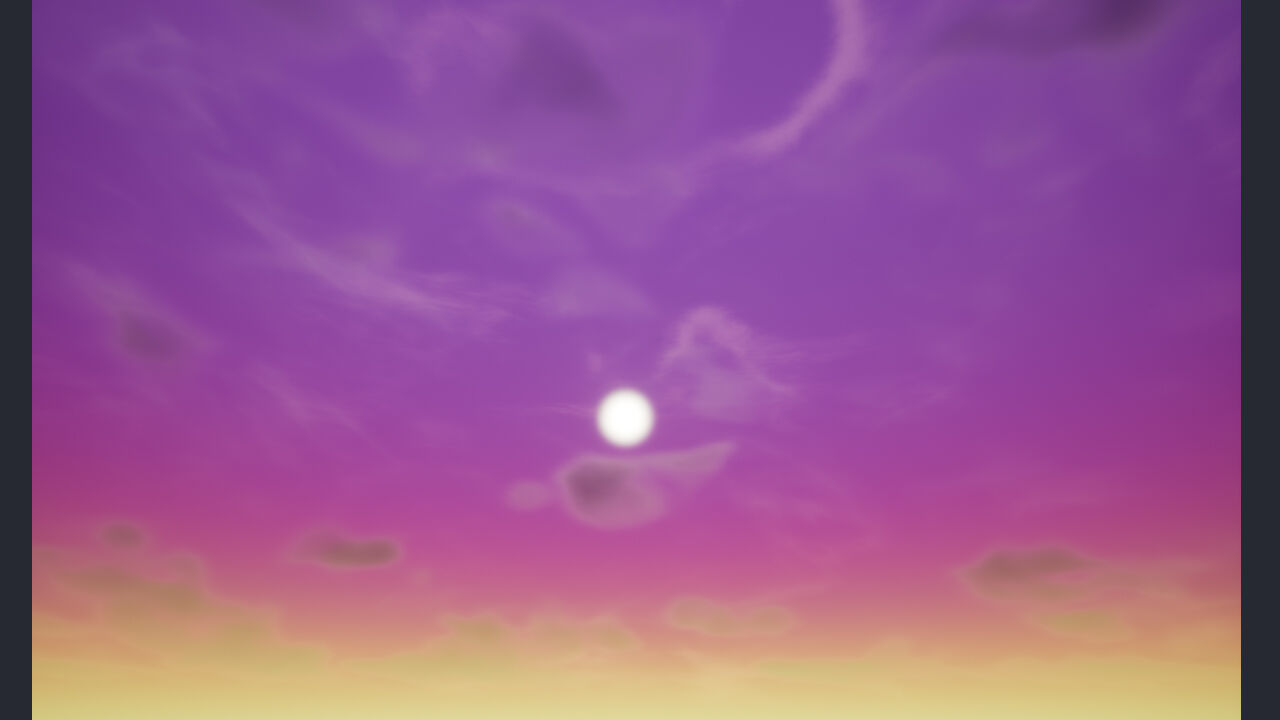
As for now, your sky should look something like this:
-
Navigate back to the Core Content tab, and once again locate the Sky Art Objects. This time we will be adding components like the Moon, Planet, Planetary Ring, and Star Dome.
-
Drag a Star Dome into your hierarchy, and navigate to it's smart properties. Leave the Star Visibility at 1, and lower the Star Brightness to 0.75. This will add some far off stars in the sky, but wont leave them overpowered light nighttime stars should be. Change the Color Gradient to "Full Spectrum" as this will give us multicolored stars in the sky. These stars will always feel better for daytime skies, as they are not as bright.
-
Drag a Planet into the hierarchy. By defualt (if you did not rotate your sun) the planet will be added to the horizon directly underneath the sun. You will only be able to see the top edge of it, and it may be hidden completely if you already have terrain set up in your game. Change the rotation values for the planey to be X=0, Y=-25, and Z=-35. This will adjust the planet into the sky so you can see it and move it a bit easier.
NOTE: If a planet or moon is covering up your sun in the sky, it will also block the light much like a real world eclipse. This can be done purposefully, but leaving the sun exposed and visible to players can give them a good directional lead in any game.
- Repeat step 3 above only with a Moon. You can also repeat it with multiple other planets and moons. The planet and moon appearances can be changed to looks slightly different in the appearance smart property section. If you are going to have multiple planets and moons, it is a good idea to adjust their scale, distance, sky rotations, and also their visual appearance. This will make your skybox look more realistic. Stacking planets in overlapping fashion can also help add depth to your far off environment.
For this tutorial, we will add 3-5 other moons and planets to the sky. If you would like examples of how to place these, please check out the full YouTube video linked above!
- Add a Planetary Ring to your hierarchy from the Core Content tab, and change the rotations to X=0, Y= 122, and Z= 125. This planetary ring already matches our world colors very well, but you may want to change the ring appearance to better match your sky. You may decided that the rings do not fit your map or game well, but in case you did want to add them, and make them visible to players in the game, this is how! Changing the custom properties on the rings should be self explanatory if you have made it this far.
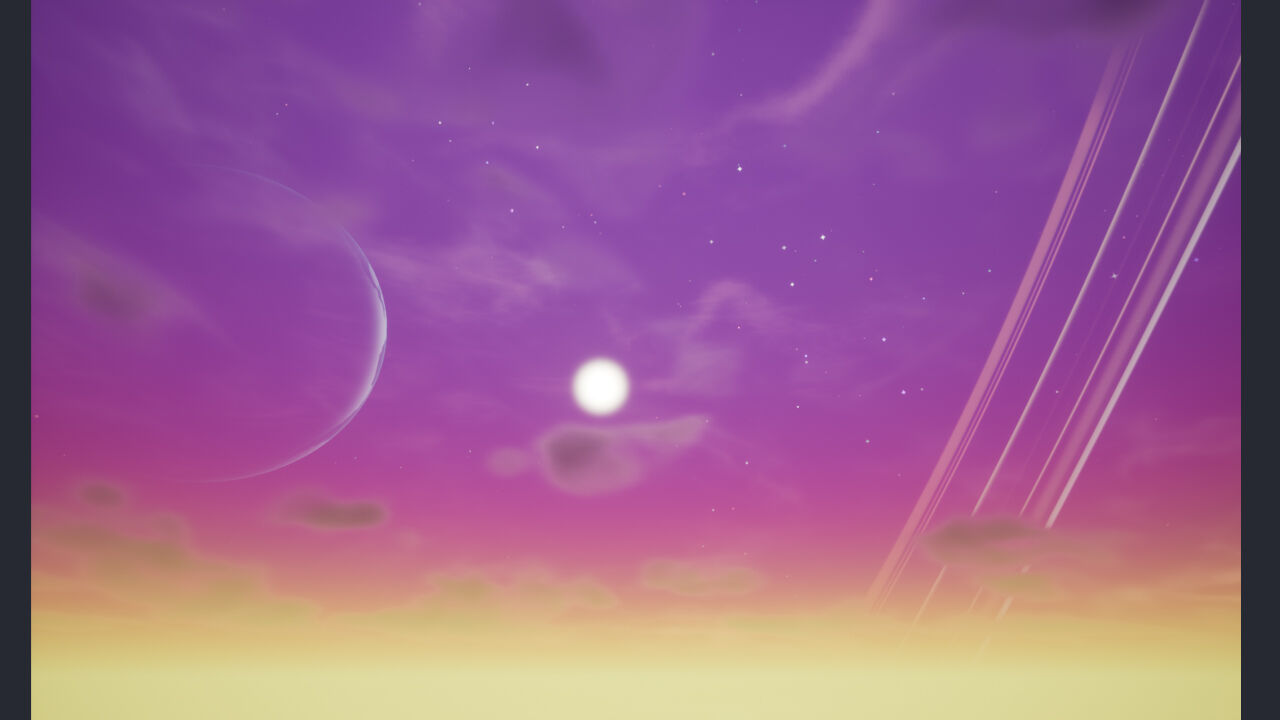
If you added these elements to your sky it should now look something like this:
KEY EXTRA ADDITIONS
Along with the sky elements you have added, there are also some other basics you can add that will bring your sky and entire environment to life.
- Environment Fog Default VFX: This item can be found in the sky elements next to all of the other sky pieces you have already used. By default the environment fog is VERY overpowering, so below I will walk you through smart properties to make it look great in our new pastel sky.
Start by changing the color to a warm orange or red. Fog can be any color you want, but for now we will select a color that matches well with the rest of our sky edits. Lower the Density property to 0.80, and change the Opacity to 0.5. These will be good starting points for the fog in any map. If you would like to conceal far off areas in the game, bump one or both of those numbers up until they reach your specific liking. I recommend leaving the advanced fog properties alone, and just using the general smart properties to get the feel that you want.
- Post Processing: These elements can be found in the Core Content tab under their own folder. Post processing FX should be fine tuned for each map and gameplay experience, but below I have outlined 3 of my favorites to use with every skybox.
Lensflare Post Process: This element will give you sun lensflare when players look towards the sun in the sky. This gives players a HUGE level of immersion, and the post process will do all of the work for you upon set up. I prefer to use the circle rainbow shape flares with a Bokeh Size at 4, and a Threshold at 2. I find that this is the perfect level of sun interference for players without being overwhelming.
Ambient Occlusion Recolor Post Process: This element I tend to use right out of the box with no changes. It will add a depth of shadow and shade to certain items and overhangs that helps your environment feel much deeper and richer.
AutoExposure Post Process: This is another element that should work perfectly out of the box in the sky we have just created. The properties here can be fine tuned for any sky, but this will help to balance all of the elements we have just placed in the game to help make the skybox.
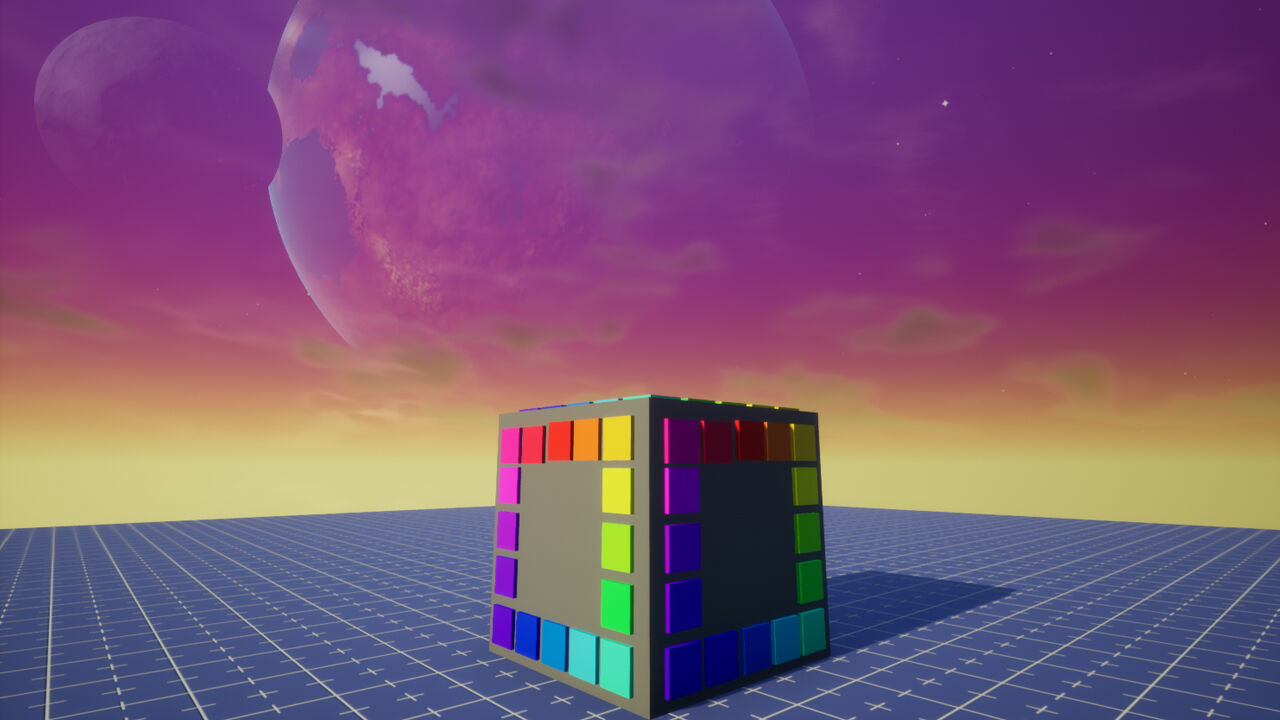
Note: post process items will normally effect everything in your game, not just the sky lighting. Remember to check the color cube you downloaded from CC to see how these elements are effecting all of the colors and other elements in your game. This cube should provide a fantastic example of how shadows and depth will change.
Here is a side by side before and after on what this sky looks like with fog and post process FX.
You can download the skybox from this tutorial on CC by looking up "Purple Sunset Skybox Tutorial":
LAST NOTES
I recommend taking all of the elements just added to the hierarchy and placing them into a new folder called "sky" or something that you will remember.
Adding a simple terrain file or adding some grass material to the default floor in a scene can help you envision what a world might look like with your skybox.
Sky Domes can be scaled up like any object in Core. If you are building a massive open world, or a giant space game, you may want to increase the scale of the sky dome by 5-10 times. You will also need to adjust planet and moon distances accordingly.
Nebulas act just the same as planets and moons in this tutorial. They can be added to any sky to add tons of color to a skybox.
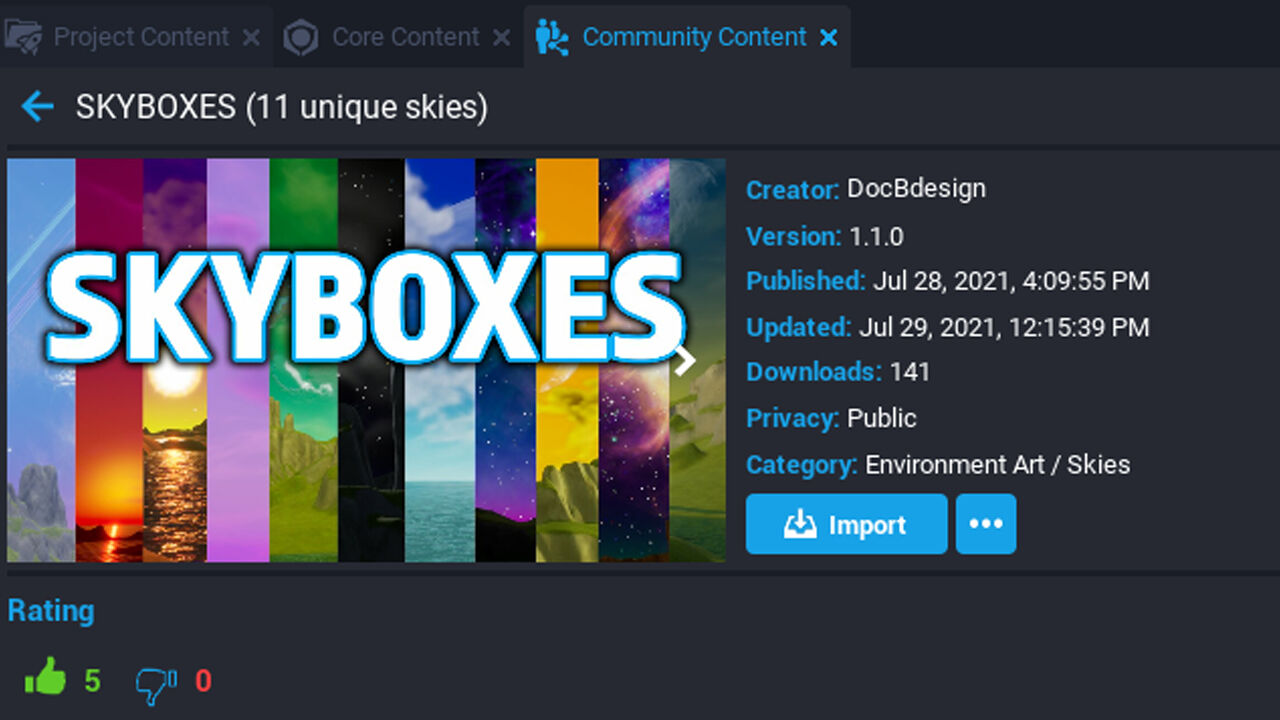
Don't forget to check the "SKYBOXES (11 unique skies)" CC. This community content pack has 11 skies that you can use as a starting point for your game and use to learn.