GUIDE TITLE: Skyboxes and Lighting
ESTIMATED COMPLETION TIME: 10-20 Minutes recommended
CORE VERSION: 1.0.217-prod-s
SUGGESTED PREREQUISITES: None!
TUTORIAL SUMMARY:
In this tutorial we will be making a gorgeous skybox for both the day and night!
EXPECT TO LEARN:
You will learn some of the hidden features of the Sky Dome, Skylight, Sunlight, and the Environment Fog Default!
END PRODUCT VISUALS:
This tutorial is here to give you the tools you need to bring your skyboxes to the next level. 
TUTORIAL:
~Example CC~
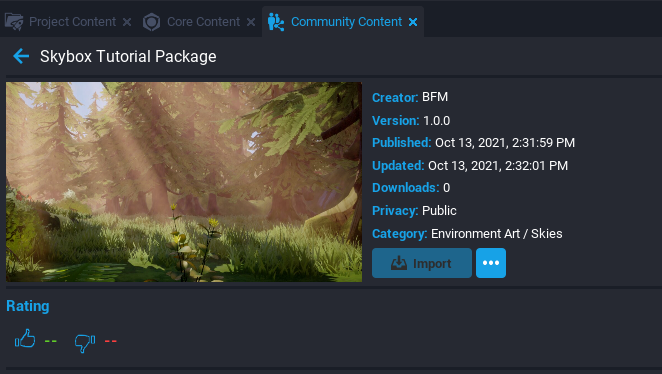
The example Community Content package is available to download under the name "Skybox Tutorial Package" in the Community Content tab of the Core Editor. You can find the tab by opening a fresh project and it will be on the bottom left net to Core Content, and Project Content.
~Video~
I have compiled a short video version of this tutorial here :
~Text~
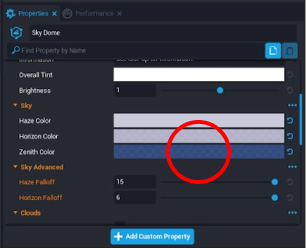
First thing you are going to want to change is the Zenith color in the Sky Dome properties. I changed mine from a dark blue to a light teal.
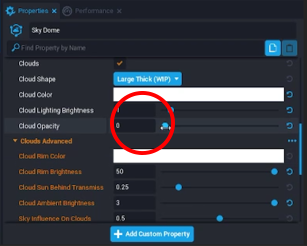
Next go through the various cloud properties of the Sky Dome. Change their opacity to whatever you feel comfortable with. I personally prefer them to be at around halfway. This allows some breathing room between the layers and makes their transitions less harsh.
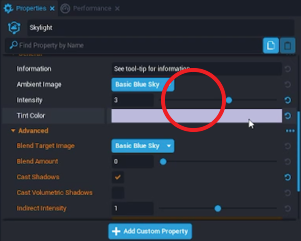
Skylight is next on the list. We don't need to modify this too much for the look we are going for in this tutorial. Something to keep in mind when adjusting the intensity is that this effects all objects regardless of angle, so you don't want this too low or too high. I personally keep mine a bit on the lower side, and if its day bring its color to a more warmer tone like white-orange and if its night white-blue.
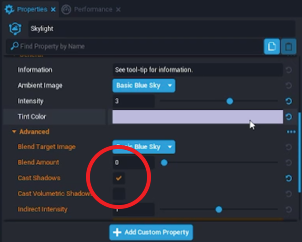
One last thing you will want to do is turn off the Cast Shadows option. We don't want too many things casting shadows in our scene!
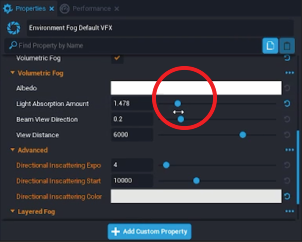
Before we get to sunlight, we are going to want to drag in a Environment Fog Default VFX into our scene. In its properties you will want to turn on Volumetric Fog. This is what is going to give our sun the god rays we desire!

First thing you will notices is that it looks really swampy.
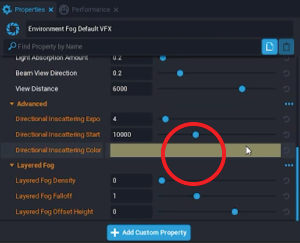
Your gonna want to scroll down and look for the Directional Scattering Color property and change that to a color more preferable, like white or light blue.
Then we are going to want to turn up the Light Absorption and Fog Density to about 2.5, and Layered Fog Density to 2. This will really give our sunlight some more volume.
Last but not least we are going to want to change the Albedo to more of a very light orange. This will make our sun rays look more natural.
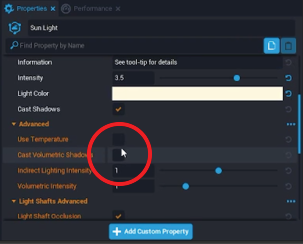
Finally lets look at the Sunlight. We are going to want to turn our intensity to 5 by typing in the value manually. Make sure Cast Shadows and Cast Volumetric Shadows are turned on. Turn up the Volumetric Intensity to whatever you feel comfortable with.
Your scene is now ready for foliage! Create the geometry of your choice that will obstruct the sunlight for your sun beams. Now bask in your gorgeous new skybox! 
