GUIDE TITLE: Kitbashing : Concepts & Execution in Core
ESTIMATED COMPLETION TIME: 10-20
SUGGESTED PREREQUISITES: None - Good for beginners
TUTORIAL SUMMARY:
Find art - Make art - Have an awesome time!
EXPECT TO LEARN:
Where to find model concepts for your builds - Concept management - Building models
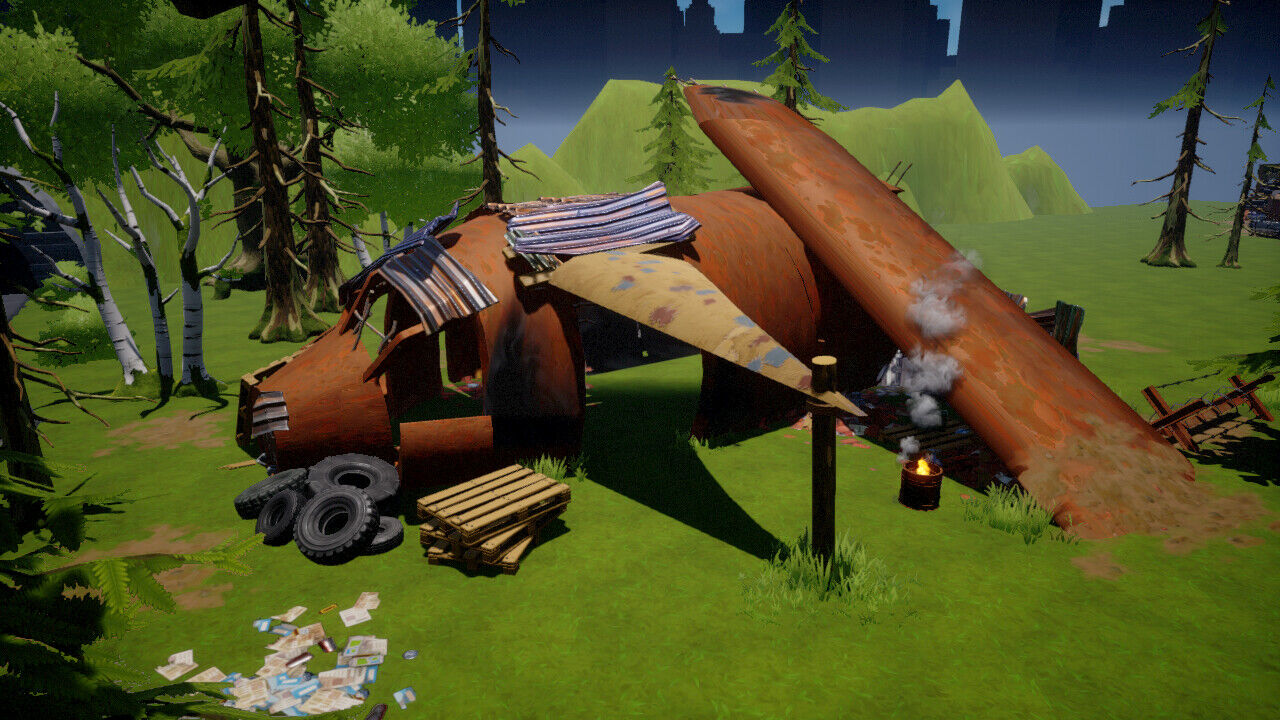
END PRODUCT VISUALS:
TUTORIAL:
Assuming you are new to Core and you're looking to make your mark. The Community Content tab can be a little daunting.
Thankfully, Core does a great job of providing ideas for creators through game jams, contests and competitions. Again assuming that you are new, not involved in anything as of yet and would just like to create something.
Where do you start? What do you make? Great question!
The answer is - Whatever you want to make!
My first creation in Core wasn't that impressive. (Not at all really) But clicking "submit" on my first creation and making it public gave me the courage to keep creating. Stretching those creative muscles and seeing what was possible to make and do.
BTW - my first piece of content was composed of 2 primitives and 2 materials. A simple turkey leg. As I mentioned, nothing to cheer about but it's nice to see where you've been and appreciate your growth after some time has passed.
I'd like to share with you one of my more popular pieces of community content. Where and how I found it, and how I made it.
Let's talk about concept art.
Pablo Picasso is widely quoted as having said that “good artists borrow, great artists steal.”
I don't consider myself either but what I do know is that the majority of games, game art, and a lot of art concepts are in fact - variations of someone else's work. And that's okay so long as it's done with respect and attribution.
Two of my favorite places to get inspiration for game props are Artstation and Pinterest
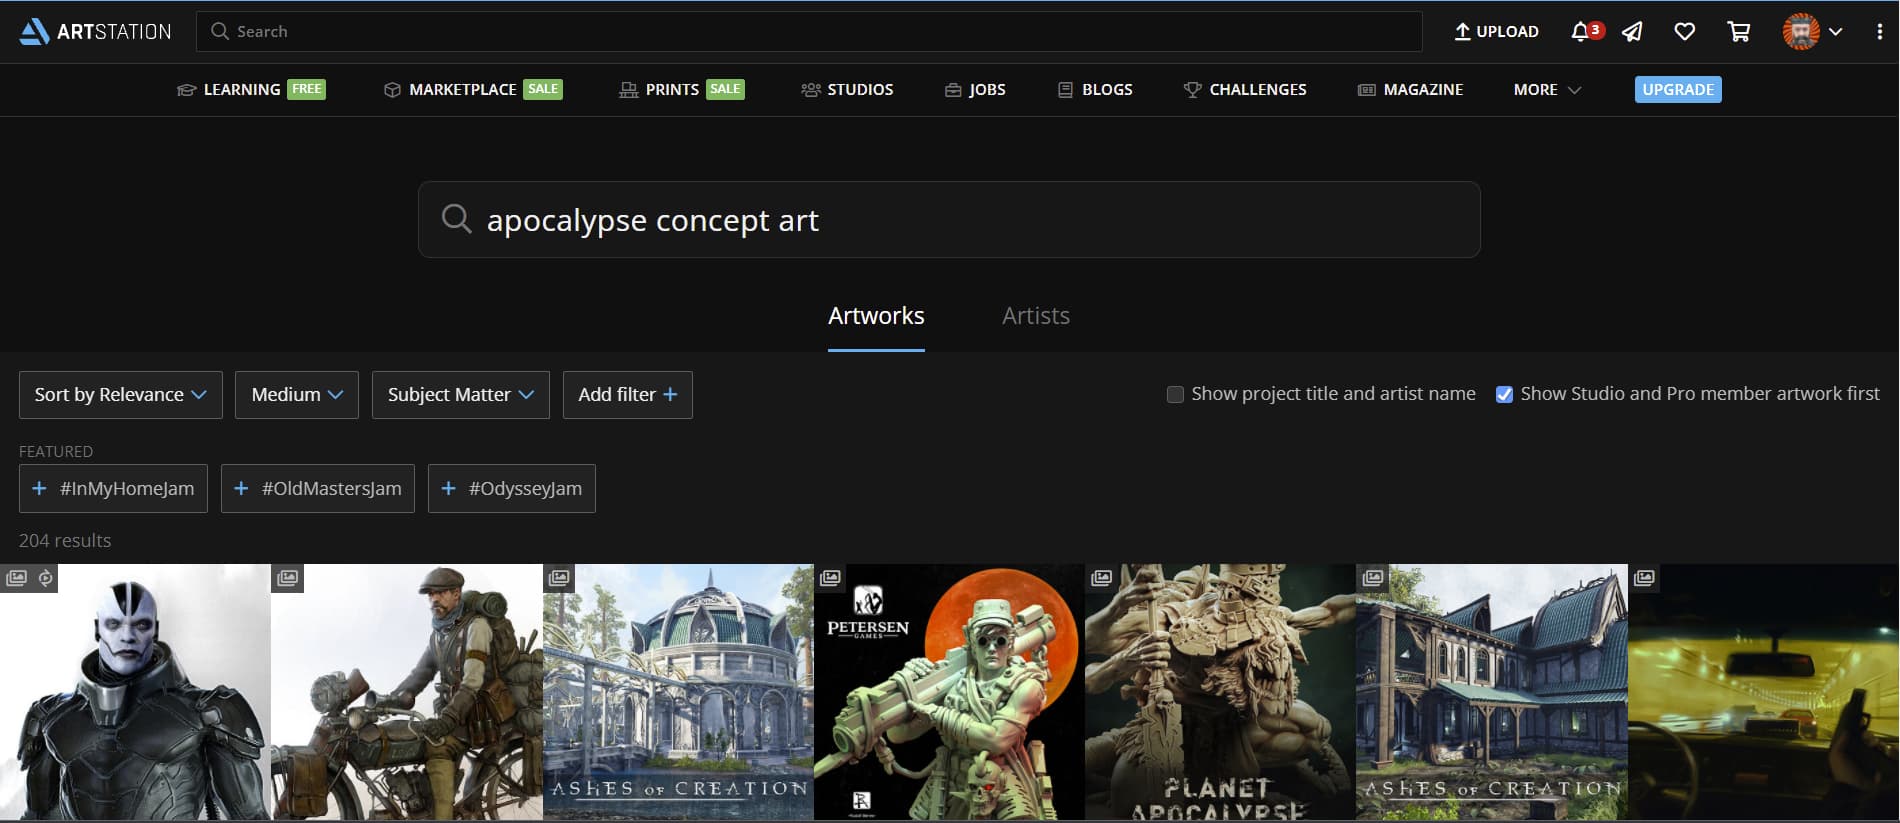
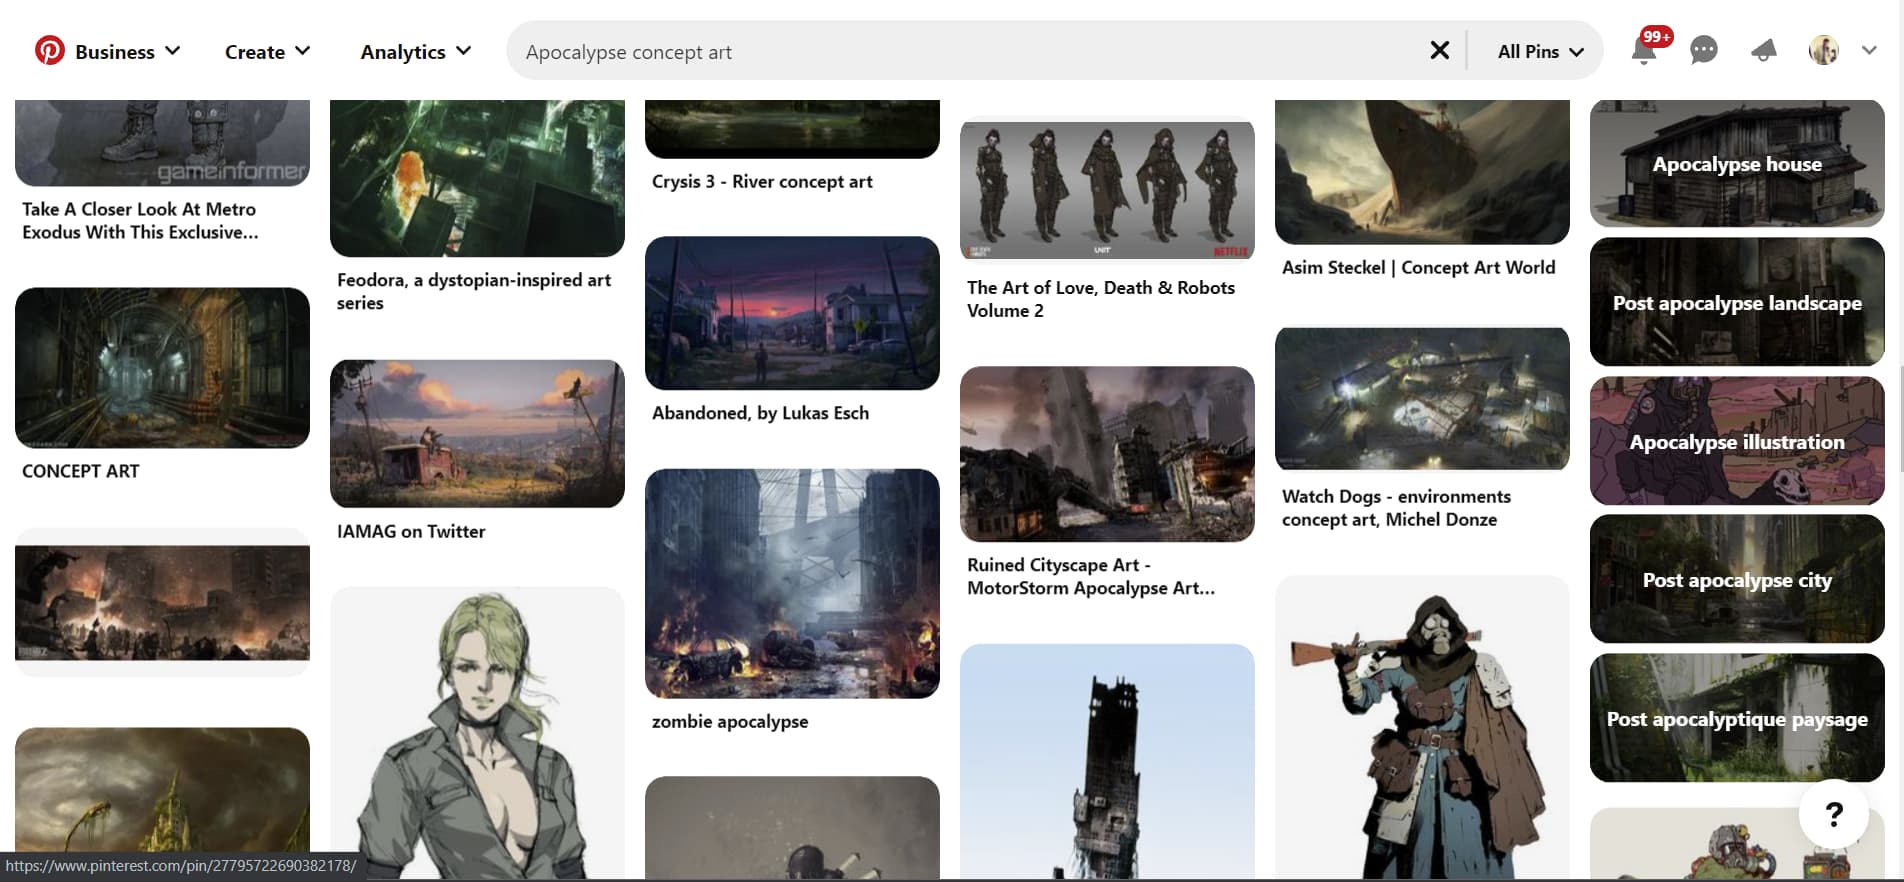
There are thousands of beautiful pieces of art, props and scenes that can be used to provide inspiration for you.
Let's talk about concept management.
If you are like me, you probably have a docs/pics folder that is littered with thousands of pics and files. No order, or the infamous, "to be sorted" one day...
Here is an awesome tip - GET PUREREF
It's AMAZING and totally FREE.
The one place to section off your art, manage it and access multiple sets of files easily.
You can throw as many pics in this thing as possible and save them in separate files.

It's really amazing and I highly recommend it.
PureRef can be downloaded HERE
Finding the ONE
Once you have found your inspiration piece. Grab a copy of if and throw it into Pure Ref. Make a couple of copies.
One for PureRef, One for backup and one to "block out" with.
Block out is not any type of official terminology. I just kind of made it up.....
My concept piece - Bandit Camp 2 by Sergey Shilkin - Sergey's ArtStation Account

Blocking Out:
So you have an image that you want to make, what's the next step?
In my opinion - perspective, size and base shapes are the priority.
Looking at this picture - what base shapes and or pieces do you see?
Here is how I take apart a concept piece of art to start building it.

It's very easy to start making something and focus down on the minor details. Next thing you know your creation is either WAY too small or extremely big.
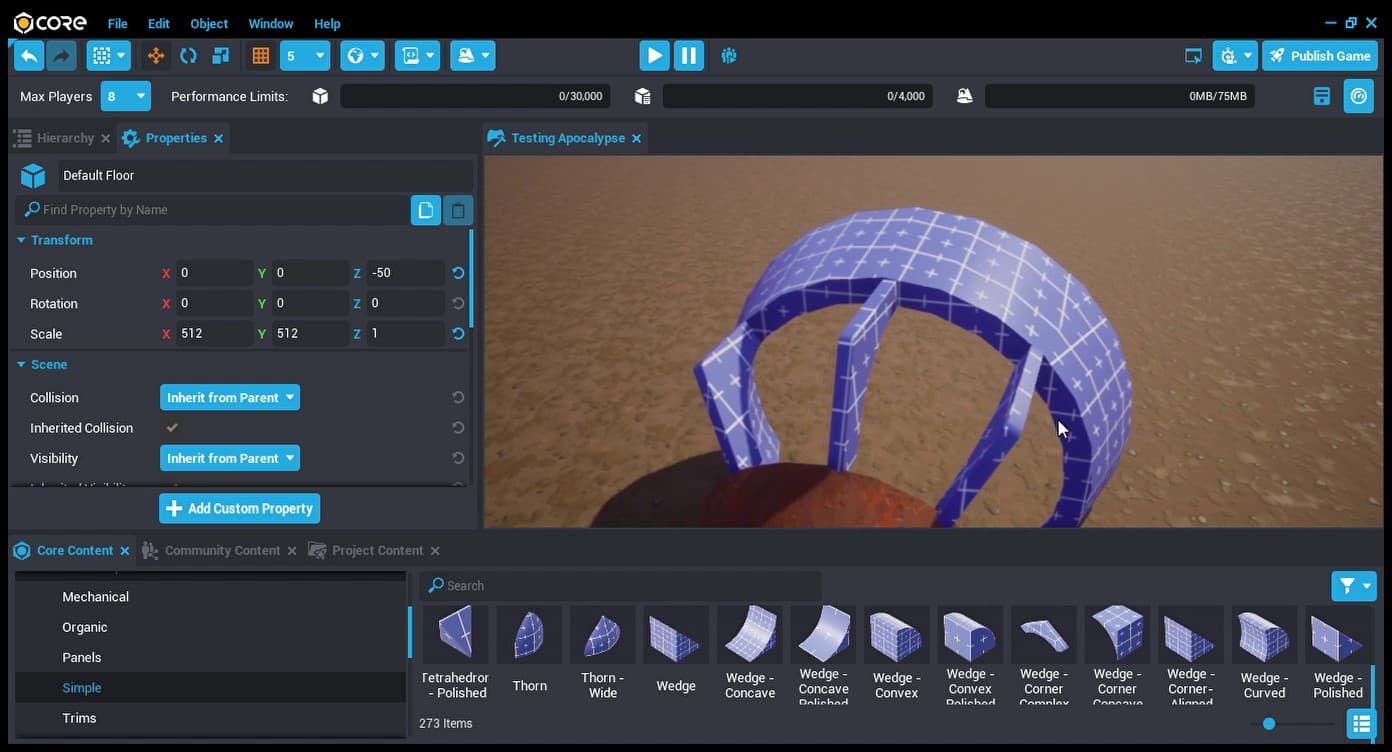
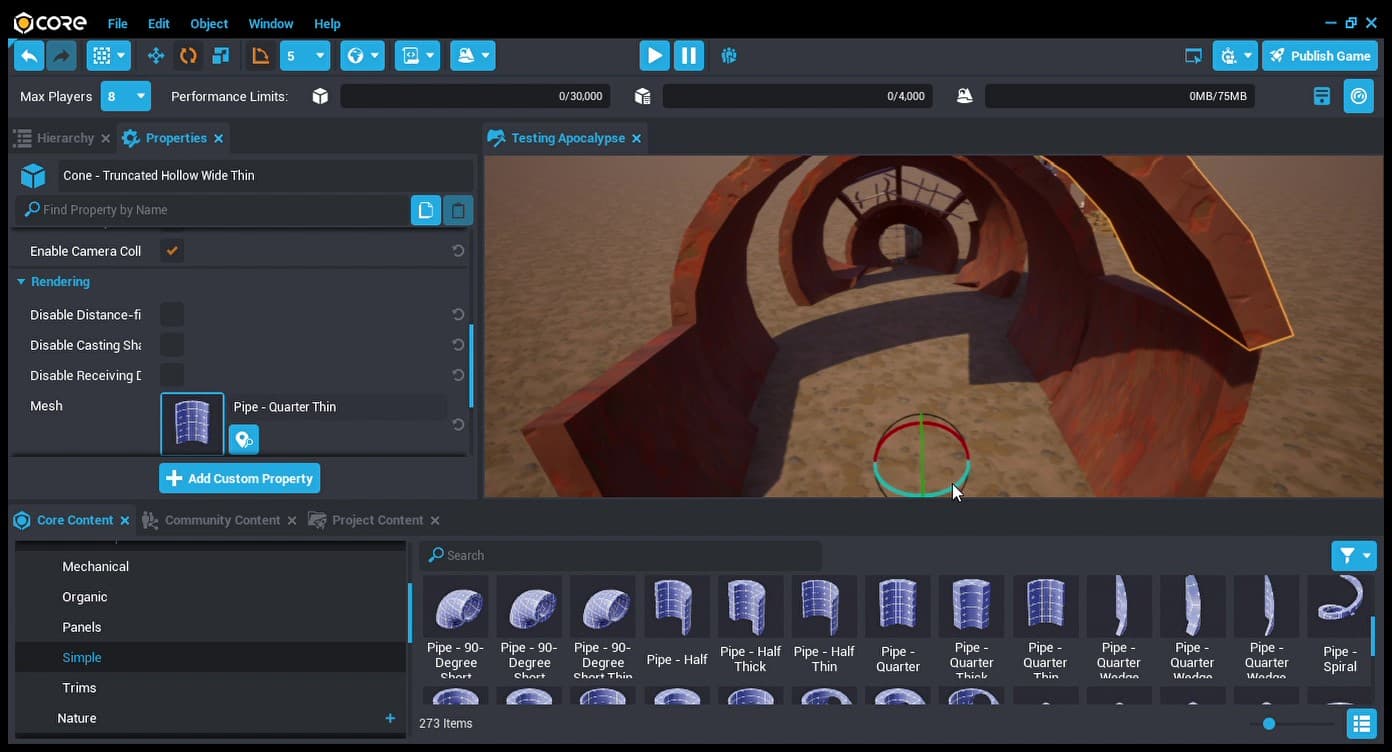
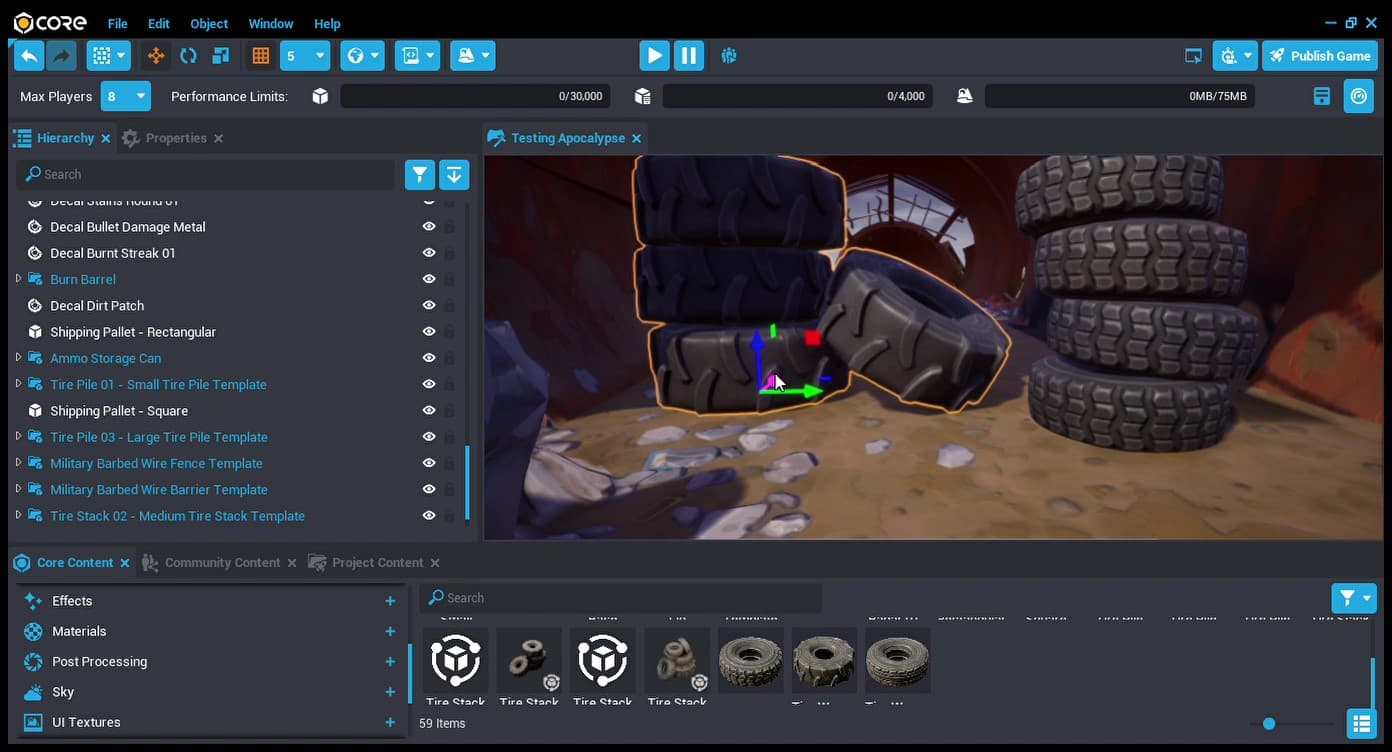
Once you have an idea of the basic shapes involved, it's time to start digging through the primitives in Core.
Identify your starting point and pull in a shape that works best based on your idea.
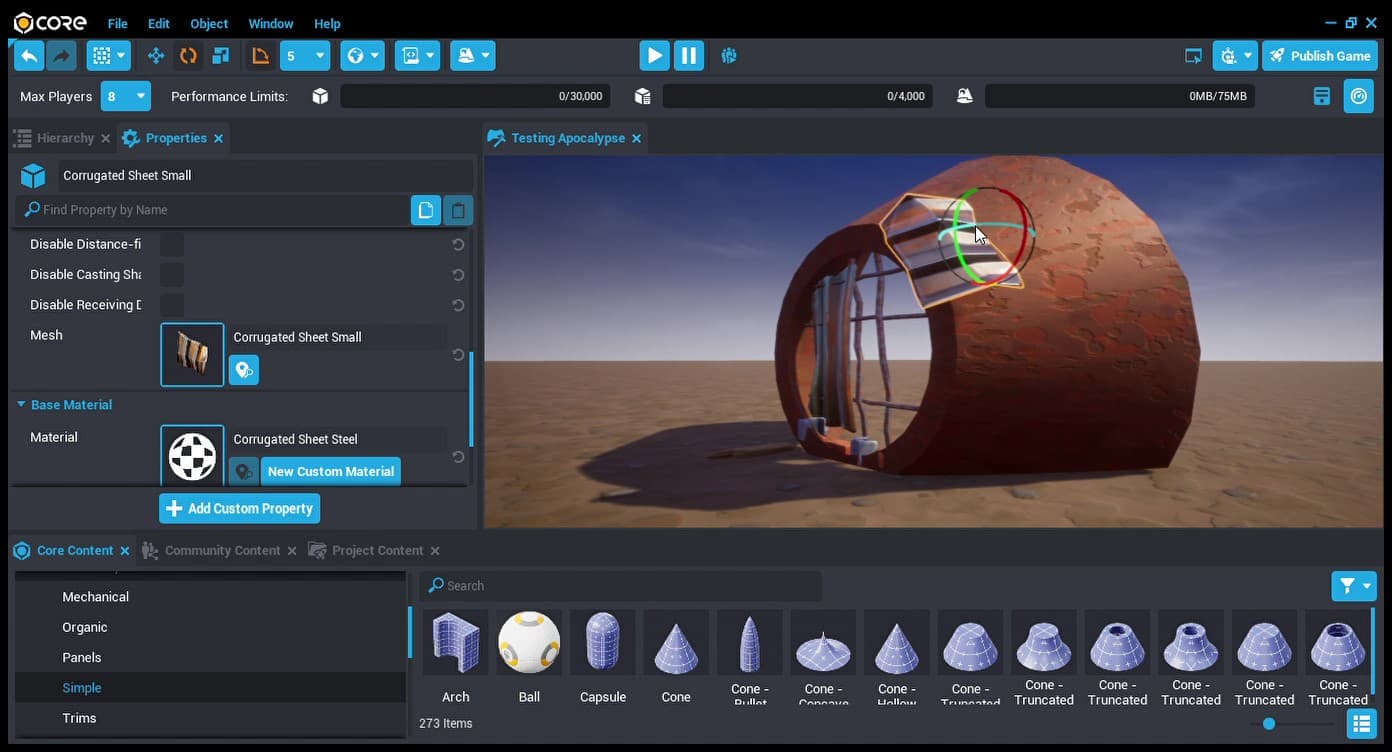
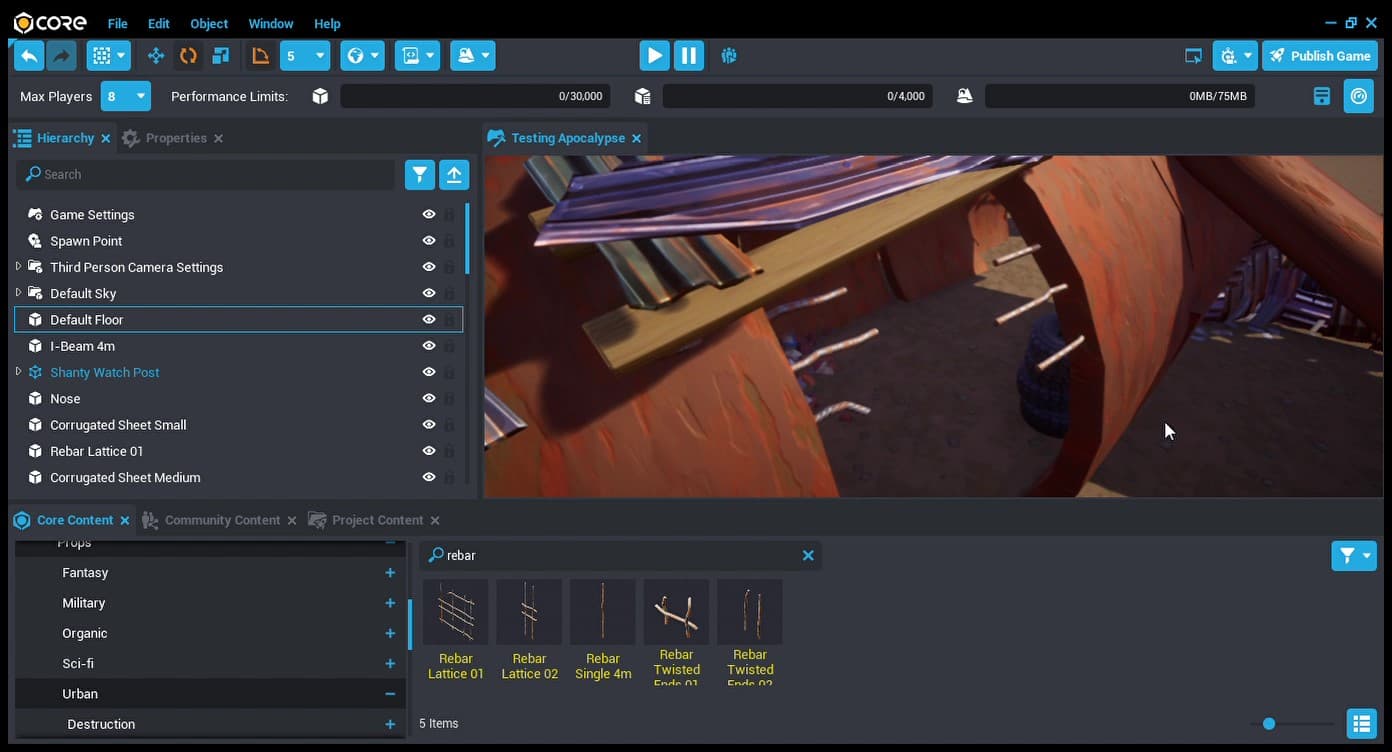
Focusing on the nose of the plane was my starting point as my concept was only a single picture from the front of the wreckage.
Being creative with shapes that are available is a must. There is always a chance that the growing library of primitives and props may not be an exact fit for your design. This allows you to change the concept from an exact copy to an original design. Enjoy the process!

I enjoy the creation of apocalyptic props and scenes because you have a little more freedom to be reckless in your design.
Don't be afraid to jump into the scene and see how it feels to walk around, run through and jump or climb over your creation!
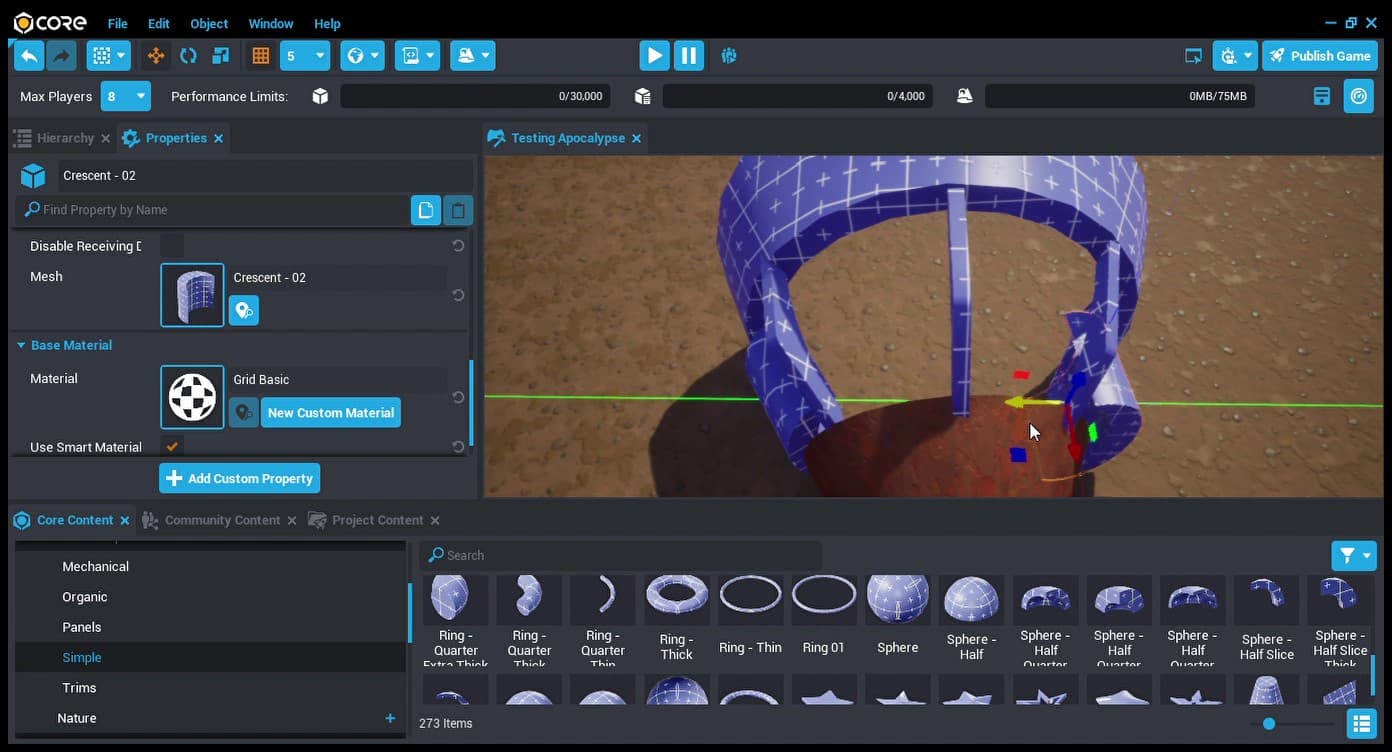
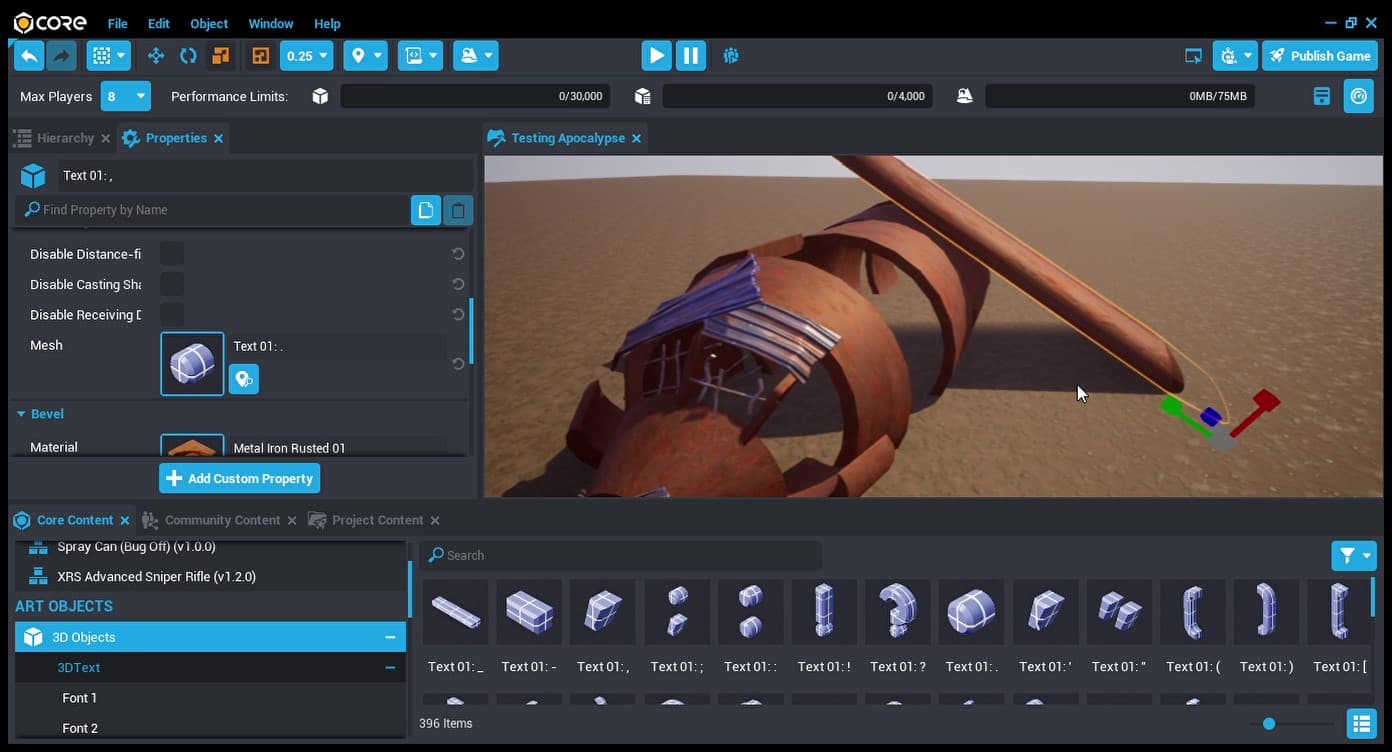
Adding some pieces - Pipes, simulate the wreckage aspect of the plane.

Do not be afraid to utilize letters, numbers and pieces of punctuation to meet your needs. The wing on my plane wreck started as a comma.

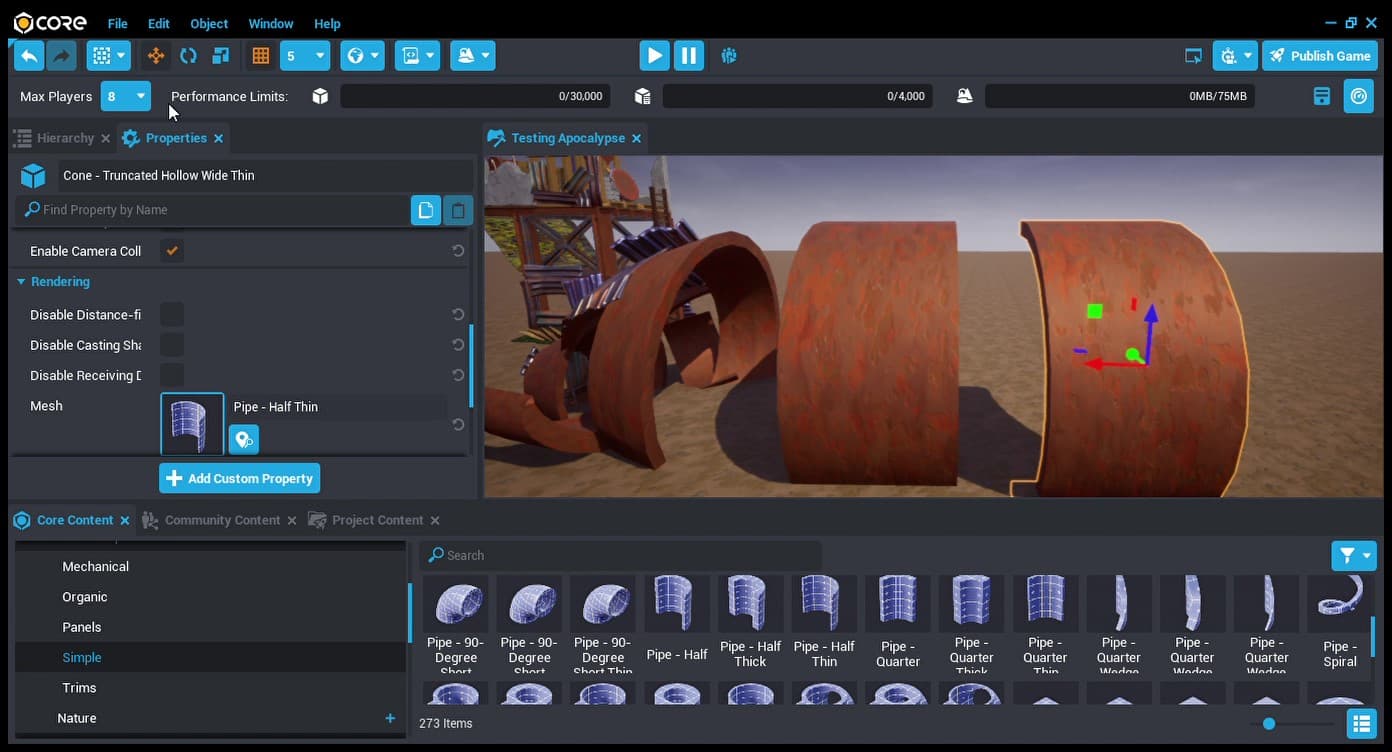
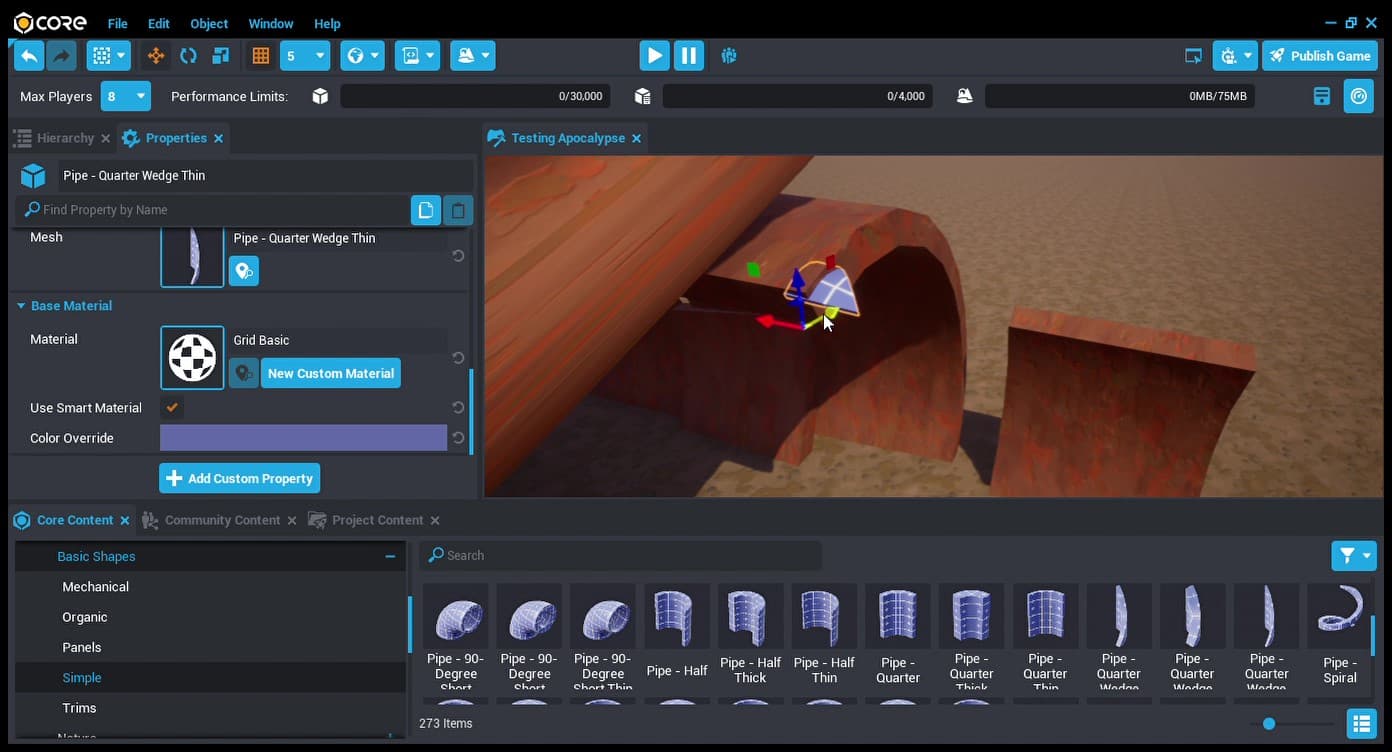
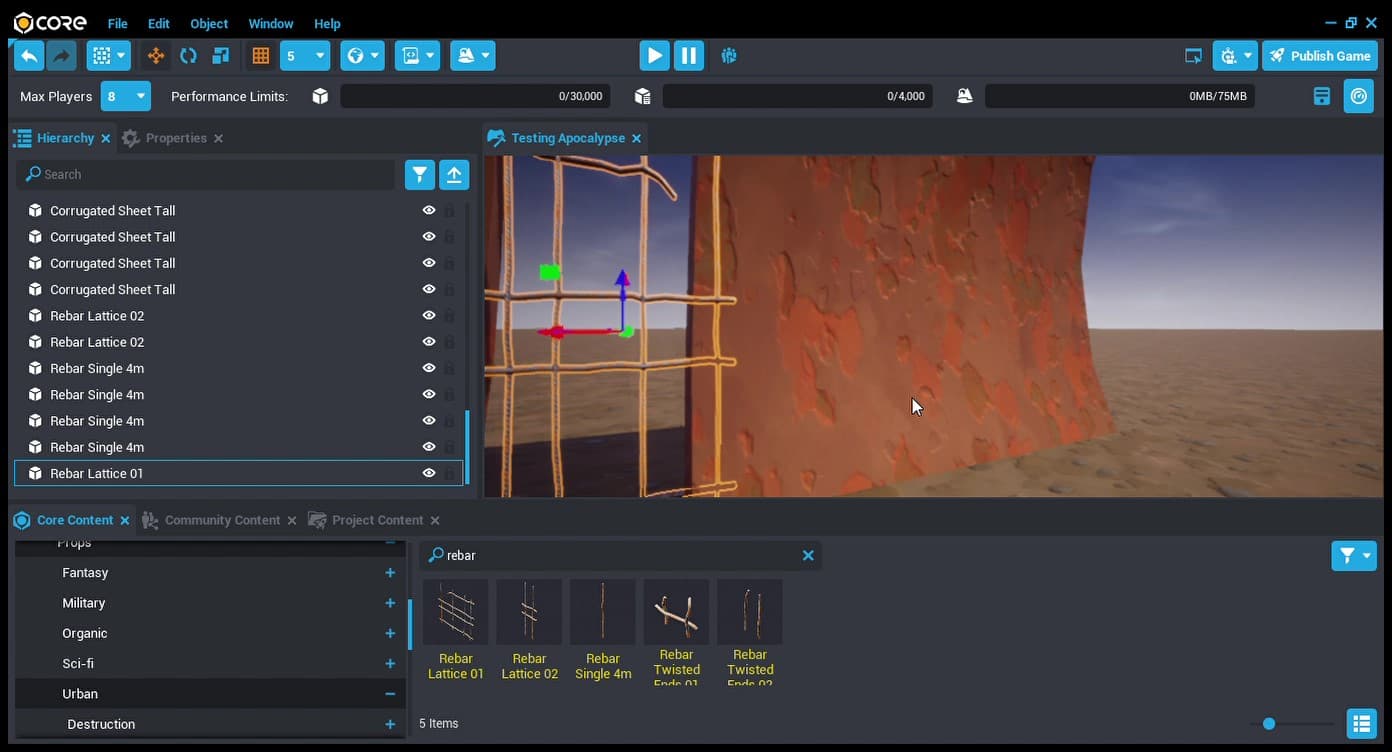
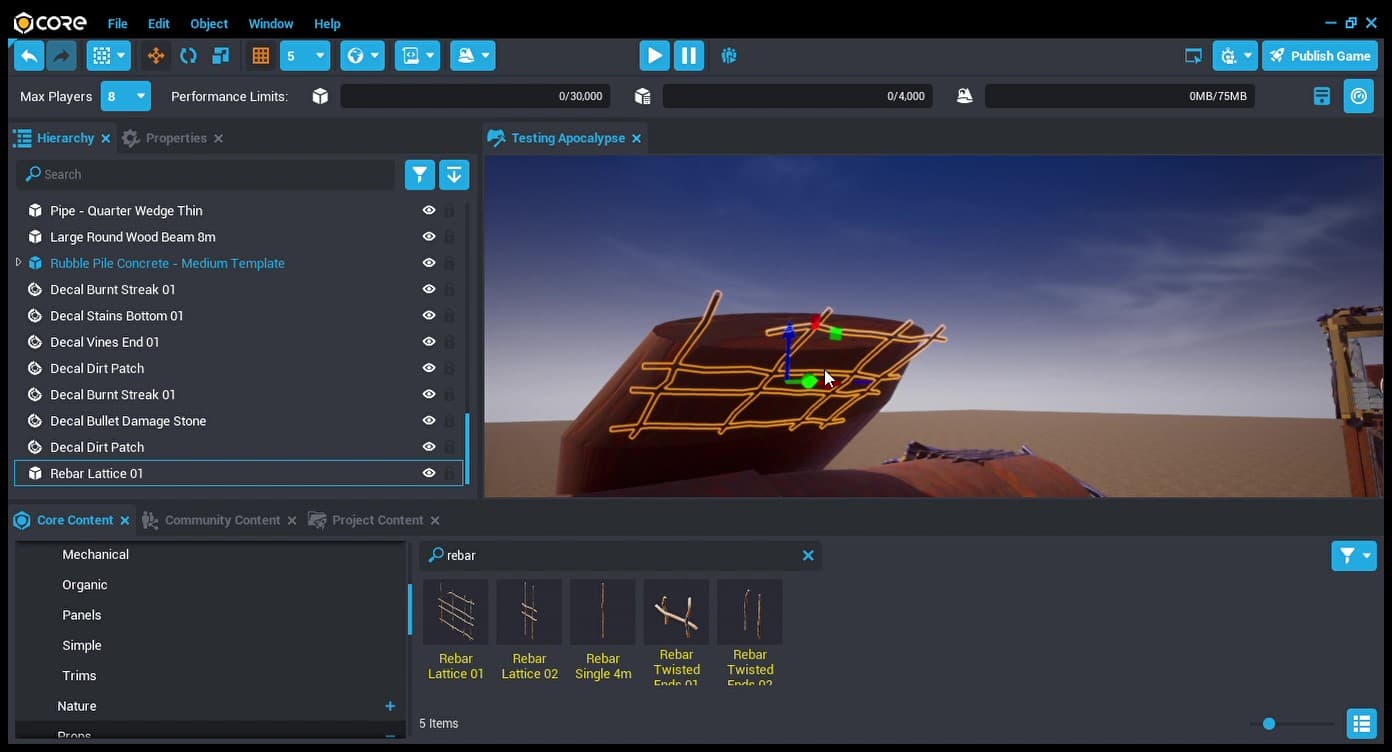
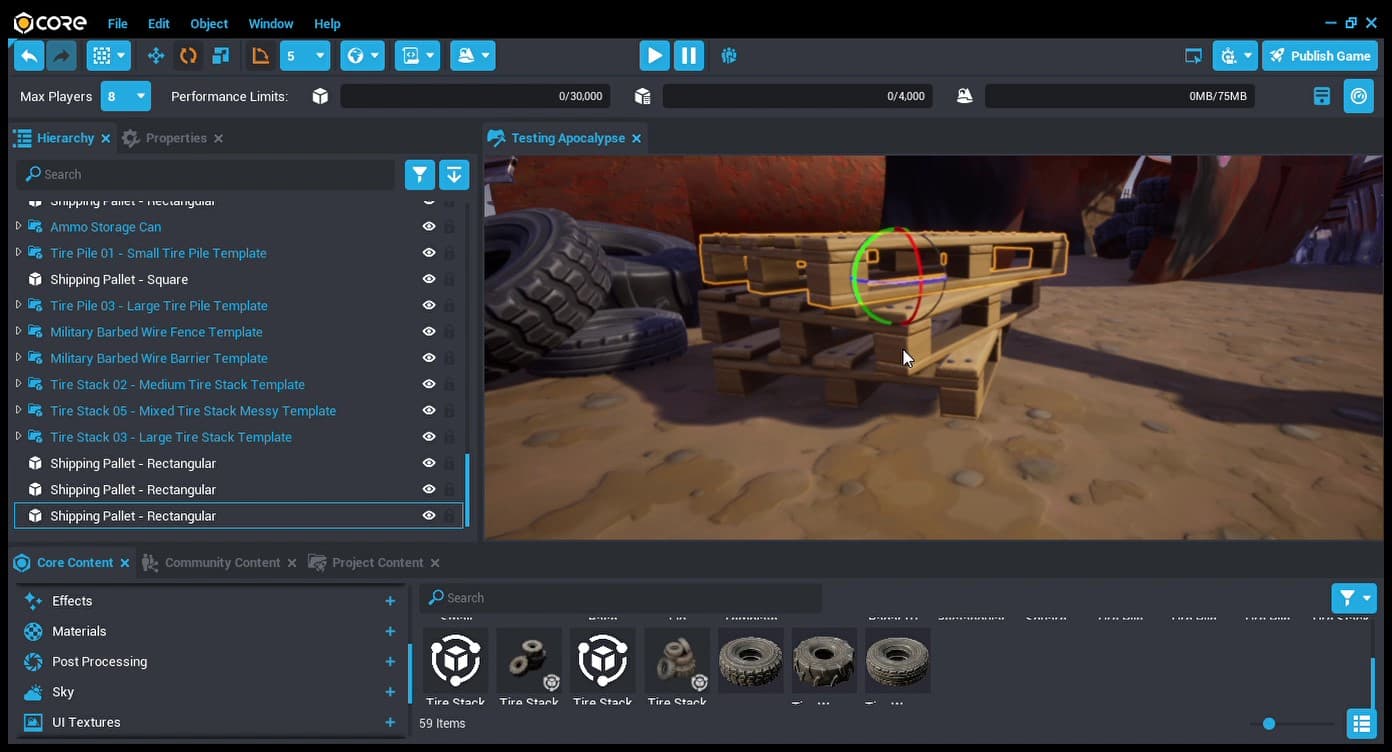
Once your main pieces are set - You can start to add supplemental details.
Here I am simulating wreckage and torn metal with shapes and rebar.

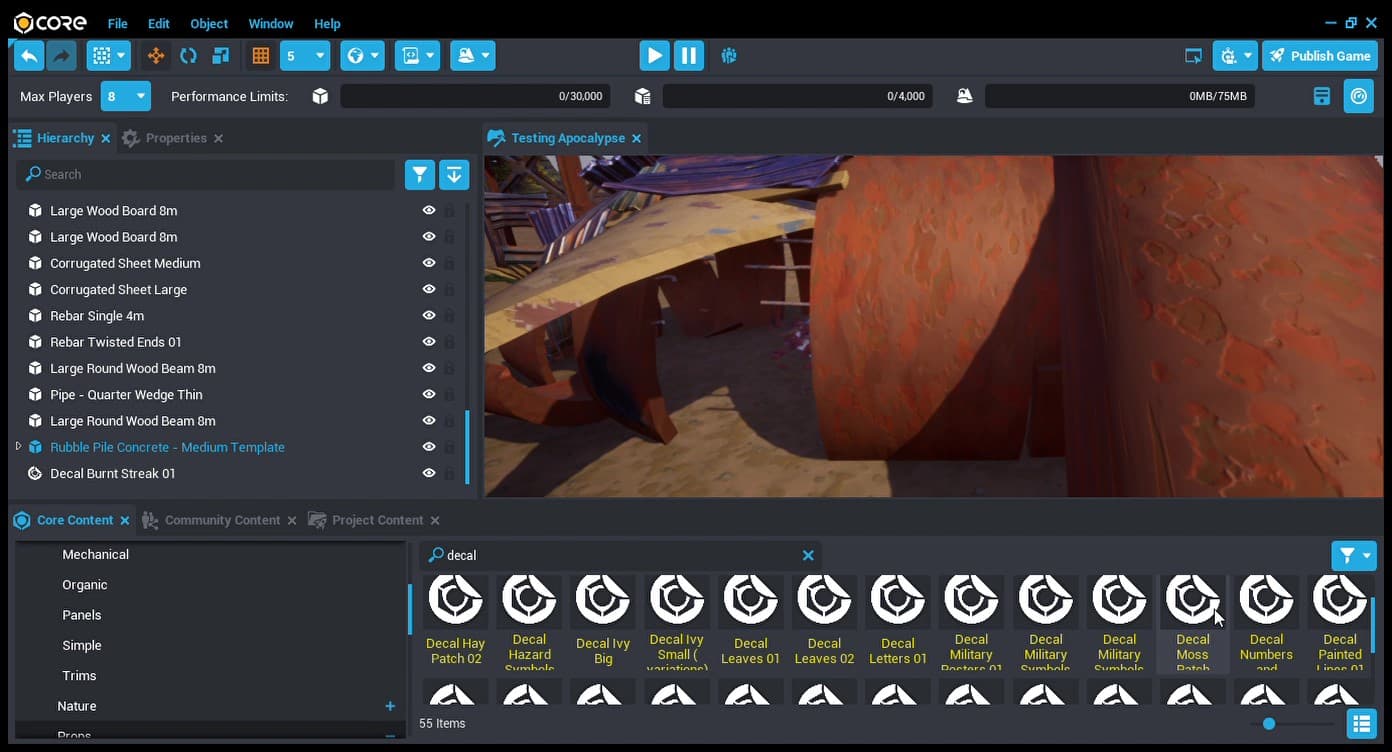
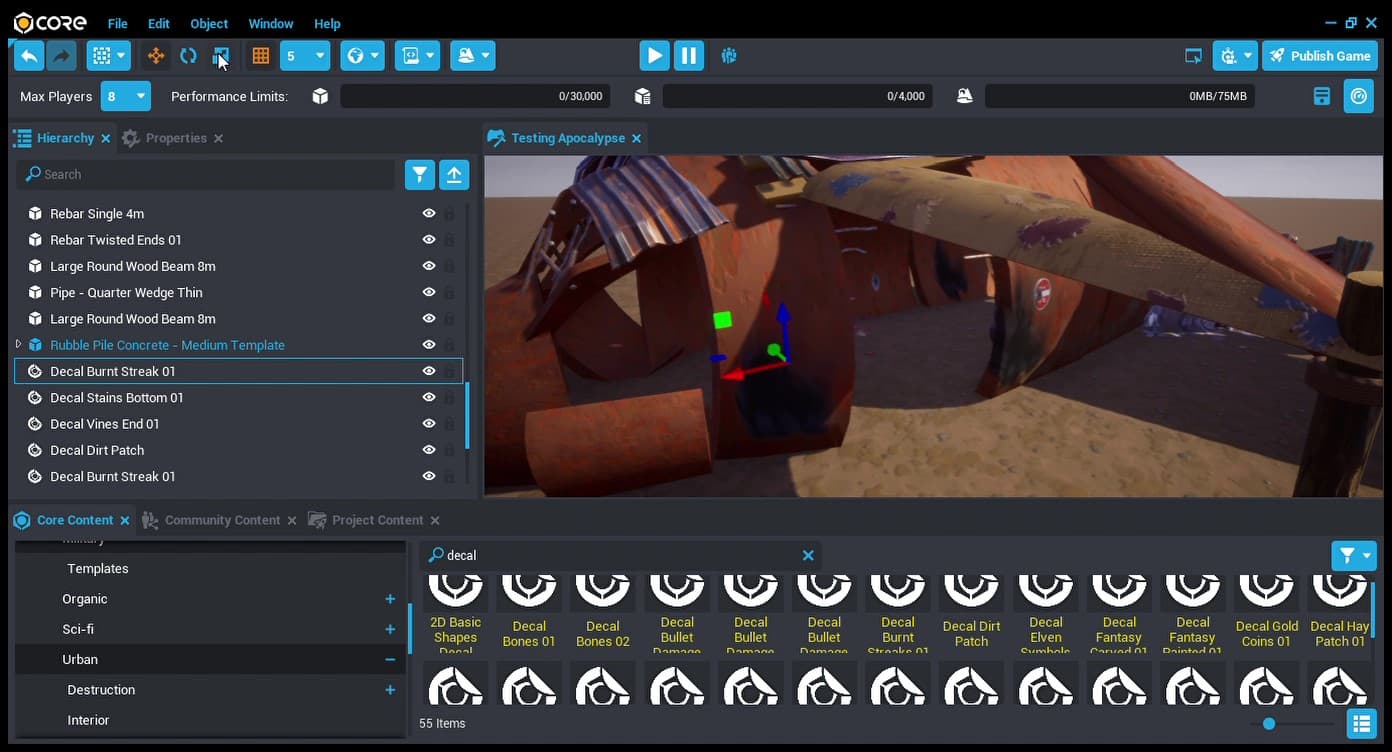
Add some perimeter rubble and start to close up the shapes:
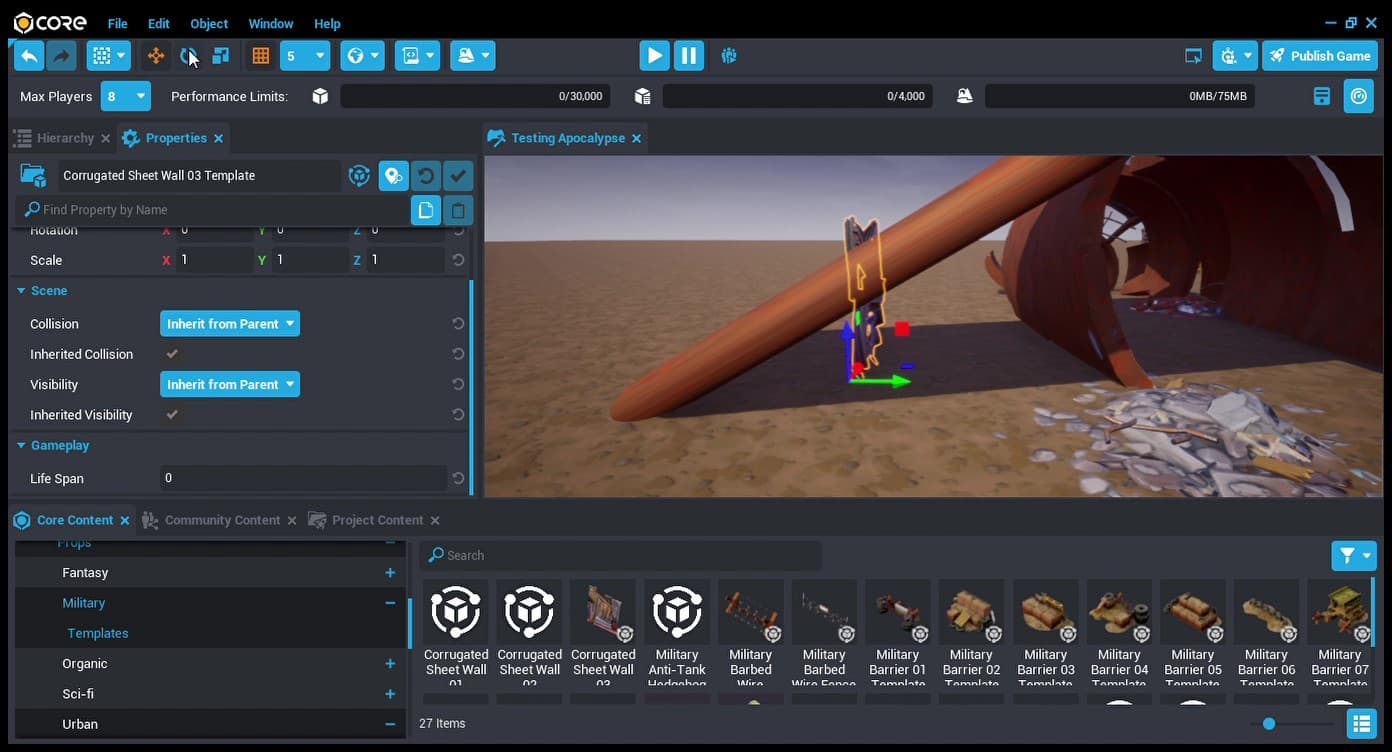
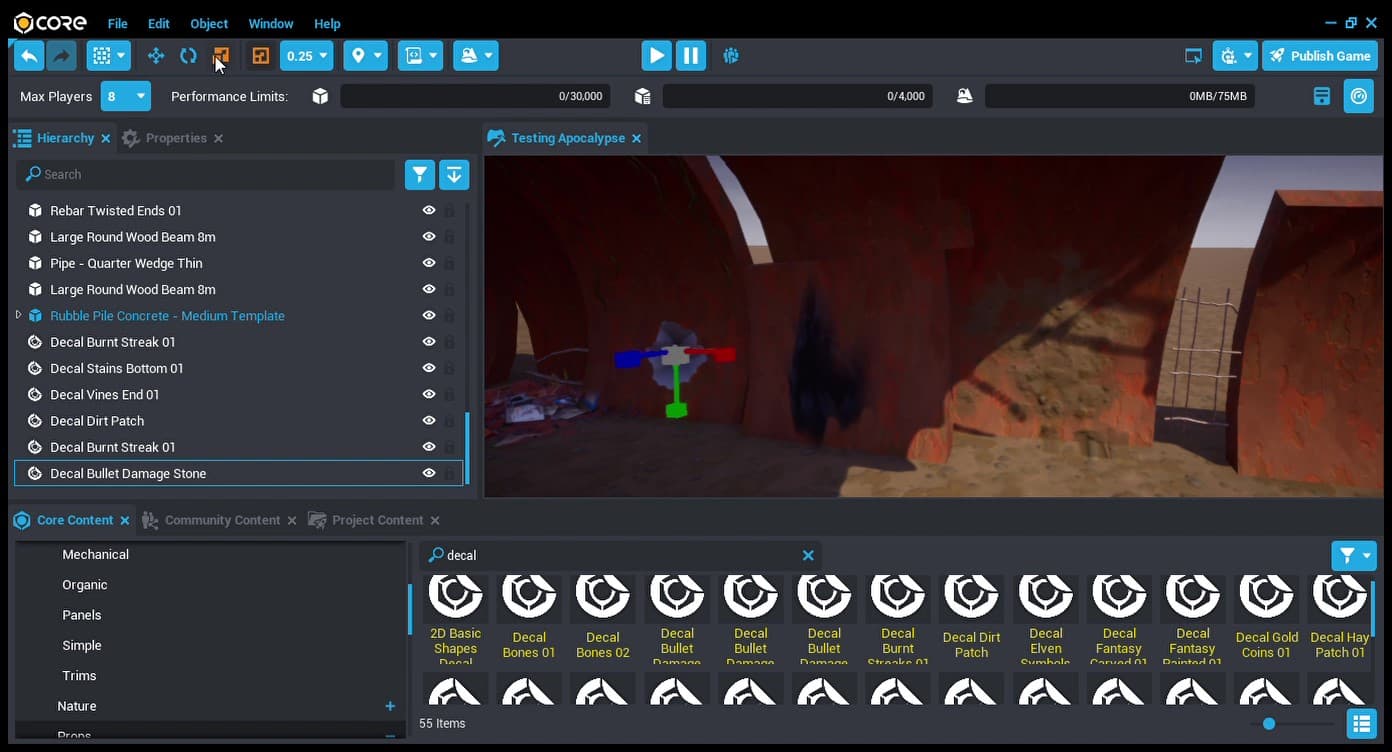
Constructing the overhang and adding damage elements to the structural pieces.
I love building things like this in Core.
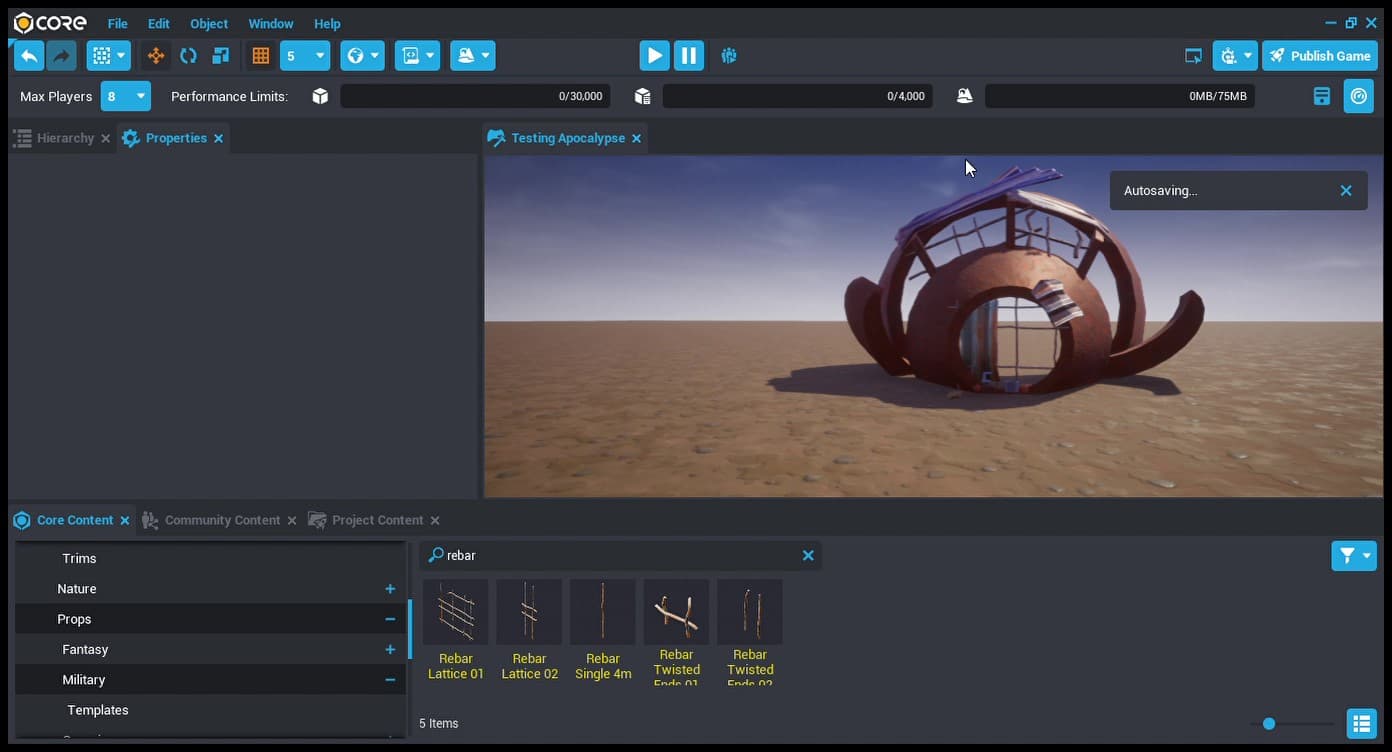
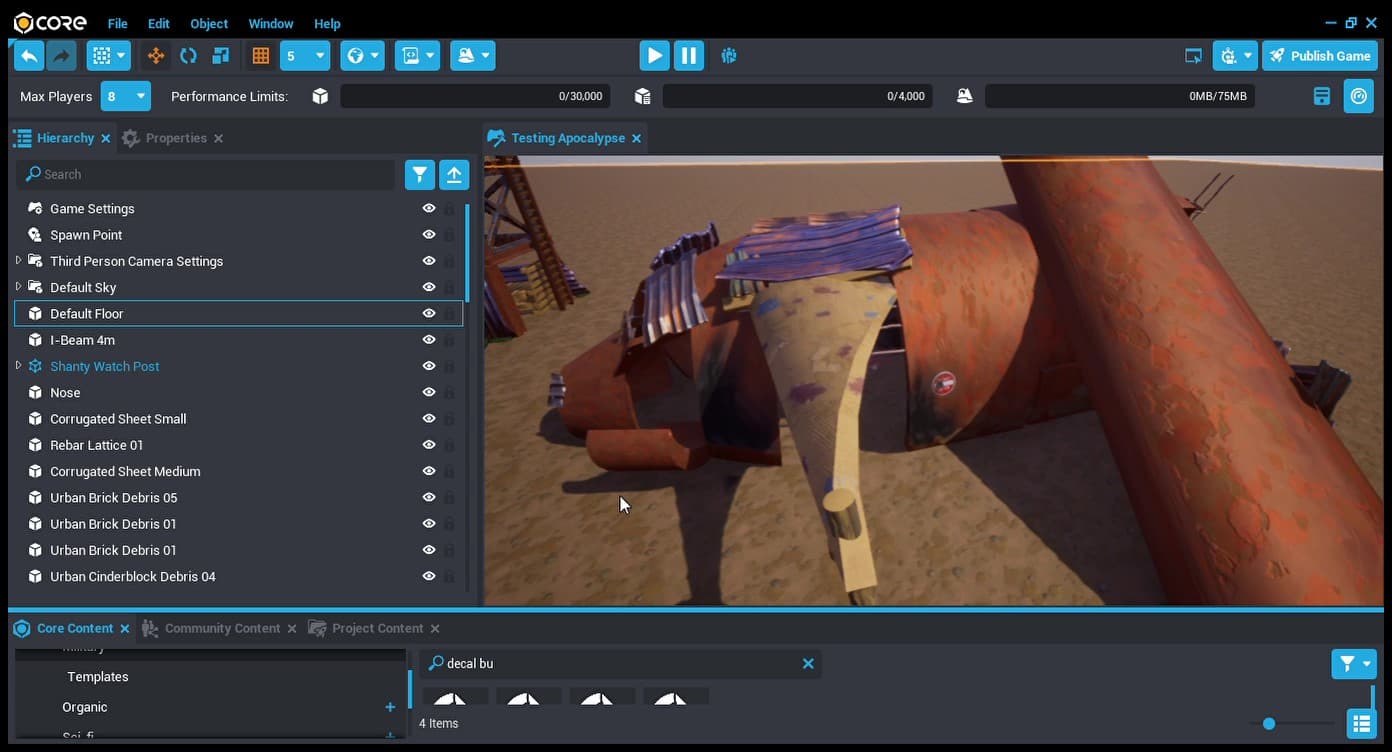
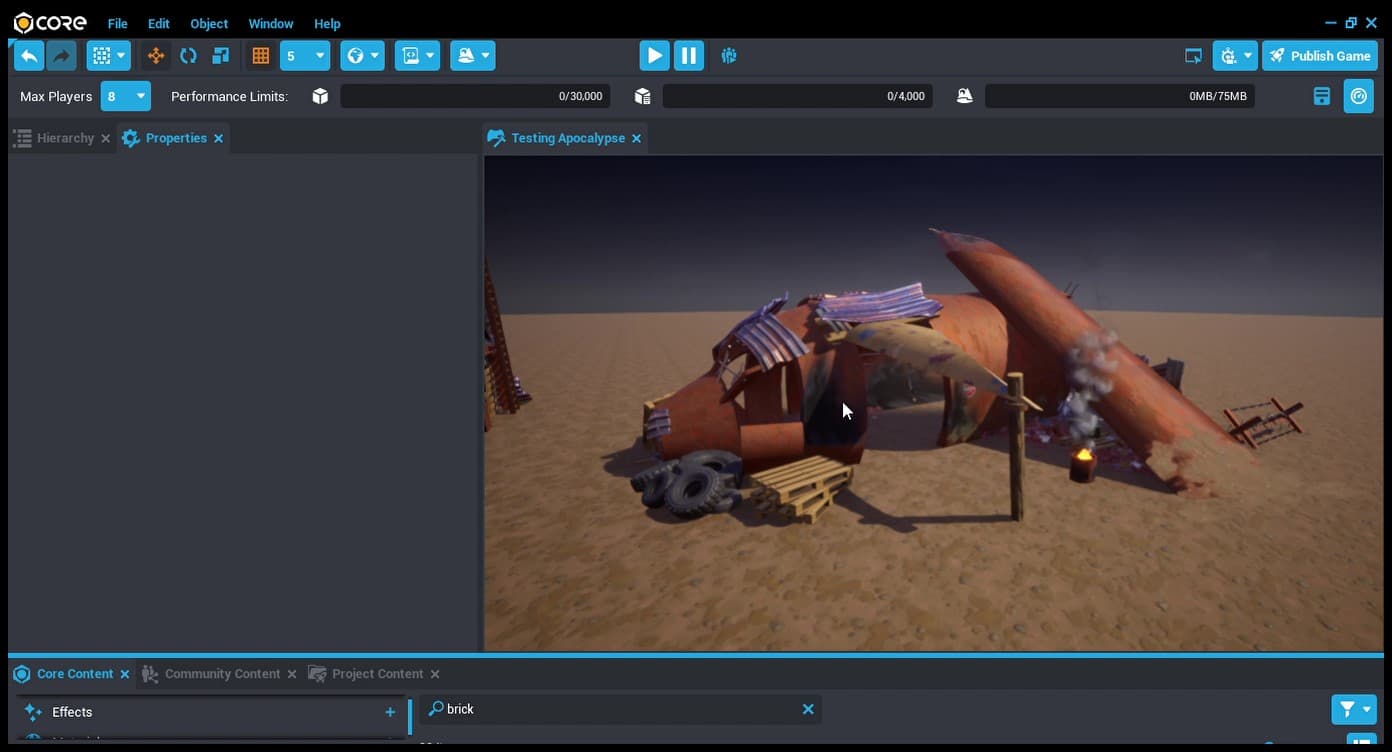
Overall look so far:
Add some props and obstacles - Ideally,
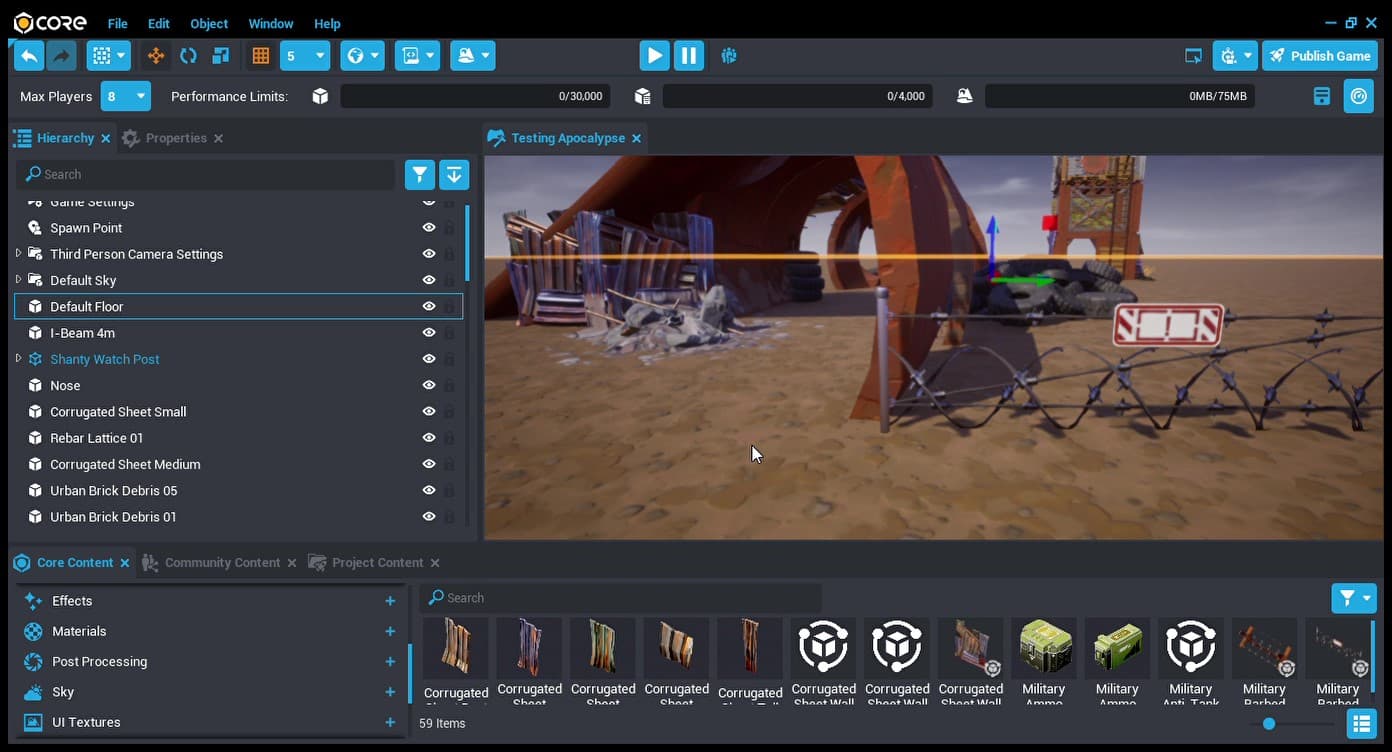
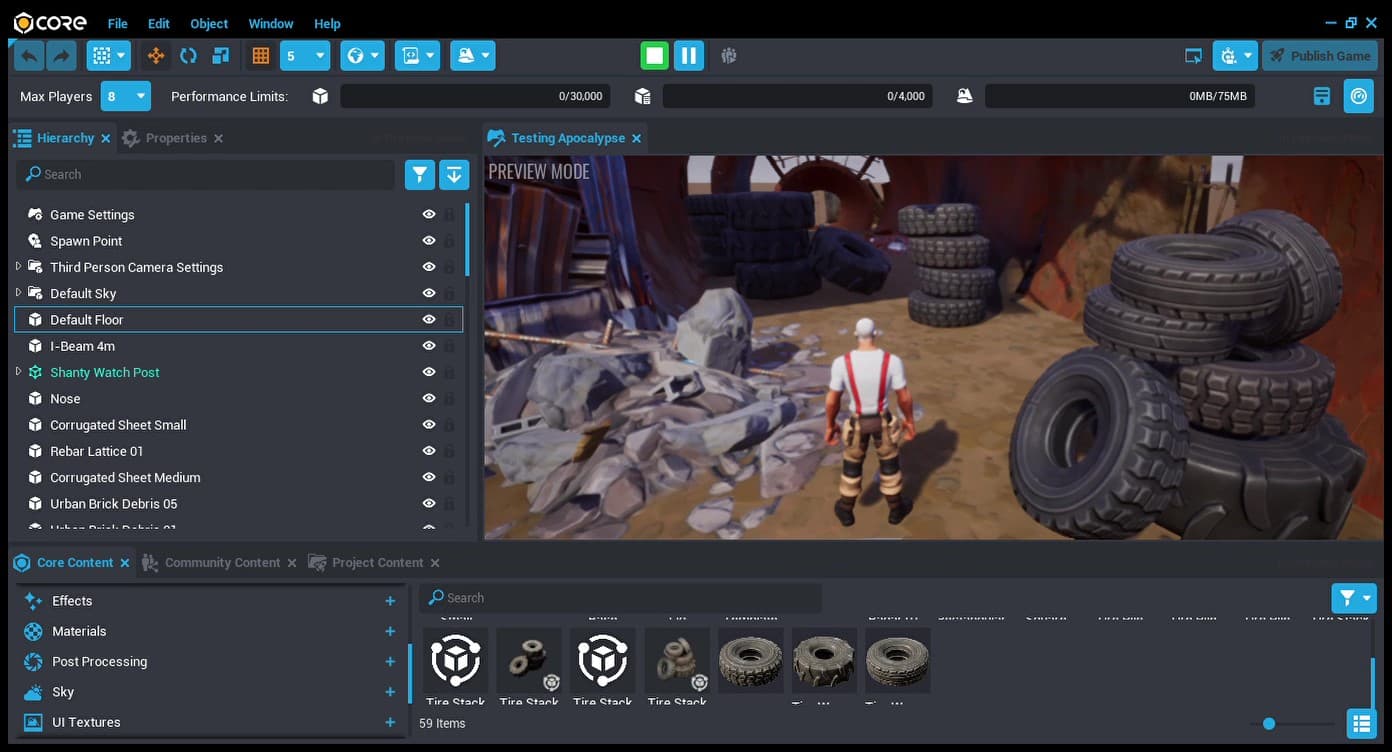
I thought this would be a really cool "run and gun" small obstacle for 1v1 or small team gun games.
Change the lighting, add some VFX and prepare for pics!
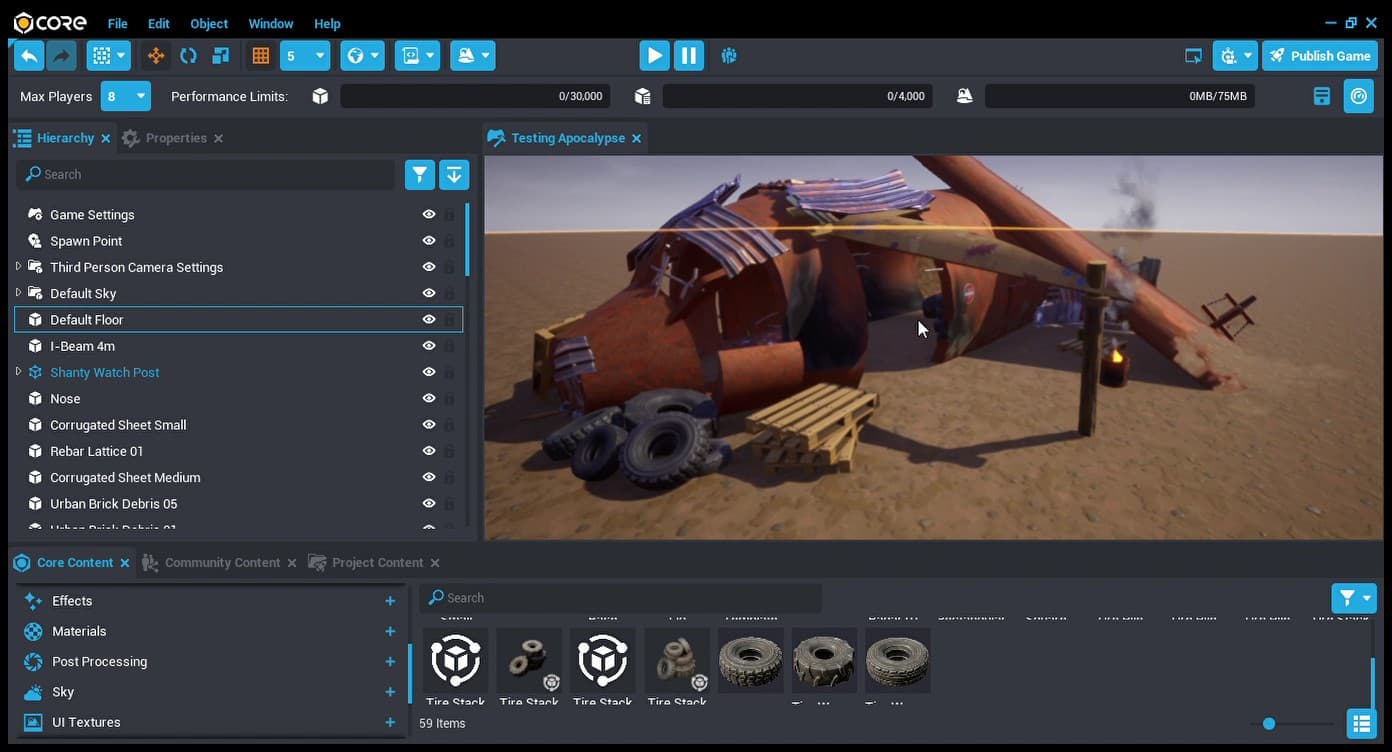
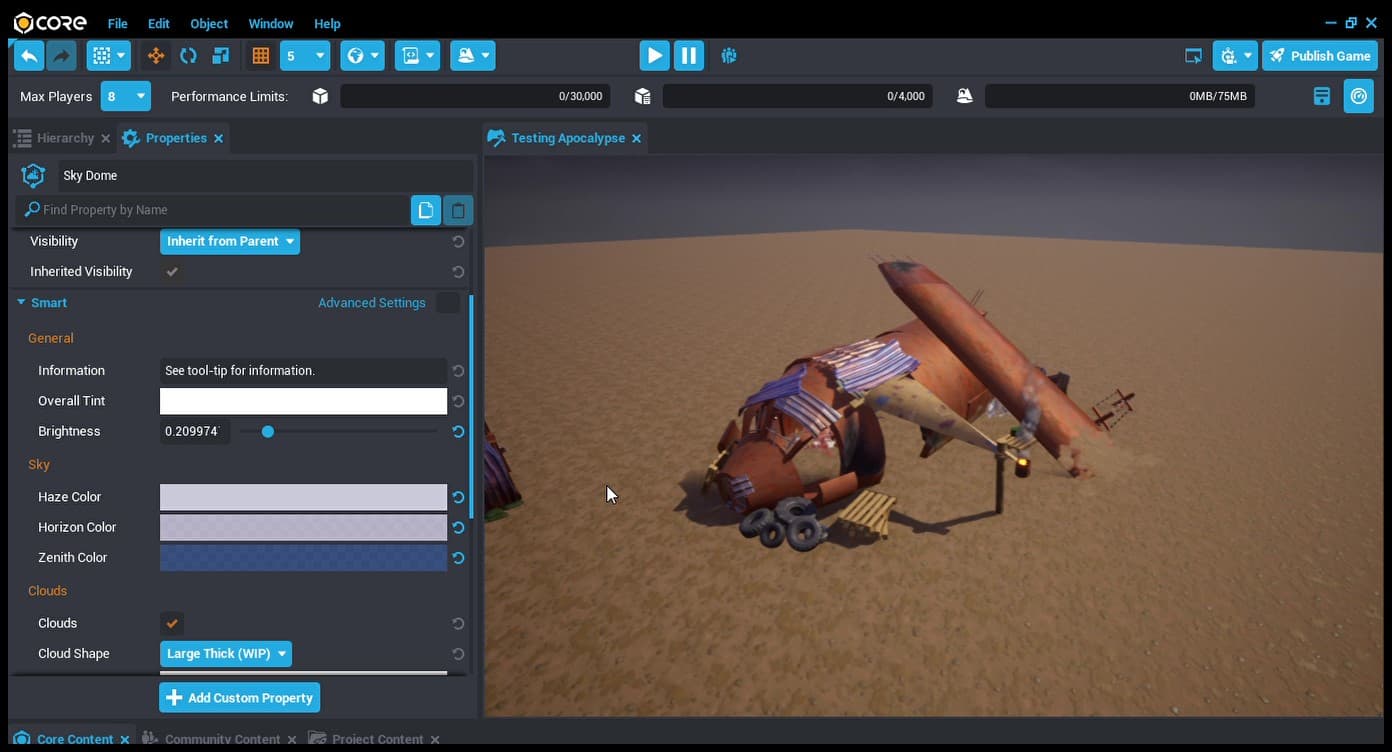
I really enjoy creating in Core.
I realize that this tutorial wasn't a step-by-step explanation of what exactly to do to create props. More of an overview of the entire process.
If you would like a specific type of tutorial, please do not hesitate to reply with any questions you may have.
Here is a speed build of the entire project in 4 minutes, Enjoy:

Let's make something awesome!