GUIDE TITLE: NPC Costumization Medium Difficulty - no coding!
ESTIMATED COMPLETION TIME: ~ 2 hours
CORE VERSION: 1.0.220
SUGGESTED PREREQUISITES:
General knowledge about the NPC AI Kit - recommended to watch the "Enemy NPCs & AI" series of the creator (Enemy NPC & AI - Core - YouTube).
TUTORIAL SUMMARY:
In this tutorial you will learn how to create a custom NPC with the NPC AI Kit including unique visuals and working animations. Based on your skill level in art designing, you can choose how much effort you put into this!
EXPECT TO LEARN:
- how to design visuals for the NPC using any reference image
- how to attach the costume/visuals to the animated mesh
- how to animate the NPC
END PRODUCT VISUALS:
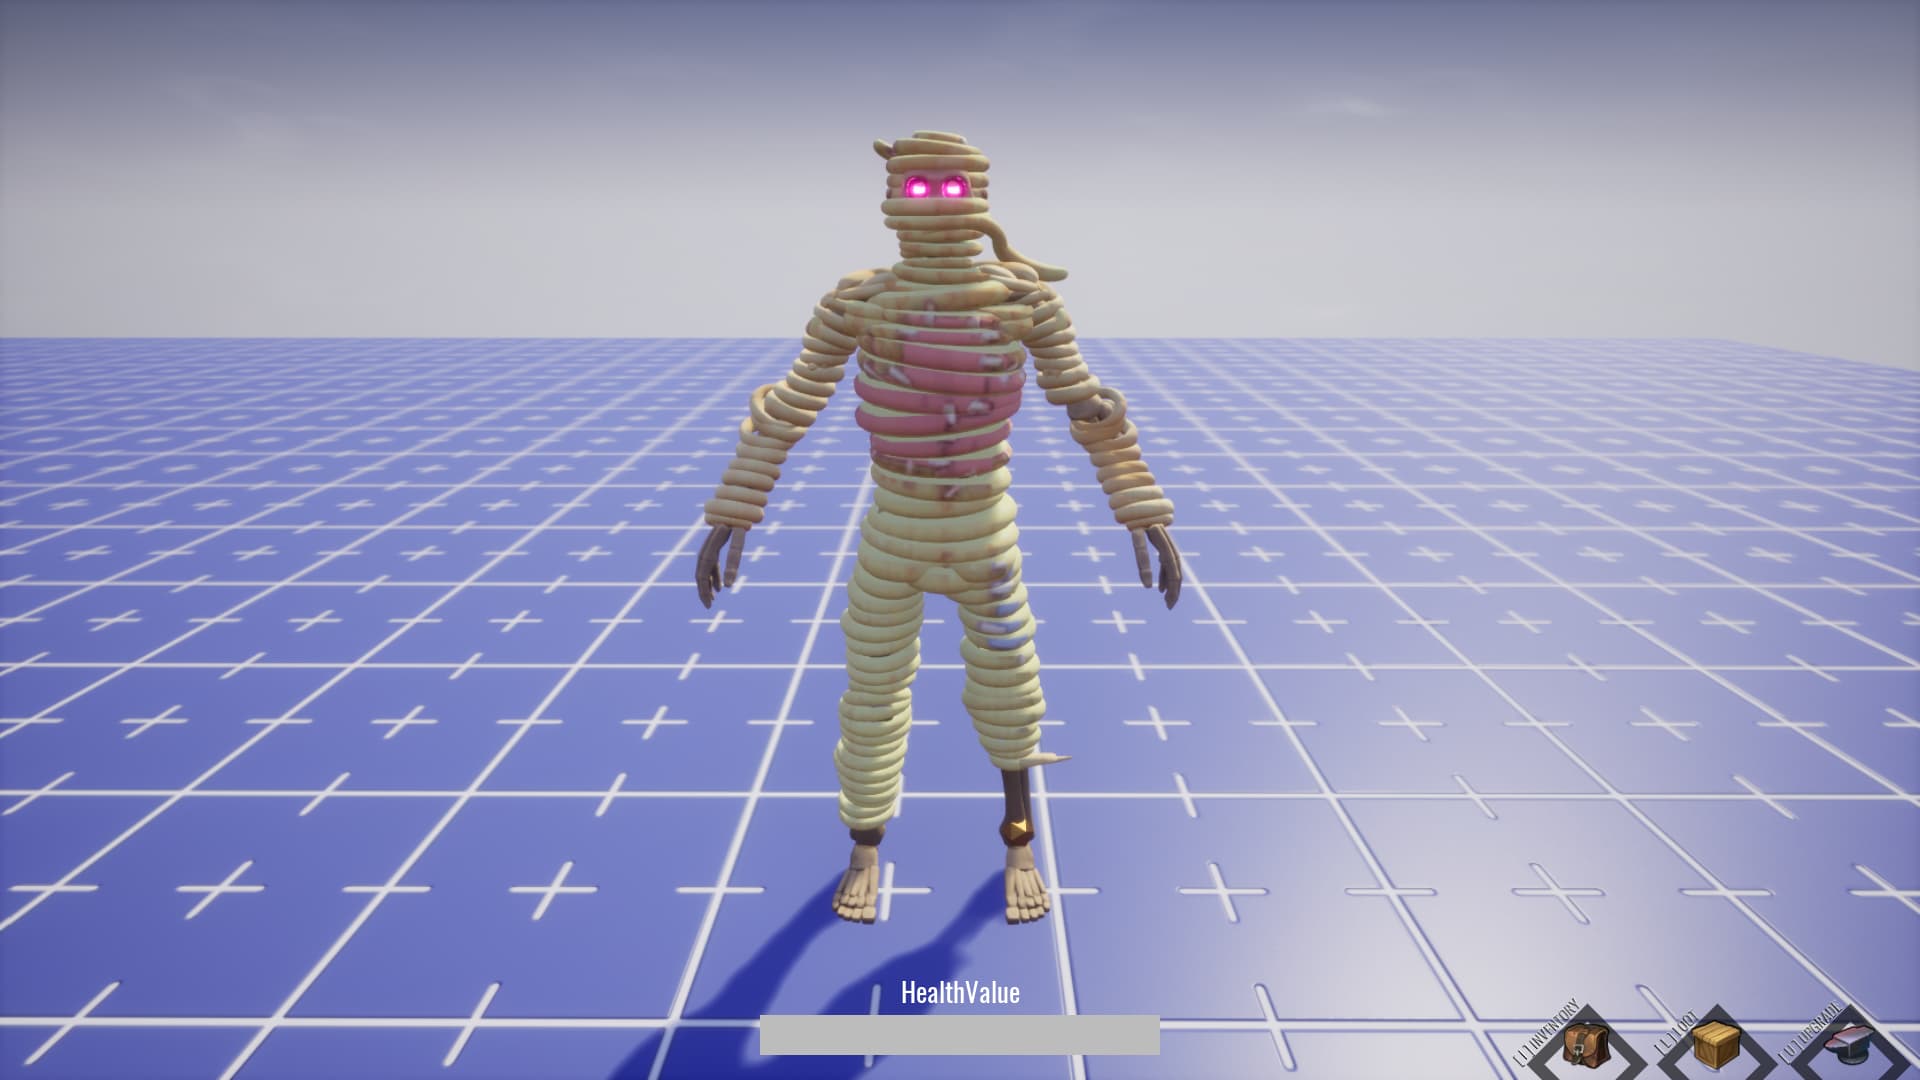
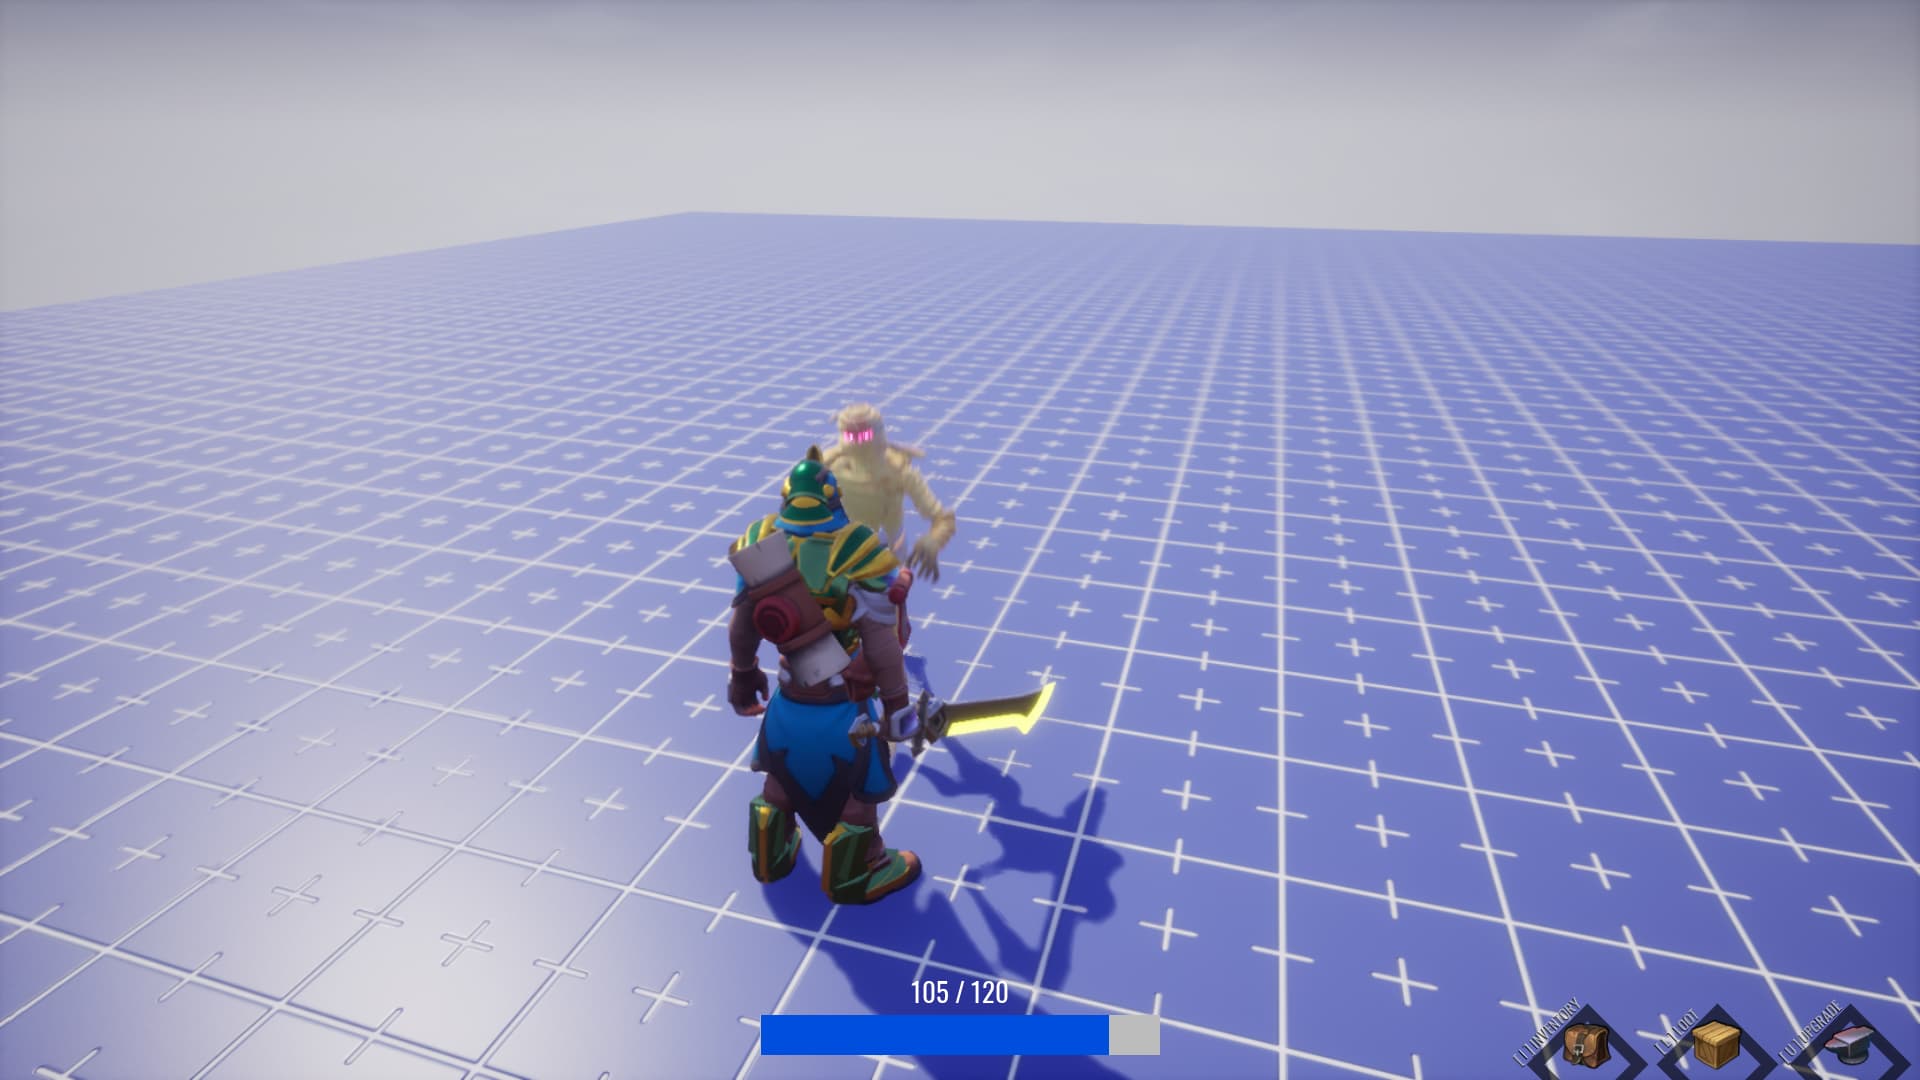
- Custom Mummy NPC
- This tutorial will show you how to create a custom NPC mummy. Based on the knowledge you gain in this tutorial, you will be able to create a NPC of your own wishes!
TUTORIAL:
Setup:
Create an empty project. Go to Community Content and import the latest version of the "Meta Inventory System" by TeamMETA. Drag a copy of the "Item Systems" in your hierarchy. Make sure to activate the Player Storage in the Game Settings. Go back to Community Content and import the "Combat Dependecies" by standartcombo. Drag the template into your hierarchy. Then go to Community Content once again and import the latest version of the "NPC AI Kit" by standartcombo. Now we have our setup completed!
Step 1 - Basics on the Skeleton NPC:
Right before we start we have to decide on a NPC that we want to create. You probably all know the standard NPCs like the Swordsman Skeleton, the Raptor or the Dragons that come with the NPC Kit. (If you don't, just go to Project Content, search for "RPG" and drop the templates into the scene to test them out.) In this tutorial we want to create a Mummy NPC. Take a moment to think of the existing NPC that comes closest to the NPC we want in behavoir and attacking. Choosing a good starting point will minimalise the effort you have to put into creating your custom NPC. The "RPG Skelton - Unarmed" has exactly the same behavior that one would expect from a mummy. So let's have a closer look at the structure of the Unarmed Skeleton. Drag the template into your scene, right-click it and create a new template called "RPG Skeleton - Mummy". For the following, it is important that your skeleton is positioned at x 0, y 0, z 0 and not rotated!
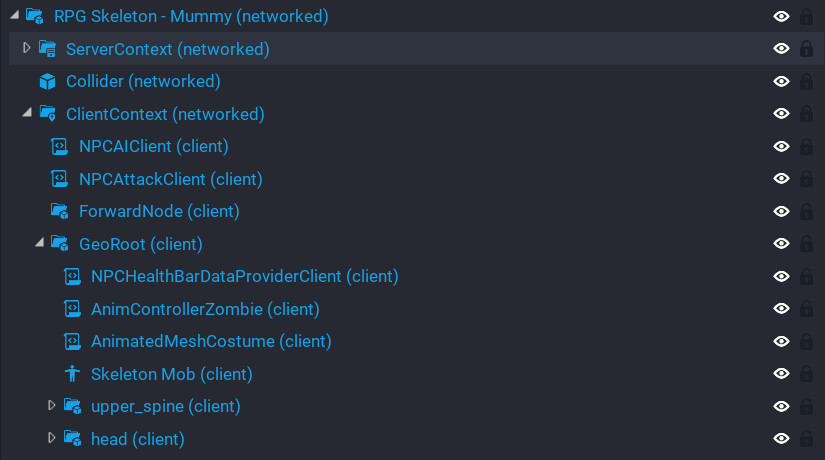
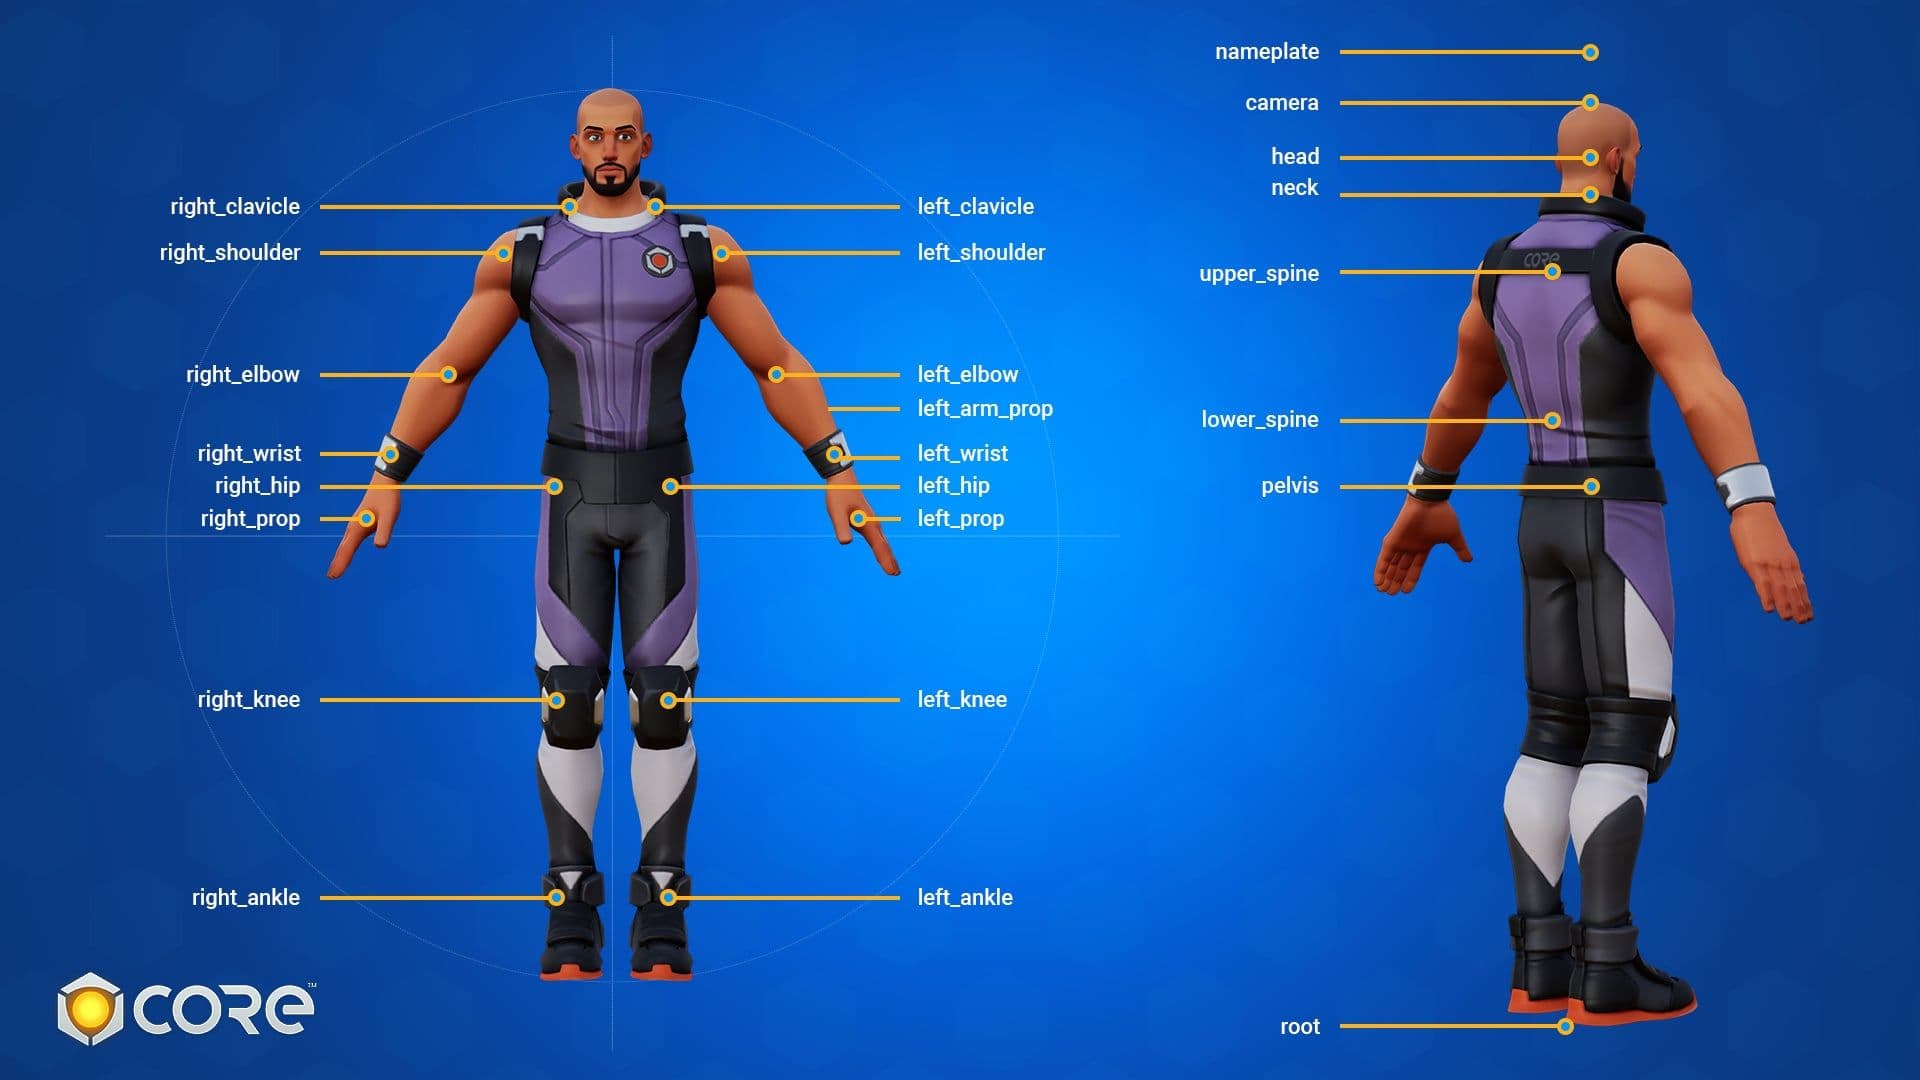
If you look into your hierarchy, you will see that the NPC is split into two main parts, the "Server Context" and the "Client Context". For this tutorial, we can ignore the "Server Context". We don't have to change any attack effects for the mummy. Down at the bottom you can see the "Skelton Mob" and two groups called "upper_spine" and "head". The Skeleton Mob is an animated mesh, which means that it has animation sockets. In the graphic you can see all of the mesh sockets that exist.
The Skeleton NPC comes with a script that attaches the grouped 3D objects to the group name socket on the skeleton mesh. That means we can create our own objects around the skeleton and then attach them to the right socket so they are moved/animated with the skeleton mesh itself.
Step 2 - Creating your own decoration/costume for the Skeleton:
If you want to create a NPC on your own after this tutorial, make sure you search for a reference image on the internet before you start modelling.
To begin with, delete the "upper_spine" and "head" groups. You have to deinstance the NPC for the next few steps. Now go to Core Content and search for "Ring - Thick". Drag one of them into the hierarchy and scale/move it so it fits around the head of the skeleton, keep your goal in mind, you want it to look like the bandages of the mummy. Choose a material for the ring, I personally prefer "Fabric Burlap Old 01" and "Rope". The fabric material works fine with the "Smart Material" property, the rope material needs some adjustments. Untick the "Smart Material" property and set the U and V tiling to ~ 0,2 .
Create a new group called "head" where the other groups have been before we deleted them and drag the ring into it. Now right-click the "RPG Skeleton - Mummy" and update the template. After that, hit preview and test if the ring is being attached to the skeletons head.
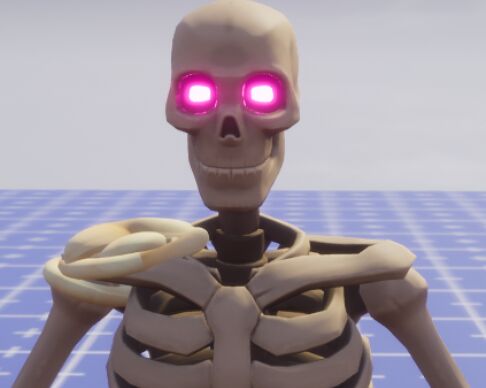
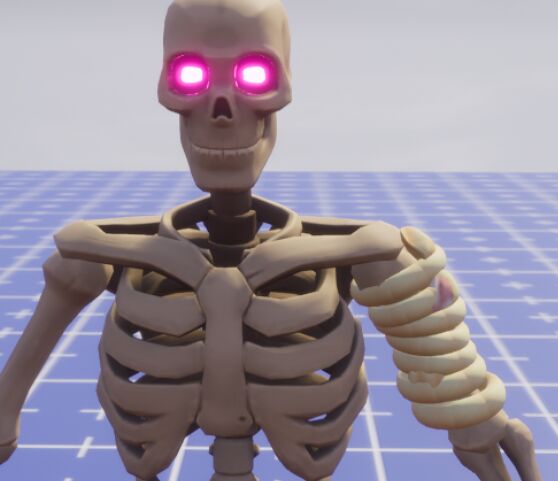
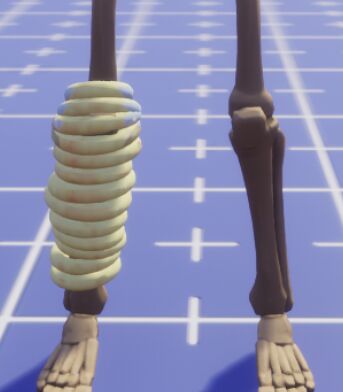
Now copy the ring a few times and place it all over the head, make sure you put in a certain variety of rotation and size. Also try to find other 3D objects that could compose the offstanding bandage-ends. Leave the eyes out as shown in the pictures below. For the artwork it is important to experiment with different 3D objects and materials.


To leave a little work to you (learning by doing), I will only show the socket group, its contents and some usefull tips from now on. Don't worry about the purple eyes - explanation later! Also, if you want to have the same on both sides of the skeleton, feel free to select the objects you want, copy and paste them and then right-click in the scene and "mirror these objects". Don't forget to update the template every now and then to test the animation in preview. Sometimes, objects need a little twist to fit in with the movement/animations of the skeleton!
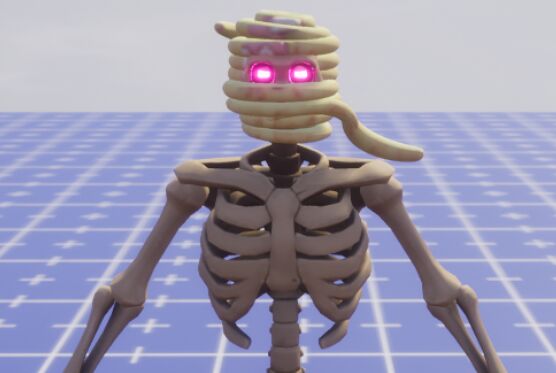
Step 3 - Complete Head:
-> use the new organic beans for the loose ends

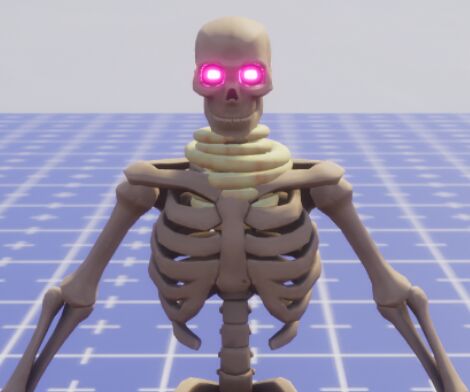
Step 4 - Complete Neck:
-> you have to build the neck a little further down to avoid holes in the costume when the NPC is moving

Step 5 - Complete Left Clavicle:
-> use organic shapes

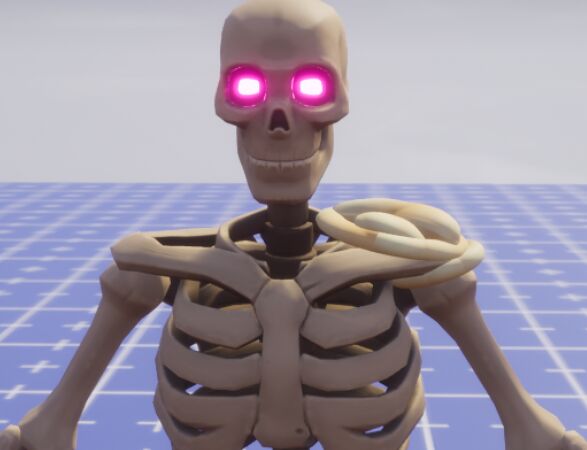
Step 6 - Complete Right Clavicle:
-> this can be mirrored, just try a few mirror options until you get the right position

Step 7 - Complete Left Shoulder:
-> add in some details with organic shapes to make it look worn out (hehe)

Step 8 - Complete Right Shoulder:


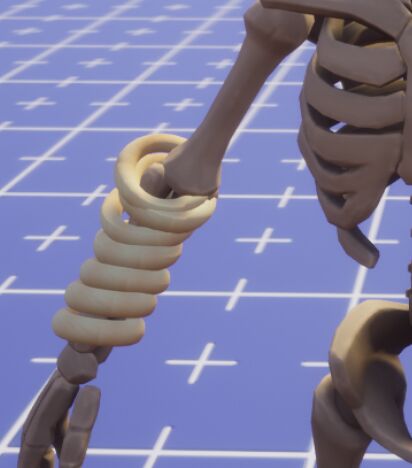
Step 9 - Complete Left Elbow:
-> here you have to rotate the first ring extremely to make it fit while the skeleton is moving

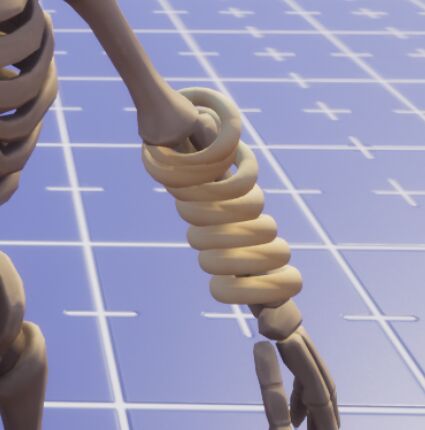
Step 10 - Complete Right Elbow:
-> mirroring not recommended here

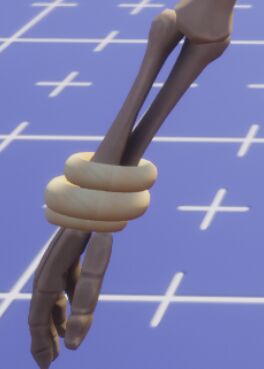
Step 11 - Complete Left Wrist:
-> make sure to end the bandages tight on the wrist


Step 12 - Complete Right Wrist:

Step 13 - Complete Upper Spine:
-> the shoulder blade has to be covered with multiple rings

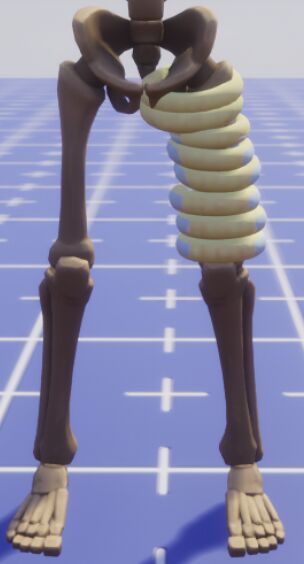
Step 14 - Complete Pelvis:
-> find a solution to cover up underneath the skeleton


Step 15 - Complete Left Hip:
-> do a transition from the pelvis construct, play with positioning and sizing

Step 16 - Complete Right Hip:
-> mirroring not recommended here


Step 17 - Complete Left Knee:
-> take a horn as an ending, but make sure to align it well with the ring

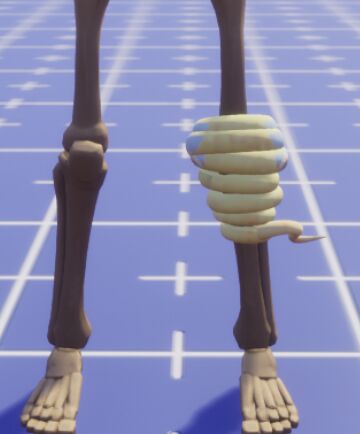
Step 18 - Complete Right Knee:
-> we need bandages further down on this side

Step 19 - Complete Left Ankle:
-> only rich guys were mummified (hehe)
-> so take a "Icosahedron" and pick the "Metal Old Beaten Gold 02" material


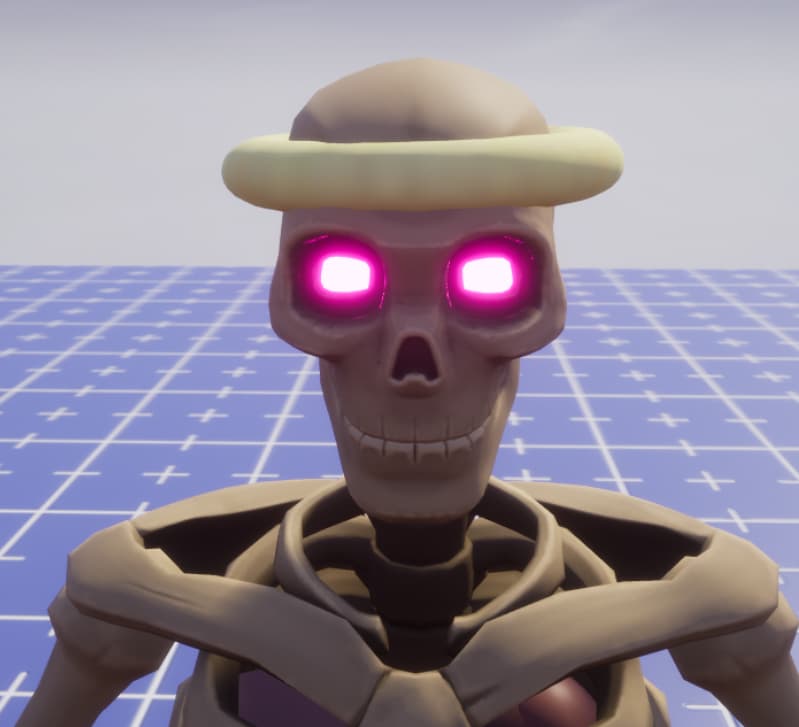
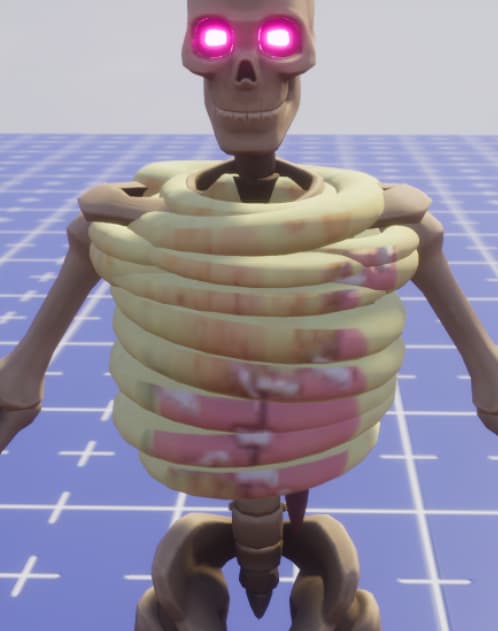
Step 20 - Color Eyes:
Now that you have completed the costume for the skeleton, it is time to give it the magic purple eyes. Search for "Custom Base Material from Skeleton Mob" in the Project Content, duplicate it, rename the copy to "Custom Base Material from Skeleton Mob Purple Eyes" and double-click it. A window like this should pop up:
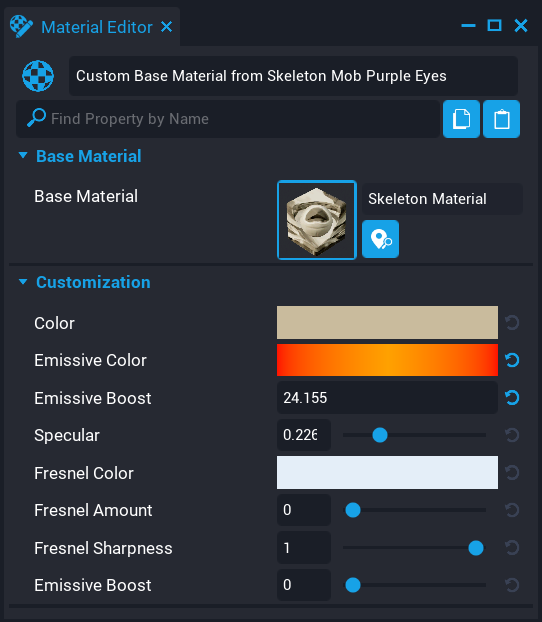
Change the emissive boost color to purple. Then go to the "Skeleton Mob" in your hierachy and select the new material we created in the material slot. The eyes should now glow purple.
Step 21 - Weapons and Animations:
In the case of our Mummy, we don't need to costumize the weapon because there is none. But if you select another NPC as a starting point, you can also costumize the weapon geo, the group with the weapon is called "right_prop" or "left_prop". There you find multiple objects on which you can change the materials. You can also add new 3D objects in this group. To change the projectiles, effects, etc just click through the scripts on the NPC and create new templates with your personal ideas. Also, if you want, you can change the animations the mesh is doing when attacking, go to the "AnimControllerZombie" script do that. See the "Skeleton Mob" animation stance property for possible values. Attention, this is advanced level!
Finished!!!
-> Comment down below if this tutorial was helpful and if there is anything that could be improved!
Resources for working with the NPC AI Kit:
- Player Animations & Sockets - Core Documentation
- Enemy NPC & AI - Core - YouTube
- Core Academy: Creating NPCs with Animated Meshes - YouTube
Discord:
- WorldBuilder273#8528
- Core Creators